• When you click on links to various merchants on this site and make a purchase, this can result in this site earning a commission. Affiliate programs and affiliations include, but are not limited to, the eBay Partner Network.

Bringing it back to factory specs!

resq302

Well-Known Member
Joined
Jul 9, 2013
Messages
280
Reaction score
5
Location
northern nj
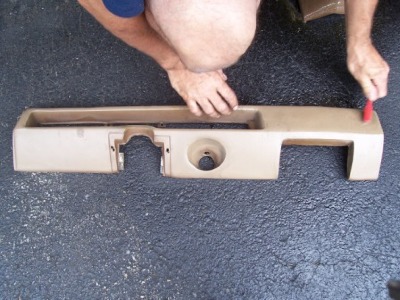
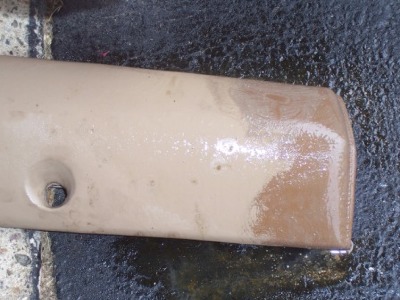
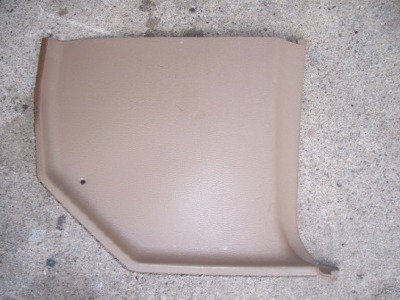
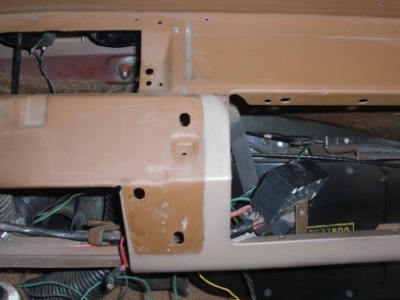
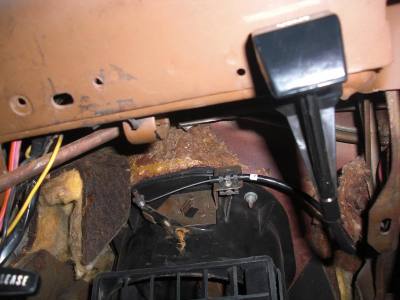
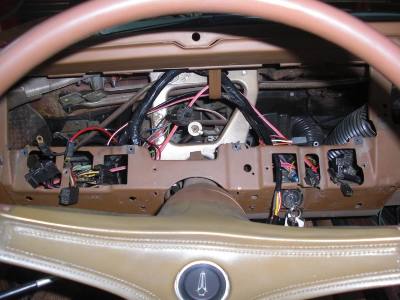
As some of you have seen, we have been working on the undercarriage of our 69 GTX vert to try and bring it back to factory specs and appearance. We have gone as far as we can with what we can do with still keeping the vehicle mobile for the rest of the car show season. I since started pulling apart the dash since a previous owner had spray painted / dyed the lower dash pad, dash frame, ash tray, and kick panels with what appears to be a "Dukes of Hazzard" tan. The original color of the interior is the saddle color. We were lucky enough to use brake fluid to strip the paint off of the lower vinyl dash pad pieces and revealed the original vinyl that was faded (which is probably why they dyed the pads) but crack free!

before:

102_5391-1.jpg

interior4.jpg

interior3.jpg

interior1.jpg
 
Last edited:

resq302

Well-Known Member
Joined
Jul 9, 2013
Messages
280
Reaction score
5
Location
northern nj
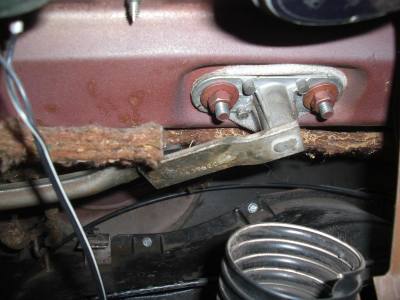
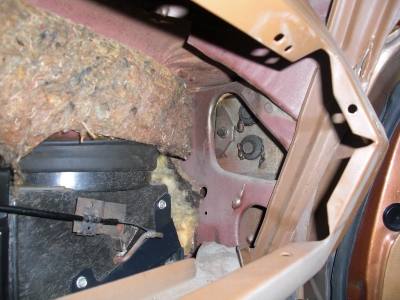
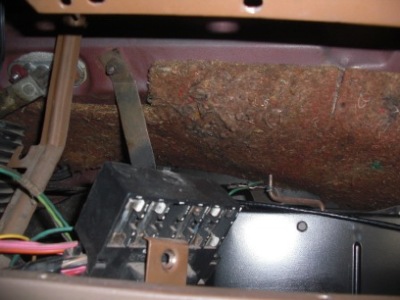
more pics of the disassembly. I gotta say there had to be easily 1/2" thick of dirt and dust on top of the heater box and lots of cool detailed things to be discovered.

CIMG1781.jpg

interior13.jpg

interior12.jpg

CIMG1777.jpg

CIMG1776.jpg
 
Last edited:

resq302

Well-Known Member
Joined
Jul 9, 2013
Messages
280
Reaction score
5
Location
northern nj
as you can see, lots of originality there and stuff that has not been disturbed. Stuff that is in good shape will just be cleaned up. Other stuff that needs to be reconditioned will be restored to the factory way it would have been. Notice the red nuts that hold the wiper pivots in the previous pics! Also, what is weird is that this car seems to have a red oxide primer in the area of the dash and cowl and kick panel area. Anyway, here are some more pics.

CIMG1775.jpg

interior15.jpg

CIMG1773.jpg

Hoping to get to my parents house tomorrow to get the dash pads spray dyed and the metal dash frame repainted with the correct suede paint!
 

resq302

Well-Known Member
Joined
Jul 9, 2013
Messages
280
Reaction score
5
Location
northern nj
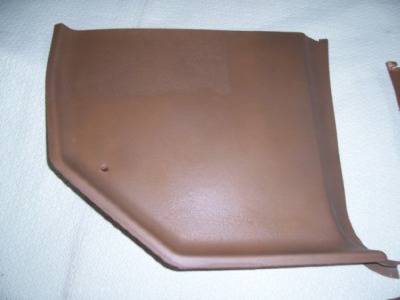
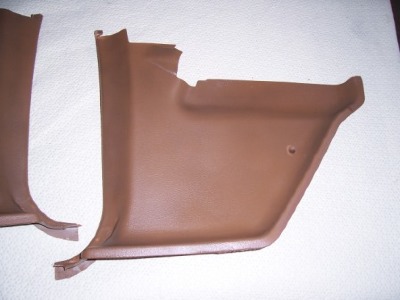
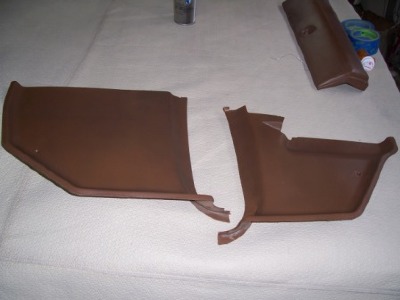
after pics of the kick panels:

They were cleaned up with brake fluid like the lower dash pads. This revealed that the plastic pieces were faded and chalky. With a little work, they turned out like you see here! Perfeclty matching the original molded colored plastic!

interior10.jpg

interior9.jpg

interior8.jpg
 
Last edited:

resq302

Well-Known Member
Joined
Jul 9, 2013
Messages
280
Reaction score
5
Location
northern nj
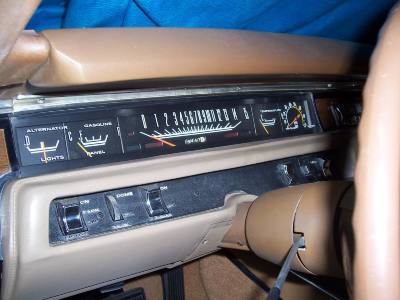
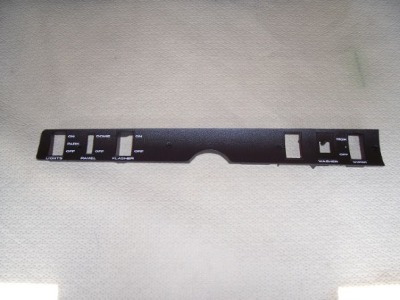
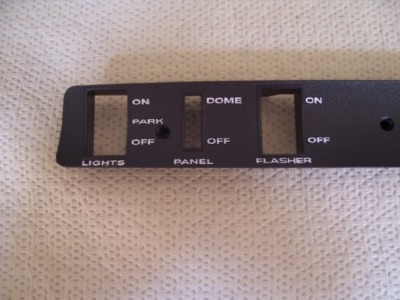
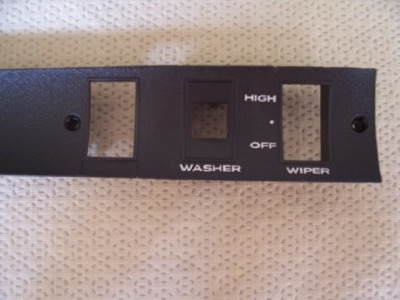
I also restored the faded white metal switch plate that goes in the lower paded dash. A little black paint and some flat white paint for the letters and wa-lah!

Before:
102_5391.jpg


After:
interior5.jpg

interior6.jpg

interior7.jpg
 

resq302

Well-Known Member
Joined
Jul 9, 2013
Messages
280
Reaction score
5
Location
northern nj
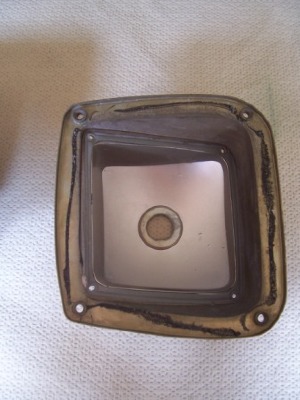
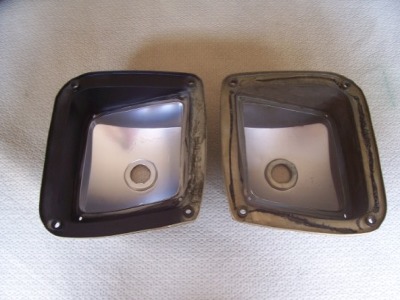
I also wanted to see why the tail light on the driver side seemed to be dimmer when you hit the brakes than what the pass. side was so out came the tail light housings after verifying the voltage was the same to both sockets. I noticed that the driver side tail light lens had a crack at the top of it which could not be seen once installed in the housing and bezel. Apparently over the years, water, dirt, or moisture had gotten into the inside part of the housing and caused the reflective silver paint / coating to come of causing it to be darker than the pass. side. I lightly bead blasted the inside area and repainted it with the chrome spray paint that Duplicolor sells. Perfect match by the way, however, if you should touch it? You will leave marks anywhere you come in contact with it! I also took this time to respray the satin black paint that was on the sides where the reflective housing was not, just as the factory had did. Here is a before of the pass side and an after pic of the driver side. Sadly, the before pics on the driver side did not save on my camera due to battery issues. All I can say is WOW! the tail lights are nice and bright and equally bright on both sides now!

Before:

taillight2.jpg

After:

taillight3.jpg

side by side:

taillight1.jpg
 

Basketcase

Keeper of the Green
Joined
Sep 10, 2008
Messages
14,415
Reaction score
299
gee the color on that lower pad was so close why would you strip it off? :D( guy musta done it at night!)
you're doing a great job! have you posted pics of the whole car? (even f you have, please post some more!)
 

droptop

Well-Known Member
Joined
Sep 11, 2008
Messages
4,000
Reaction score
724
Location
Southern Indiana
I hope you still have the "TOP" label for the switch panel. Those are very hard to come by. My GTX had red oxide primer. Also a St. Louis car like yours.
 

bigmanjbmopar

Well-Known Member
Joined
Feb 24, 2012
Messages
395
Reaction score
25
Same here have blue oxide primer in the rear deck under th package tray. What did you use to restore the switch panel hand paint it?
 

resq302

Well-Known Member
Joined
Jul 9, 2013
Messages
280
Reaction score
5
Location
northern nj
Yes, I carefully removed the TOP label and reapplied it with adhesive like it had been.

What is weird is that the red oxide primer I have only found so far in this area of the car. Everywhere else I have seen the light gray and dark gray dip primers. Would there have been any reason why they would have sprayed the red oxide primer inside the car instead of just dipping it?

The switch panel was sprayed with I think it was the Krylon Dual paint in the Satin black color and then the flat white paint for the lettering was hand applied with a brush using very lightly applied paint till it was nice and evened out so you could not tell it was done with a brush.
 

resq302

Well-Known Member
Joined
Jul 9, 2013
Messages
280
Reaction score
5
Location
northern nj
Its not finished yet Stu! We still have a long way to go to get it up to our standards. Hell, the worm gear hose clamps that were on the car were bothering me so much I drained the coolant and pulled the hoses just to swap out my old corbin clamps that I had removed from my charger to put onto the GTX. lol. This will certainly be one of the most detailed, (if not THE most detailed) 69 GTX verts out there. I must admit that Dave Walden has inspired me with his cars and restorations that he has done. Granted, ours will probably never compare to what his ended up being like since we plan on driving our cars but I'm sure it will be just as eye appealing when we are done!
 

jays69bird

Well-Known Member
Joined
Mar 27, 2009
Messages
1,055
Reaction score
5
Location
Oswego
Brian,I'll be glad to see the car when its done,my convertible also had red oxide primer,it was built in Sept. of 68 at St.Louis.
 

resq302

Well-Known Member
Joined
Jul 9, 2013
Messages
280
Reaction score
5
Location
northern nj
I can guarantee it won't be anytime soon! lol With the high attention to detail that we will be doing, it will probably be at least another year to two years to finish it! However, I will be trying to post pics as soon as I can with any of the work that I do.
 

jays69bird

Well-Known Member
Joined
Mar 27, 2009
Messages
1,055
Reaction score
5
Location
Oswego
Yeah but a Get X convertible is really rare,so it should be done right take your time.
 

resq302

Well-Known Member
Joined
Jul 9, 2013
Messages
280
Reaction score
5
Location
northern nj
Actually they are SUPER rare. Last year for the GTX vert in 69. Total production of 701, ours is 1 of 362 made with the 440 / Auto combo. Supposedly one of about 50 painted the T3 color. As of 2002, only 47 GTX verts left know in existence! Now add all original sheet metal, conv. top, #s match drive train, yeh.... pretty rare! lol
 

resq302

Well-Known Member
Joined
Jul 9, 2013
Messages
280
Reaction score
5
Location
northern nj
Well, I like to do it one way. Dad wants to do it another way to try and save money as his funds are starting to run out. But in the end, my way seems to be the most correct where as corners are not cut and mistakes don't happen.
 
Back
Top