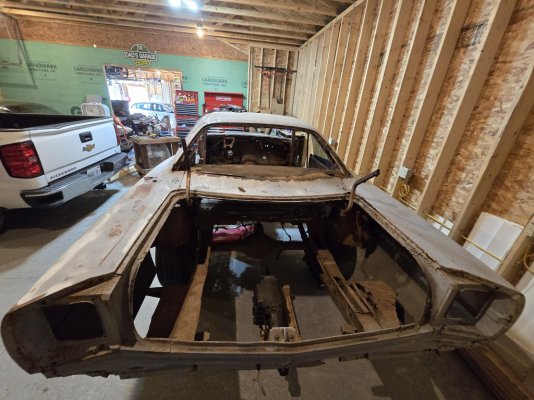
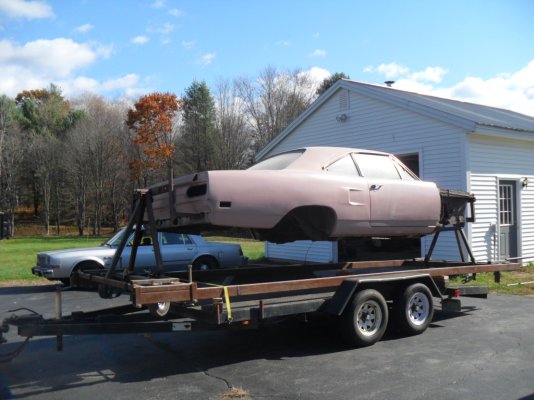
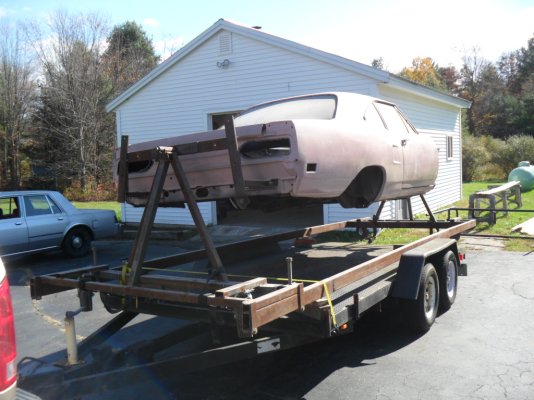
1969 Roadrunner Full Restoration

Bought new trim for my car. It was the best move to make. After market trim is close enough to the original. You can set up your own zinc coating vat. Used a cheap battery charger then whatever plastic pan or tub you wish to use. Vinegar and distilled water positive lead on zinc block and negative on the part you want to coat. Get the zinc for boat motor chunk. Chemical dip is expensive and might never get all the acid out of welded joints. Buy a sand blaster from Harbor freight it is your best friend. Messy but worked well. Many sanding discs on right angle grinder plus wire wheels to go on it. Beware of the wire of the wire wheels they sling bristles just ask me how I know. I know sand blasting is messy but well worth the money. Some things just have to be replaced rather than spending too much time on trying to patch things. I figured out that buying hole replacement parts was the way to go on most of my sheet metal. Wish you luck with the project. Don't get frustrated just walk away then come back later. :kartman:
Many Many thanks for the guidance!!!!

The more I think about it, the more I think media blasting is the way to go. I'd prefer a professional for the body and panels.

I have a small media blaster that can be used for the stuff that folks won't see.

My concern is the crud that has worked it way into the frame, nooks and crannies. The intent with chemical dipping was to have that stuff dissolved away and protected sealed from the inside.

Definitely not afraid to bust rust! It what I did for 4 years when I was younger.

I'm going to attempt to salvage as much of the original trim as possible. It's a me thing. All of the Driver's side, Passengers Side and Front Windshield trim came with the roadrunner and it's in good shape. I will have to purchase all new rear glass trim or see if Clay and Sons Mopar Salvage can locate trim worth savaging.

Semper Fi
Sabre_3
 
Ok....need some guidance:

I closely inspected the front and rear frame rails today.

The front frame rails appear to be solid. There's a lot of crud, debris and mud that has found it's way into the usual factory frame holes, nooks and crannies.

The rear frame rails are pretty thin past the rear wheels and may need to be repaired (at a minimum) or replaced 1000008465.jpg
Note: I will more than likely build a frame jig if the rear frame rails are too far gone.

It my understanding the unibody receives strength from the Passenger compartment floor panels and rocker panels. Is that correct?

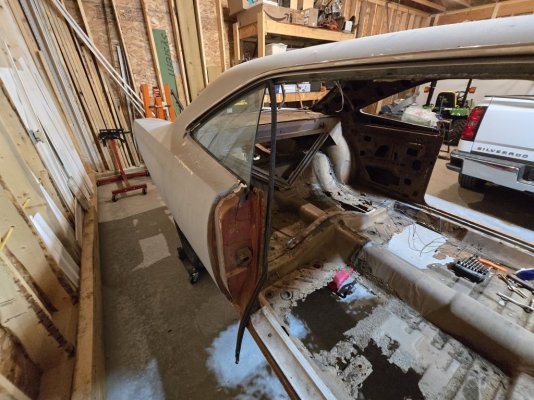
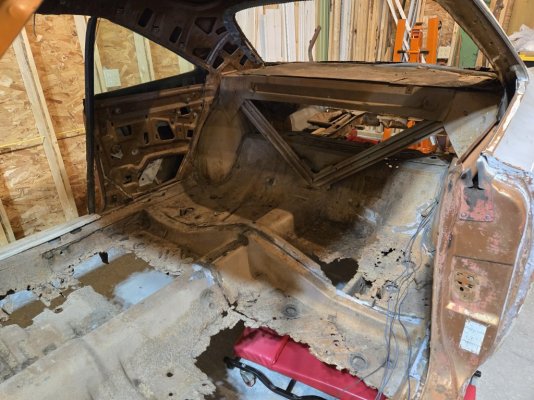
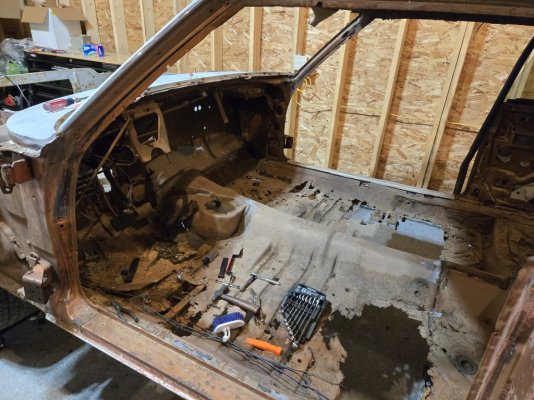
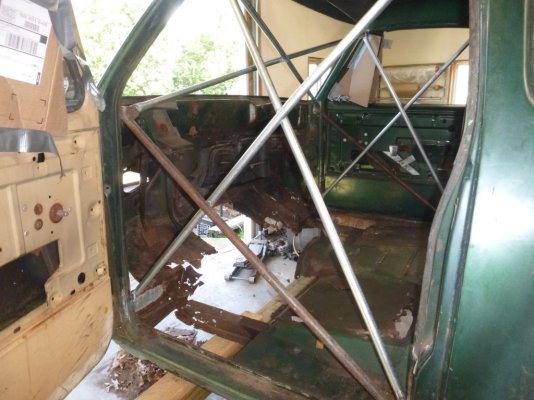
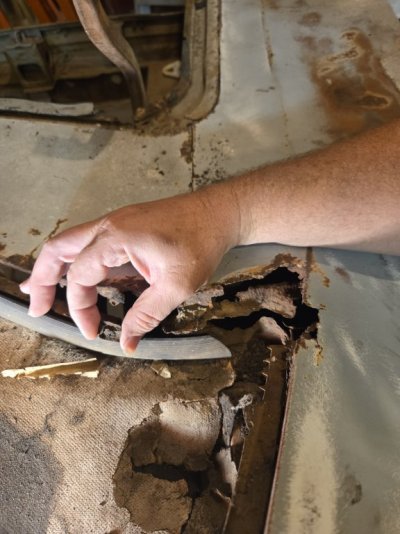
The rocker panels appear to be fairly solid however the floor panels are nonexistent. 1000008468.jpg
Passengers side interior

1000008462.jpg
Passenger and Driver's rear compartment
1000008461.jpg
Driver's side compartment.

Minimal torsional or lateral strength from any (almost nonexistent) floor panels in my opinion.

Should I purchase the floor and trunk pans and stiffen/stabilizer the frame/unibody before I transport to either media blasting or chemical dipping (still deciding)

Or is there enough rigidity in what I have to survive the trip to media blasting or chemical dipping without twisting or tweaking the body?

Bear in mind the torsion bars, k-frame and 8-3/4 rear end have to be removed before media blasting or chemical dipping.

Thoughts?

Semper Fi
Sabre_3
 
The unibody is still pretty strong without the floor pan in place as long as the transmission crossmember is in good shape. I transported mine on a rotisserie when I moved without any bracing but my floor pan was in place and pretty solid. I would just add a couple braces in the door jamb area to help keep it stable.

rotis70rr.jpg

rot70rr2.jpg

clubcab bracing.jpg
 
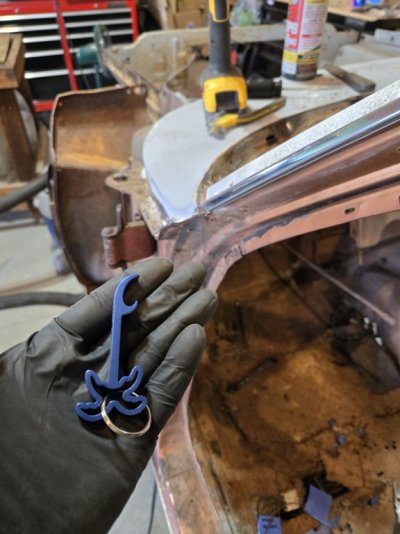
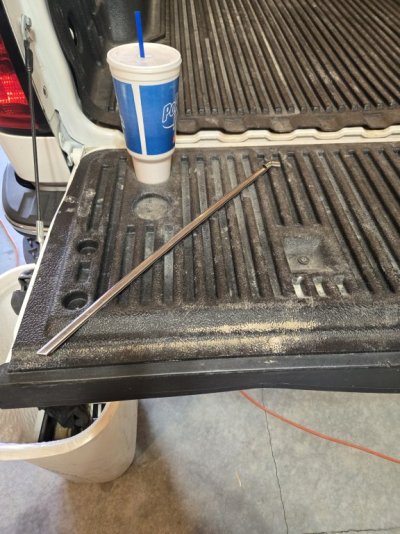
This is the can opener type I use but you have to be careful as the lower b grabber part is not very long and can bend the trim if you are not carefull. I should break out the metal scraps and welder and make a better tool that grabs a longer section, wouldn`t be difficult to make.
https://www.katom.com/080-CO201.html?utm_source=google&utm_medium=cpc&utm_campaign=[ROI] Shopping - All Products Target&utm_id=187797395&utm_content=14749848875&utm_term=&gad_source=1&gad_campaignid=187797395&gclid=CjwKCAjwq9rFBhAIEiwAGVAZP5MOl34aqfrQQSwS_ddYjodcr5of_sPp-c_qv83VkKrqiTPPefeUsBoCrOgQAvD_BwE
Thank you! Thank you!! Thank you!!!1000009231.jpg
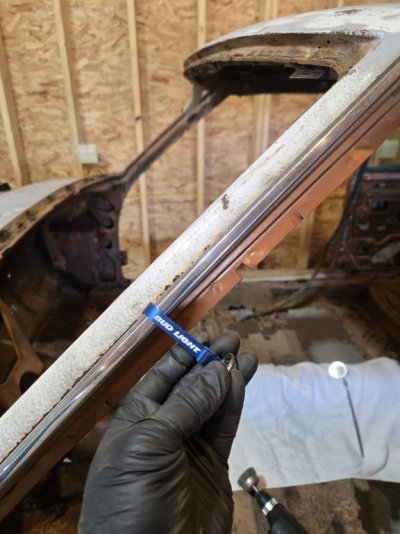
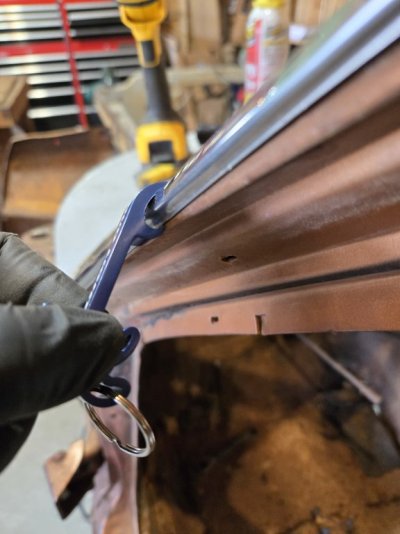
I tried this aluminum beer bottle opener I found in my cabinet.
1000009228.jpg
Worked like a champ!

1000009233.jpg
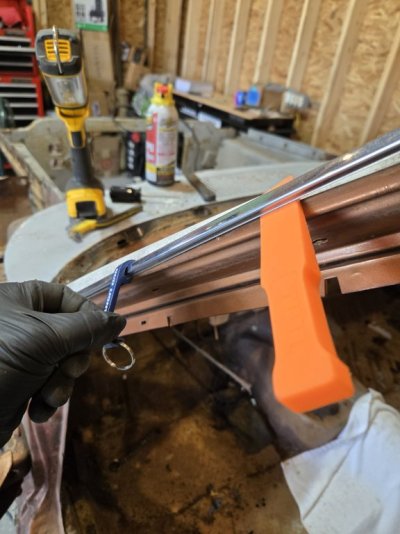
Took my time and worked with the trim. Worked the bottle opener to the trim lip and gently pryied up.
1000009232.jpg
I chased the aluminum bottle opener with a plastic trim removal tool.
1000009240.jpg1000009235.jpg
Success! No bends, kinks or stress dents!

Thank you so very much for the recommendation!

Semper Fi
Sabre_3
 
Ok...I've got updates!

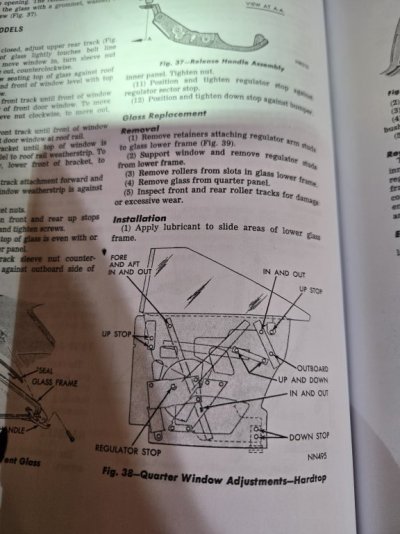
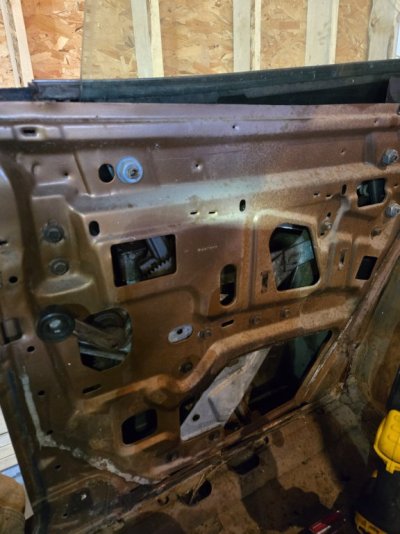
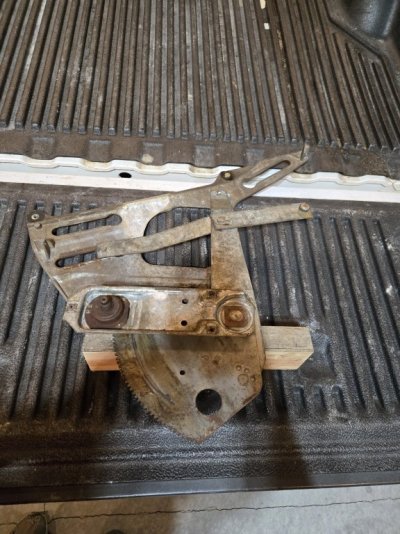
Worked on removing the Passenger's side rear Quarter window and regulator assembly.

I had to watch Chris Birdsong's YouTube video a couple of times.

1000009247.jpg
The whole assembly was ceased and missing missing the window crank.
1000009244.jpg
I had to borrow one from the front door.

1000009262.jpg
After a boatload of PB Blaster and removal of the front track brace, rear track brace, retaining pivot channel. 1000009261.jpg
I had one broken roller assembly, a ceased roller assembly and a broken roller slider...

I have a lot of work ahead of me

Semper Fi
Sabre_3
 
Ok...I have Updates...

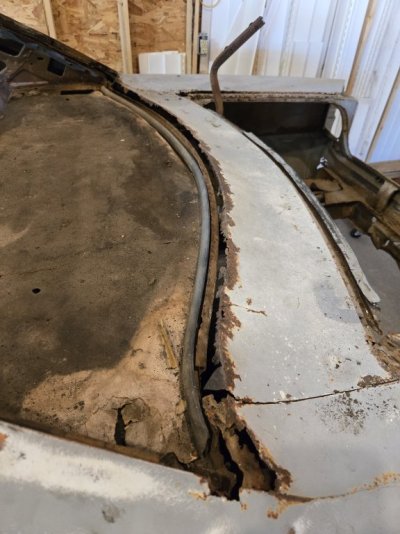
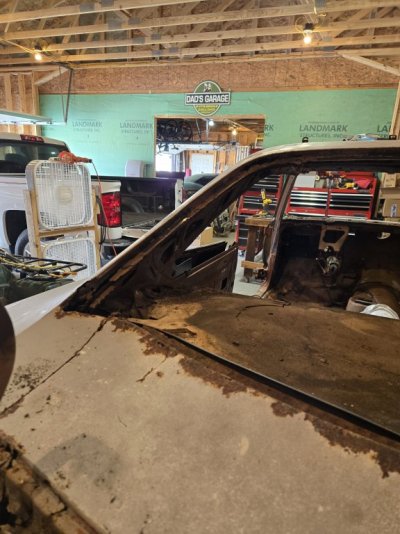
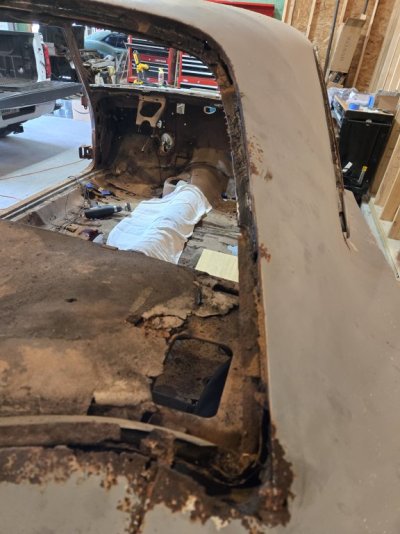
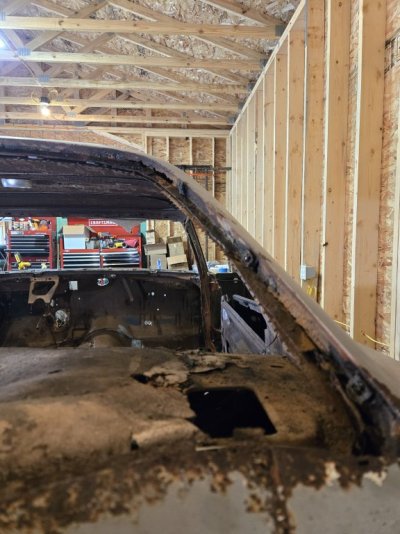
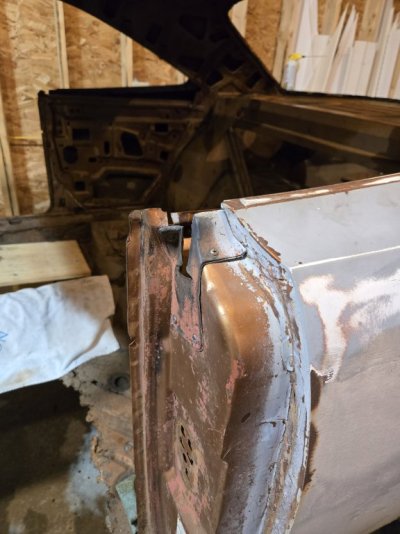
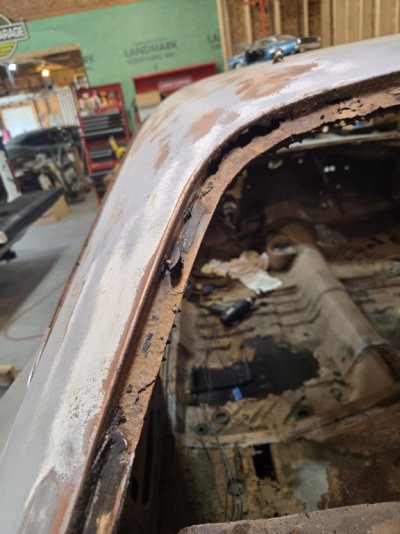
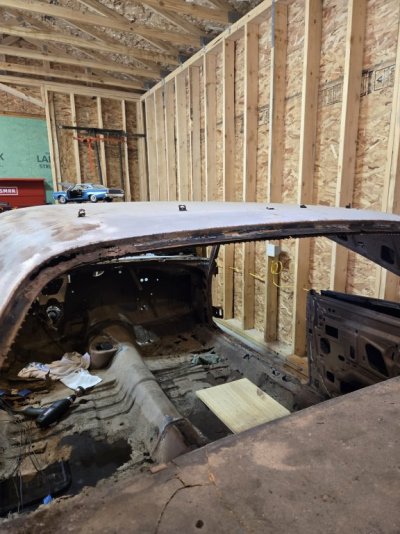
So I have been working on carefully removing the rear window trim retaining clips. As you may recall the rear of the car - particularly, the rear window area, is completely "Titanic'd". The rear window trim didn't come with the car and it was clear that water had been getting in to the car through the rear glass for decades.

20250920_150625.jpg
Deck Filler Panel barely there.

20250920_150636.jpg
Driver's Side Lower and Upper Outside Corner - Non-existent

20250920_150708.jpg
Passenger's Side Lower and Upper Outside Corner - Vaporized

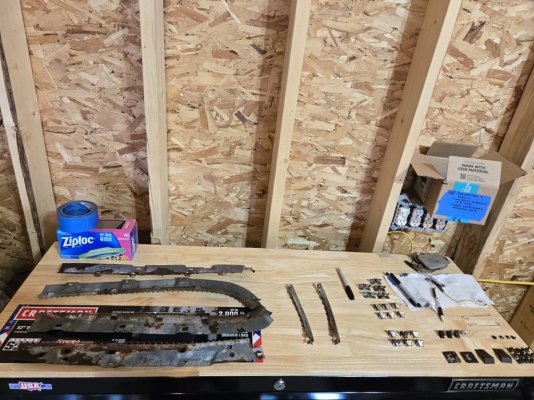
Nonetheless, I was able to carefully remove and salvage some of the trim retaining clips. I will replace them all, but wanted to see if I could remove them anyway.

20250920_151941.jpg
(1) of (4 or 5) Deck Filler Panel Retaining Clips remain. The rest had disintegrated.

20250920_155559.jpg
(2) of (3) Driver's Side Vertical Trim Piece Retaining Clips. The lower corner trim piece retaining clip had rotted away long ago.

20250920_160331.jpg
Managed to partially salvage (5) out of (5) trim retaining clips from the Top/Roof. Again, All will be replaced with new clips and new fasteners.

20250920_160815.jpg
Salvaged (3) of (3) trim retaining clips on the Passengers Side Vertical Pillar.

OK...So, I have to completely rebuild this rear back glass area. My concern is, I have nothing to compare to since both Driver's and Passenger's side deck filler panels and corners are completely rotted away. I am not sure if there were any other structural support or how the sheet metal came together at the package tray.

I need to do some research and find out how all those pieces came together. Should be a good time!

Semper Fi,
Sabre_3
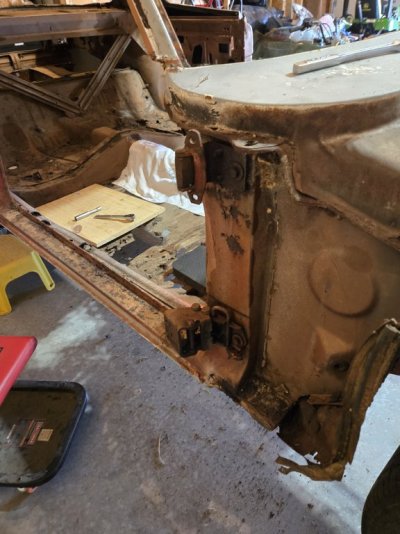
 
Are you doing full quarters or patching the back glass package area?. I did and can post pictures if you want of that.
The thing is about dipping is each project depends on lots of things. Dipping may work for a full resto shop in Oregon but not for others.
Time and resources all come into play for everyone.
A car will have lots of "pockets" and there is no way to really get them clean without taking the panels apart.
Cowls are a ticking time bomb if not at least cleaned and treated in some way. Likewise the dropdown area and where the quarter bottoms attach to the rockers.
Pulling the quarters off is about the only way and the trash and rust will have found it's way all the way down to the rocker pinch area.
What I've been able to do if I can't fully access the areas is treat them in such a way they will outlast me.
If you can get the loose rust off, Rustolem Rusty metal primer will work for surface rusty metal.
I sprayed that inside everywhere I could with a pressure pot. Up and down the A pillars, roof, firewall. It's messy.
For areas that you don't want to paint try something like Dinol ML. They have product that creep and never harden.
The car will probably never have to be subjected to the same abusive elements again like it was when new.
Even if a car is dipped, they spray wax in the cavities. That's about all you can do.
Many Thanks!

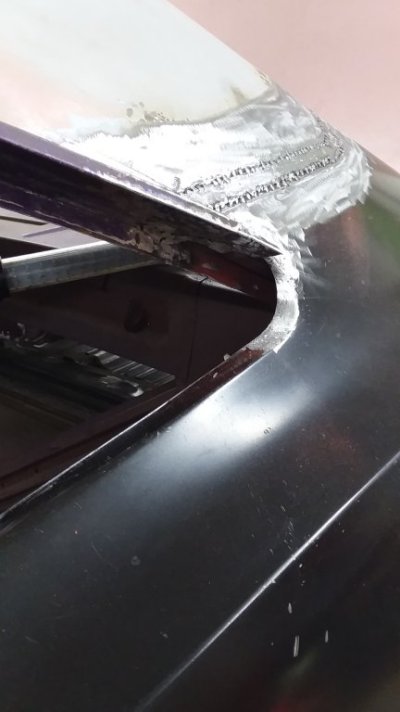
I'll more than likely end up doing full quarters (driver and passenger). My big concern is the lead seam: scares the crap out of me. I'll prolly have to watch a ton of YouTube videos!

Thank you so very much for the guidance!!

Semper Fi,

Sabre_3
 
Absolutely!

I have added the Package Tray, (2) supports, deck filler panel, and corner patches to my project list. Recommend buying stock in AMD! :lol:
 
OK....Here's where we currently Set:

We removed the Driver's and Passenger's Side Door Rubber Seals:
20250921_183337.jpg
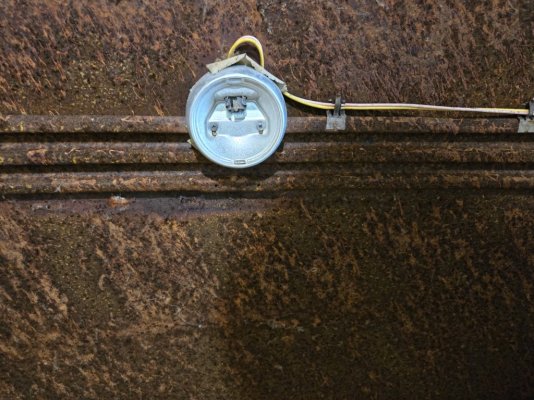
I removed the Interior Dome light and properly stored it away.

20250921_134336.jpg
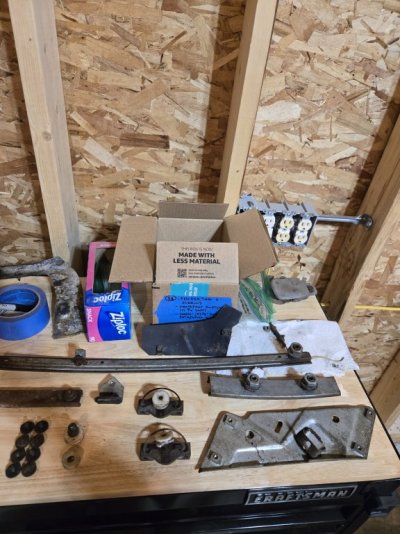
I removed organized, catalogued and stored away all interior retaining clips and trim pieces.

20250921_171246.jpg
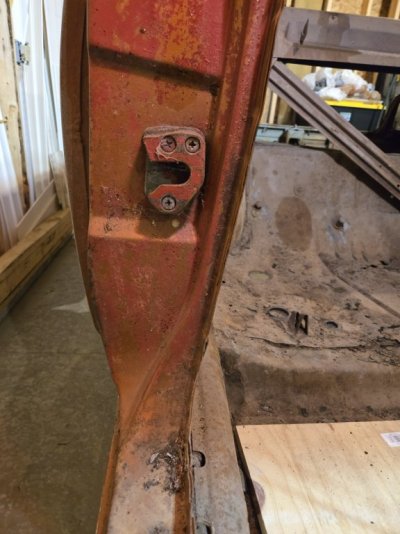
I removed, catalogued and stored away the Passenger's side door striker. I have both the Driver's side and Passenger Side strikers with all shims and fasteners.

20250921_185634.jpg
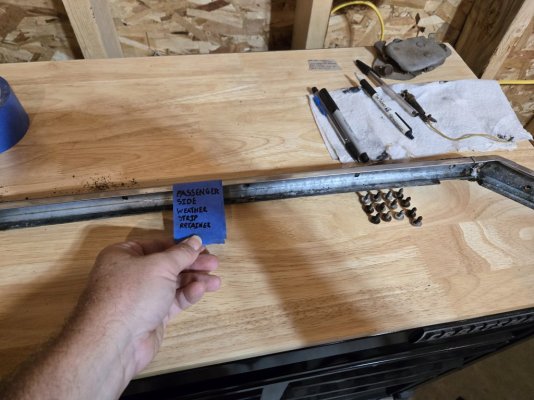
I removed, catalogued and properly stored away the Passenger's side Door weather strip retaining piece. I also have the Driver's Side molding piece as well

20250921_181413.jpg
I removed catalogued and stored away both driver's side and passenger's side door hinges with all fasteners.

20250922_155245.jpg

Lots of progress made for disassembling, organizing, cataloging and storing the inner fender well splash guards, front parking brake cable, speedometer cable and front lighting wiring harness. I have pictures for all, but I can't upload all the pictures for your viewing.

More to follow!

Semper Fi,

Sabre_3
 
Many Thanks!

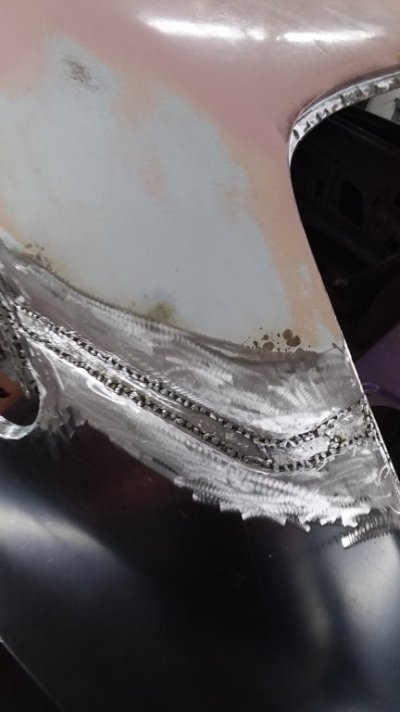
I'll more than likely end up doing full quarters (driver and passenger). My big concern is the lead seam: scares the crap out of me. I'll prolly have to watch a ton of YouTube videos!

Thank you so very much for the guidance!!

Semper Fi,

Sabre_3

Did you mean using lead in the repair?
No good reason to go back with lead. And getting it out with a MAPP torch is no problem.
Weld the new metal in.
In any event, I suggest cleaning it out as much as possible then use Fusor 2098 Crash Durable adhesive instead to fill the hole.
3M makes "impact resistant adhesive" too, but I prefer Fusor.
It's good for cowl replacements, etc. And there isn't the associated later rusting as with plug welding upside down.
Clamps are in investment.
 
You are concerned about doing the quarter/roof seam? There is lead-free solder you can use but I have never used it. My method was to plug weld the seam then weld a strip of metal over it to build up and reinforce the area so there is less to fill. I then start with ALL-Metal or you can use a fiberglass reinforced filler like Mar-Glass then last coats are with regular body filler.

20240208_115143.jpg

20240208_115152.jpg
 
Back
Top