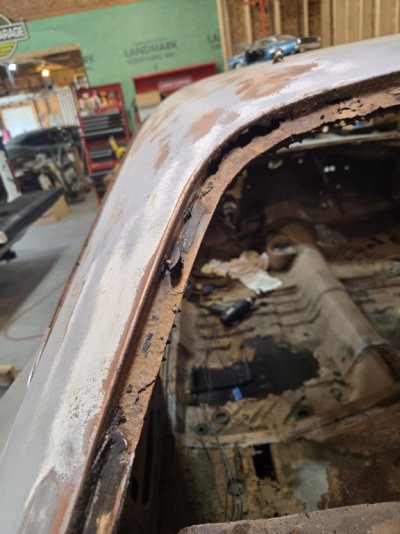
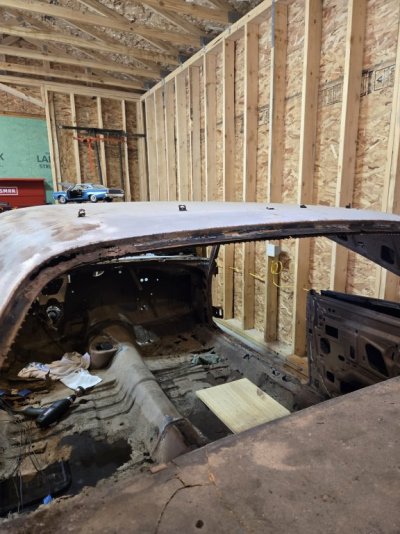
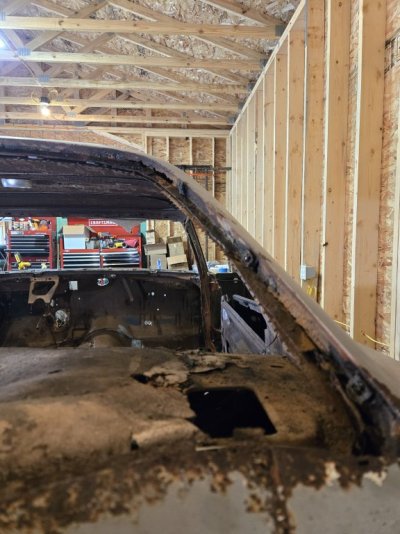
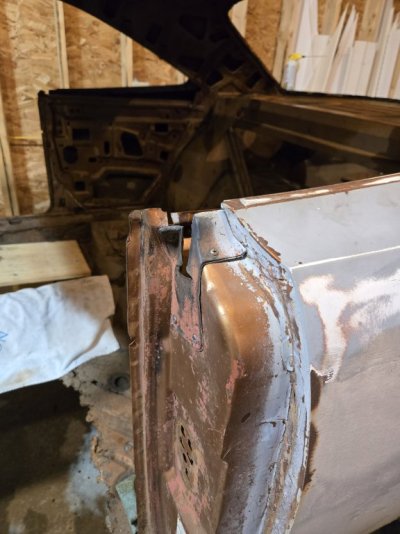
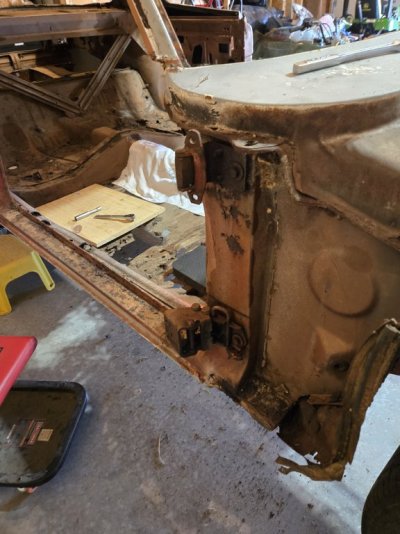
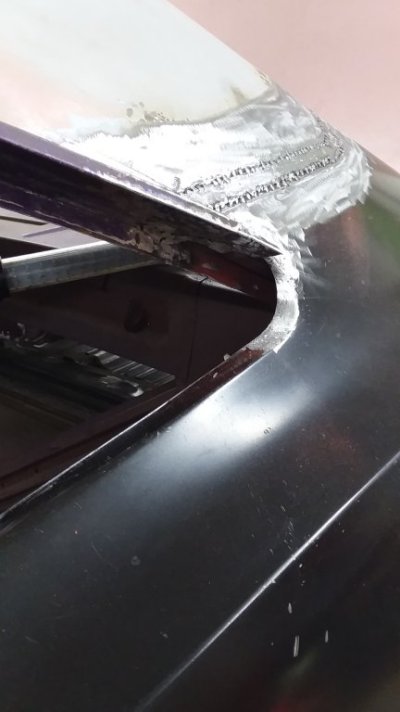
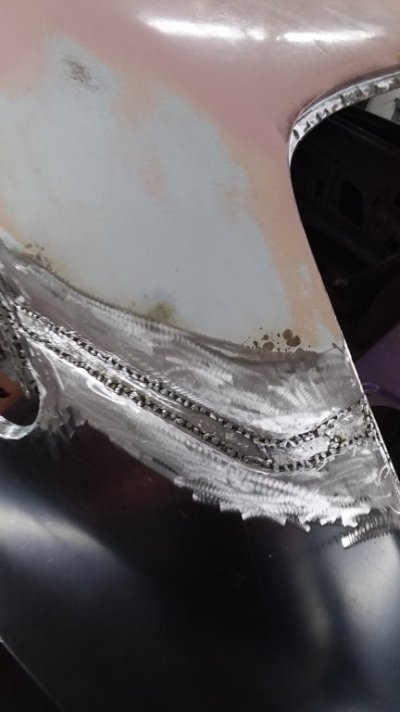
1969 Roadrunner Full Restoration

Sabre_3

Active Member
Joined
Jul 21, 2025
Messages
34
Reaction score
23
Location
New Douglas Illinois
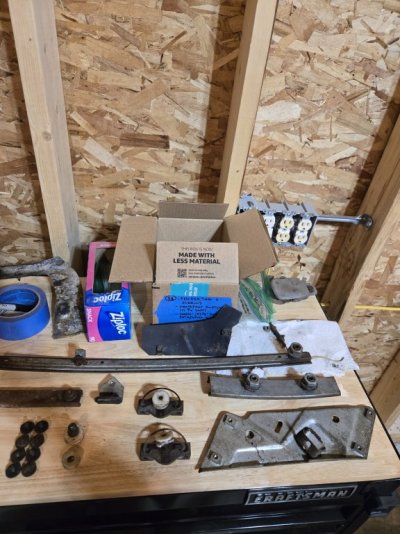
Bought new trim for my car. It was the best move to make. After market trim is close enough to the original. You can set up your own zinc coating vat. Used a cheap battery charger then whatever plastic pan or tub you wish to use. Vinegar and distilled water positive lead on zinc block and negative on the part you want to coat. Get the zinc for boat motor chunk. Chemical dip is expensive and might never get all the acid out of welded joints. Buy a sand blaster from Harbor freight it is your best friend. Messy but worked well. Many sanding discs on right angle grinder plus wire wheels to go on it. Beware of the wire of the wire wheels they sling bristles just ask me how I know. I know sand blasting is messy but well worth the money. Some things just have to be replaced rather than spending too much time on trying to patch things. I figured out that buying hole replacement parts was the way to go on most of my sheet metal. Wish you luck with the project. Don't get frustrated just walk away then come back later. :kartman:
Many Many thanks for the guidance!!!!

The more I think about it, the more I think media blasting is the way to go. I'd prefer a professional for the body and panels.

I have a small media blaster that can be used for the stuff that folks won't see.

My concern is the crud that has worked it way into the frame, nooks and crannies. The intent with chemical dipping was to have that stuff dissolved away and protected sealed from the inside.

Definitely not afraid to bust rust! It what I did for 4 years when I was younger.

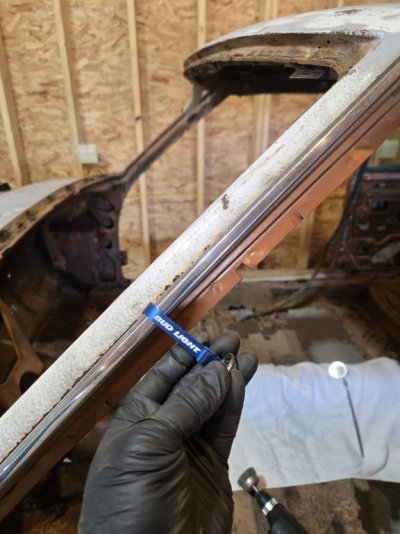
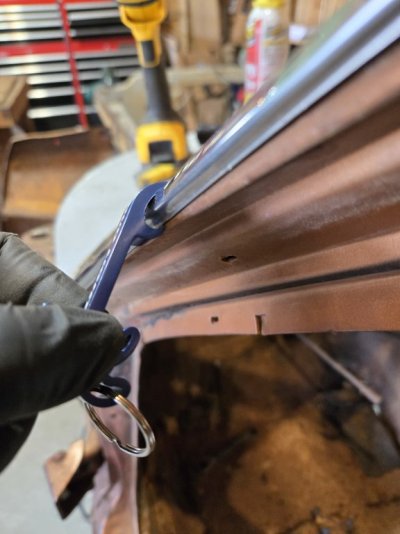
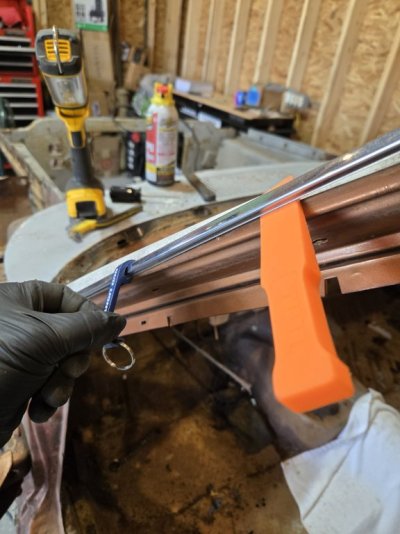
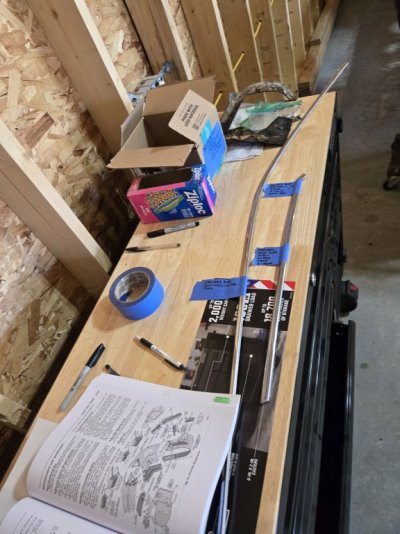
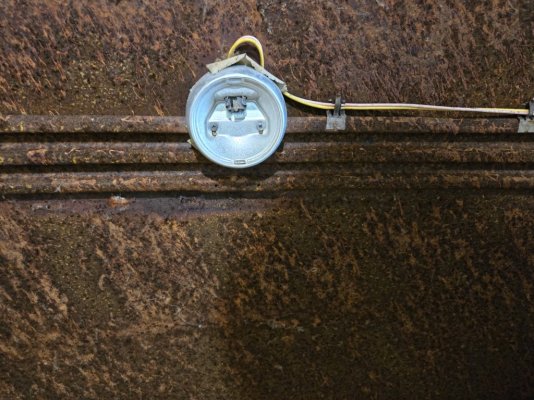
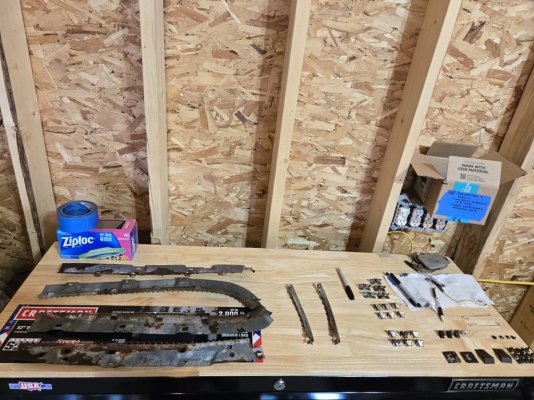
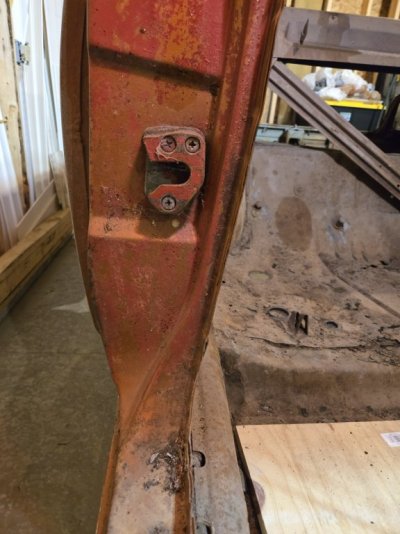
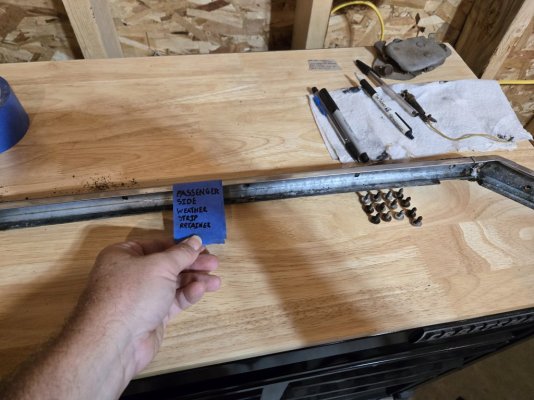
I'm going to attempt to salvage as much of the original trim as possible. It's a me thing. All of the Driver's side, Passengers Side and Front Windshield trim came with the roadrunner and it's in good shape. I will have to purchase all new rear glass trim or see if Clay and Sons Mopar Salvage can locate trim worth savaging.

Semper Fi
Sabre_3
 

Sabre_3

Active Member
Joined
Jul 21, 2025
Messages
34
Reaction score
23
Location
New Douglas Illinois
Ok....need some guidance:

I closely inspected the front and rear frame rails today.

The front frame rails appear to be solid. There's a lot of crud, debris and mud that has found it's way into the usual factory frame holes, nooks and crannies.

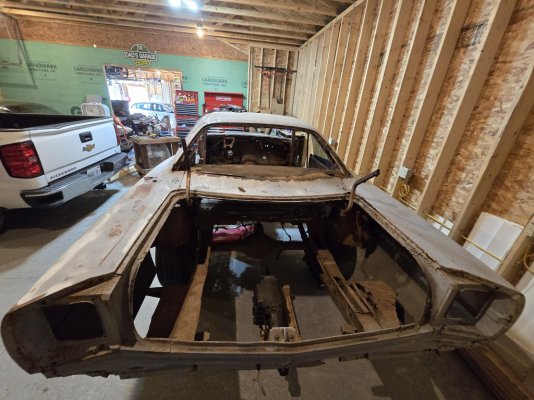
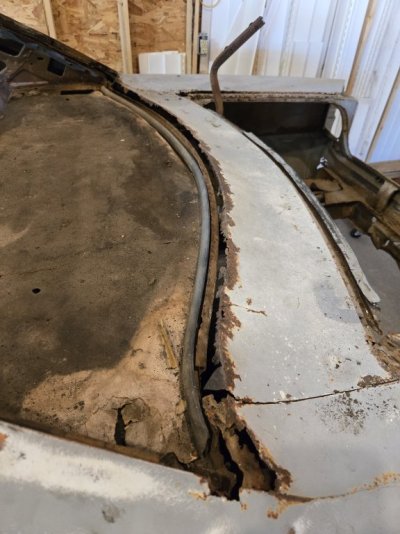
The rear frame rails are pretty thin past the rear wheels and may need to be repaired (at a minimum) or replaced 1000008465.jpg
Note: I will more than likely build a frame jig if the rear frame rails are too far gone.

It my understanding the unibody receives strength from the Passenger compartment floor panels and rocker panels. Is that correct?

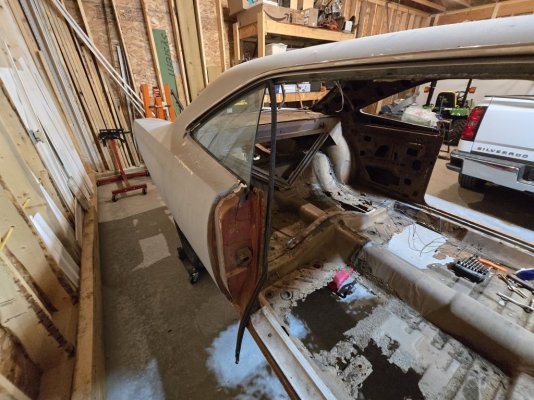
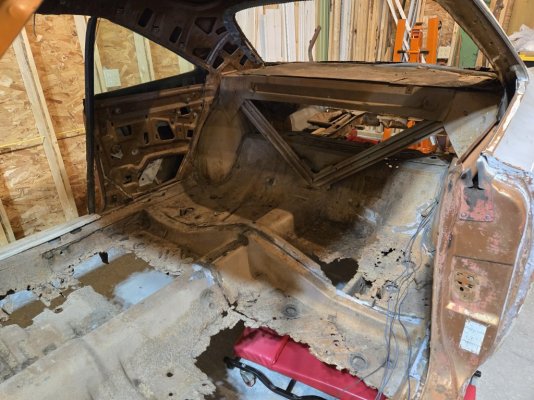
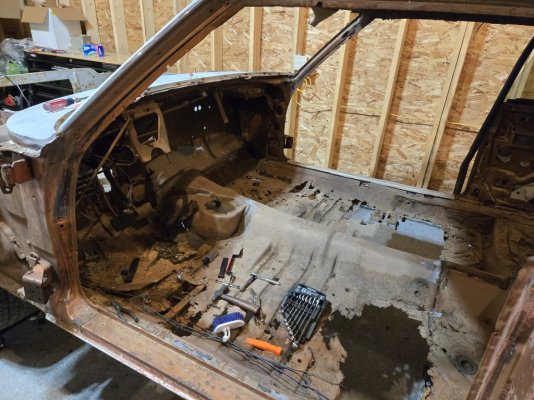
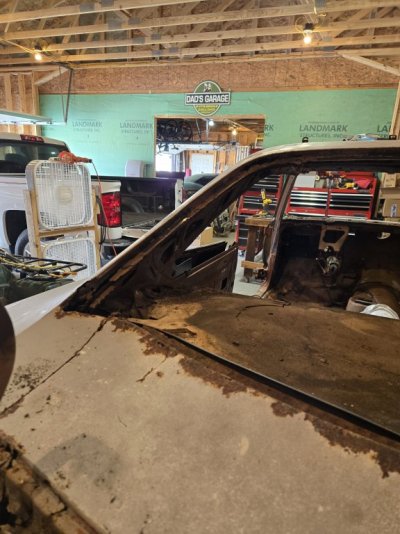
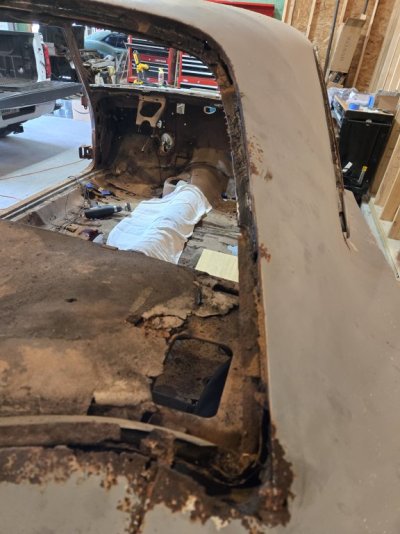
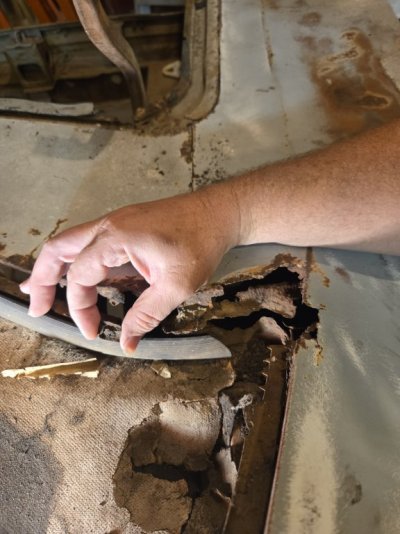
The rocker panels appear to be fairly solid however the floor panels are nonexistent. 1000008468.jpg
Passengers side interior

1000008462.jpg
Passenger and Driver's rear compartment
1000008461.jpg
Driver's side compartment.

Minimal torsional or lateral strength from any (almost nonexistent) floor panels in my opinion.

Should I purchase the floor and trunk pans and stiffen/stabilizer the frame/unibody before I transport to either media blasting or chemical dipping (still deciding)

Or is there enough rigidity in what I have to survive the trip to media blasting or chemical dipping without twisting or tweaking the body?

Bear in mind the torsion bars, k-frame and 8-3/4 rear end have to be removed before media blasting or chemical dipping.

Thoughts?

Semper Fi
Sabre_3
 

torredcuda

Well-Known Member
Joined
Oct 23, 2022
Messages
426
Reaction score
494
Location
New Hampshire

torredcuda

Well-Known Member
Joined
Oct 23, 2022
Messages
426
Reaction score
494
Location
New Hampshire
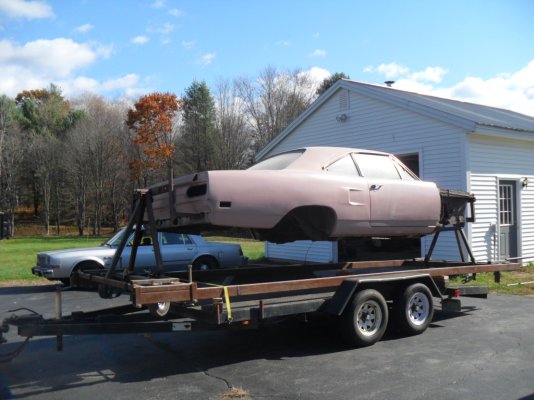
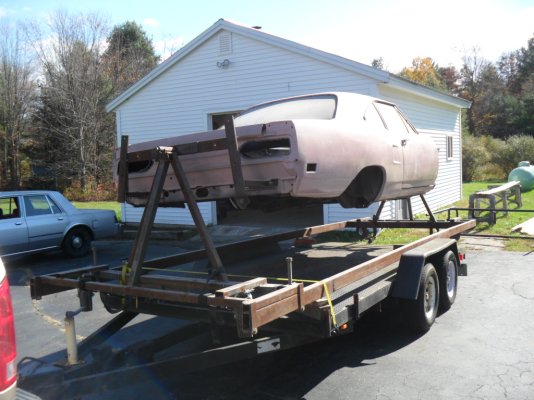
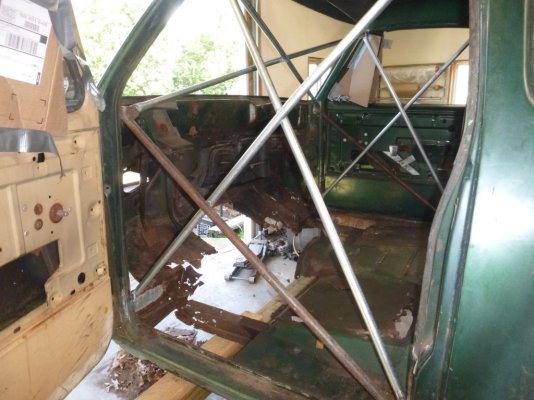
The unibody is still pretty strong without the floor pan in place as long as the transmission crossmember is in good shape. I transported mine on a rotisserie when I moved without any bracing but my floor pan was in place and pretty solid. I would just add a couple braces in the door jamb area to help keep it stable.

rotis70rr.jpg

rot70rr2.jpg

clubcab bracing.jpg
 
Back
Top