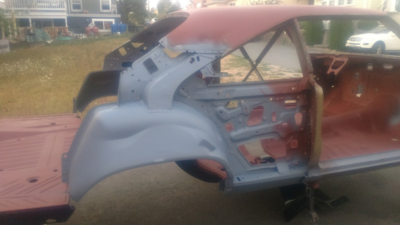
Palmer Moe-par 68
Well-Known Member
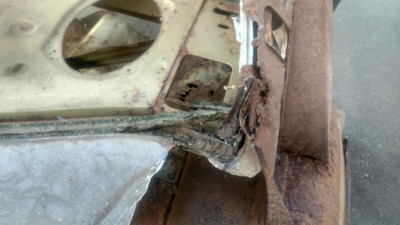
As you can see here, this area is also garbage and has no hope for small patching here and there.
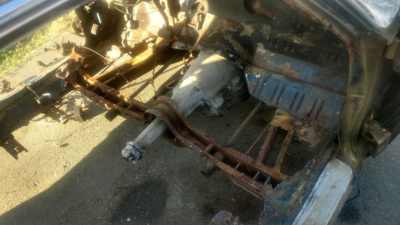
The floor pans were also taken away naturally up to the cross member. That is where I had to step in and finish the job. Surprisingly, the front frame had no rust through at all, except for a few pin holes in the drivers side rail. The rest was just surface rust.
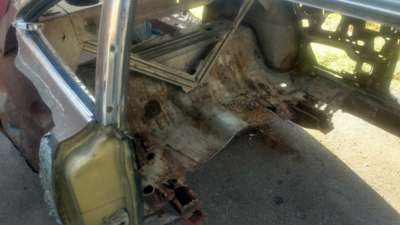
The rear floor is the same way. The shiny part is just where I had to cut some shape edges away and try to prevent some injury.
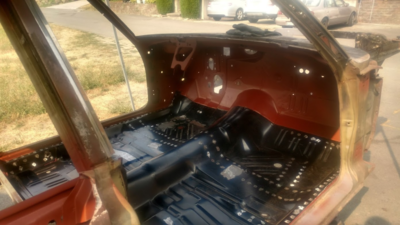
Skipping ahead a bit, I got what was left of the interior out, the drivetrain out, and sand blasted the whole interior of the car. Then sprayed it with primer. I had to cut out sections of the rocker panels, not due to rust (The rockers were actually still bare metal! Don't know how) but the original material used in the factory was flimsy, and there were mice in there. Had to clean it out some how. The floor supports that are on the rocker had to be switched out on the drivers side too since they were a little too far gone. and put the first new piece of metal on.
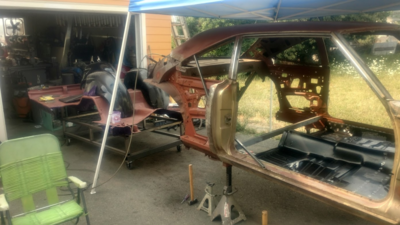
The car is getting braced for impact with a cut off wheel. I need to keep the car square while I take out the bad part of the roof, the package tray, and the and what is left of the deck filler panel.
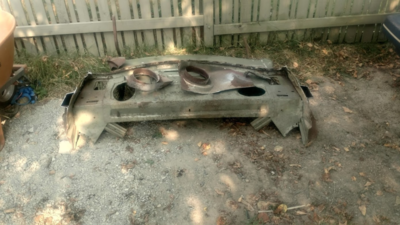
I got an entire roof assembly back when I bought the two coronets as the red car's roof was bad, but now I am using this chunk of it and those cowl patches for the runner. Russ knows where some of the roof also went to...
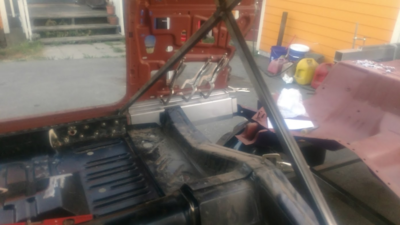
Now, all the old, worthless metal is gone! I had discovered though that the back of the outer rockers resembled the great barrier reef. So, some patch panels were in order. Now I know what your thinking, "Then why did you fabricate an inner rocker?" Well, I kind a, sort a, screwed it up while taking of the old rear frame assembly... but it was already pretty flimsy just like the front of the inner rockers, so it also needed a new piece. I had used a metal break, an assortment of hammers and dollies, and a cut off wheel to replicate the original. I know I could have just bought a pair, but what is the fun in that? And I am somewhat low on funds, so if it takes longer and is cheaper, then I am doing it.
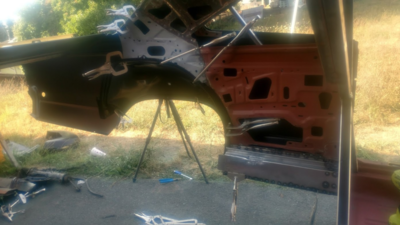
Ok. Now it looks like something! By this time, The rocker panels have been all sorted out, both sides are welded on level and true. The roof has been repaired on both sides(The matte finish) inside and out. And in this shot I have the outer wheel housings clamped in its correct position ready to be welded in. I used the new quarters to align them properly and make sure everything is all in the right spot.
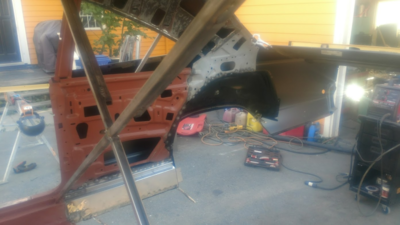
It is a bit hard to see, but the floor pan is now painted red, and now the wheel wells are permanent. I found a few flaws with AMD's wheel housings though. If you look closely, You can see a hole where the wheel housing, matte roof piece, and inner quarter all come together. On an original wheel housing, That hole is covered because the fin on that edge extends over it. Another area of problem is up in the front top corner of the wheel well. On this side, It overlaps the roof piece nicely. However, on the other side (you can see it in the shot of the other side) The wheel housing doesn't overlap at all in that area and it is because they did not make the lip tall enough on the driver side. ???? Most people never notice this because they use the new pieces for patches. But when replacing the whole panel, these problems will arise. I had to fabricate a curved L piece to be able to connect the inner quarter and the wheel housing. It was an added couple hours that could have been avoided if it was right. There is even little things like at the back of the wheel housing, there is a little tab that is bent out on the passenger side that is not there on the drivers side. Well, I guess it beats having invisible wheel wells.
To be continued....
