1969 Roadrunner Full Restoration

Spraying epoxy primer is not difficult but you will need some basic equipment - compressor putting out enough cfm for your gun, HVLP require more than the old siphon feed guns, HVLP have less overspray so use less material but siphon feeds work just fine and I still use my old ones sometimes; water separator and I also use an inline disposable filter right before the gun; respirator. As far as painting I would check with whoever is going to paint your car if they are OK with you doing the prep and primer as some will not want to paint over anyone elses prep work due to warrantying their work. Worst case is you epoxy it to prevent rust and they would strip it off when you bring it to them for painting.
Many thanks!

I will have to talk to my painter to see if he wouldn't mind if I shot the primer...

Thank you again!

Semper Fi,
Sabre 3
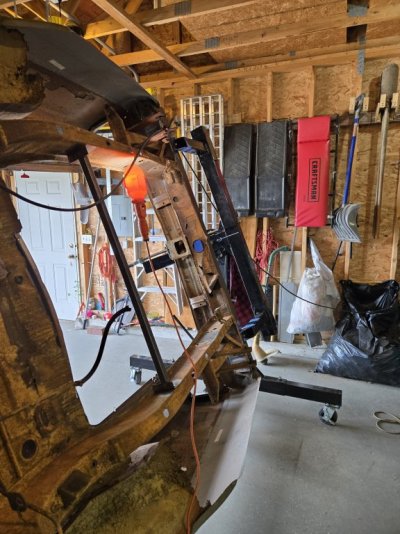
 
Alright,

So she's up on the rotisserie. My goal is chassis repair: starting back to front.

Rear bumper support:

1000015980.jpg
It looked like back-in-the-day, someone hooked a tow hook on the bumper support and ripped out the back end.
 
Alright,

So she's up on the rotisserie. My goal is chassis repair: starting back to front.

Rear bumper support:

View attachment 40145
It looked like back-in-the-day, someone hooked a tow hook on the bumper support and ripped out the back end.
Shoot!

Hit the wrong button...
1000015981.jpg
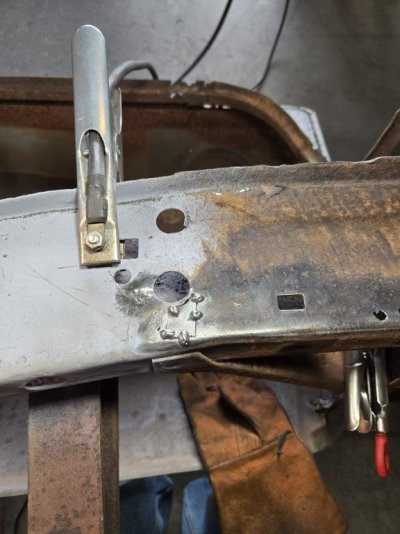
So, this is what I was typing about: crumpled rear bumper support.

1000015985.jpg
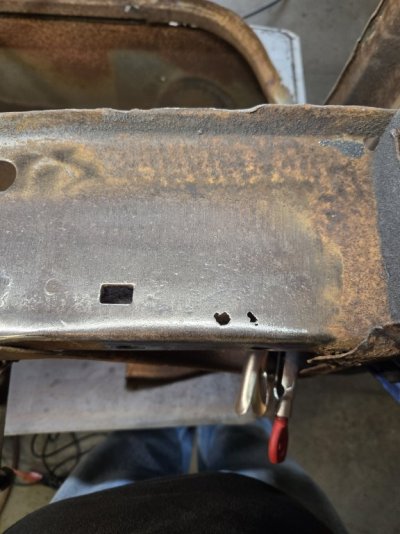
I cut the pieces out and hammered it "straight" again.

1000015984.jpg
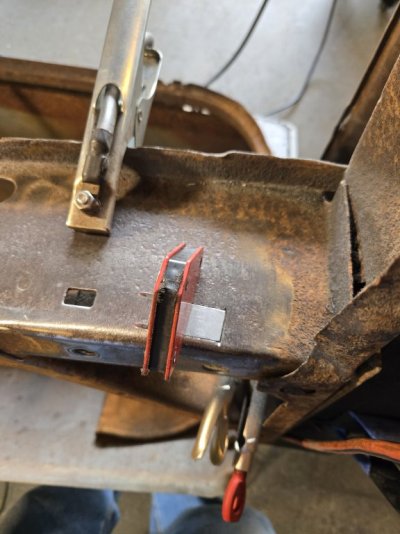
I ran in a small problem: the bumper support assembly was mounted to the 3" angle that mounts to the Rotisserie....I decided to tack weld the straightened piece in place until I could have more access.

1000016089.jpg
I put a pin in this project and will circle back around after she's off the rotisserie

More to follow.

Semper Fi
Sabre 3
 
On to the next item.

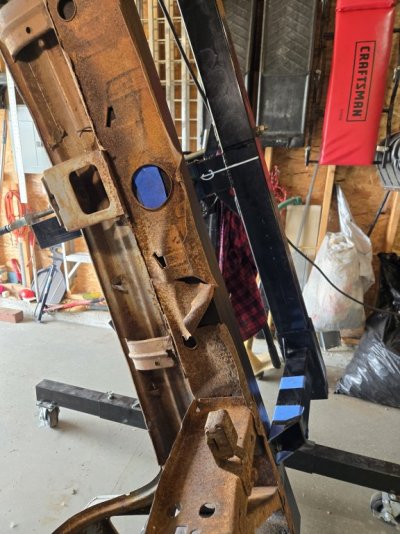
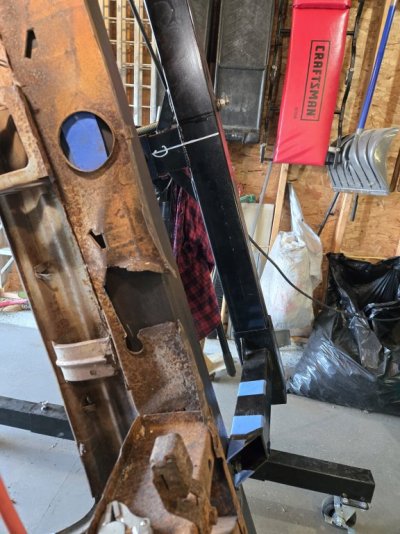
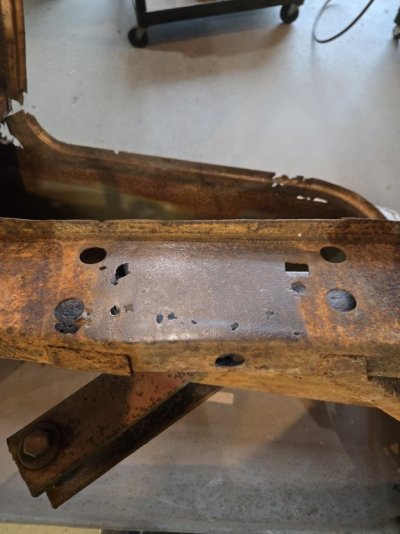
The frame rails are Swiss Cheese'd. So, I started at the very rear of the car on the driver's side.

1000016109.jpg
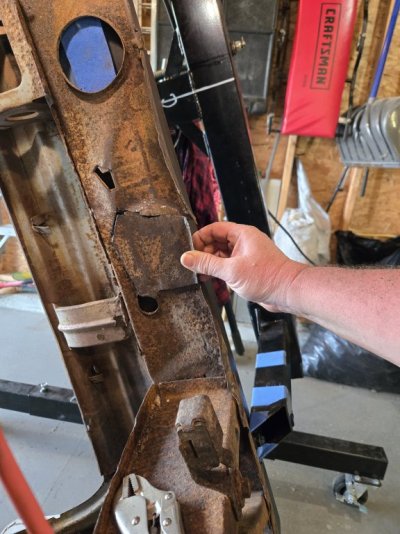
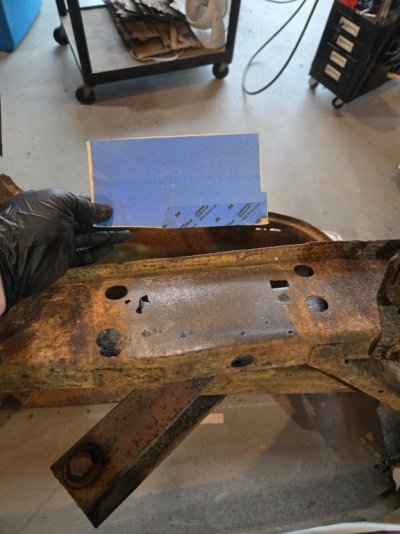
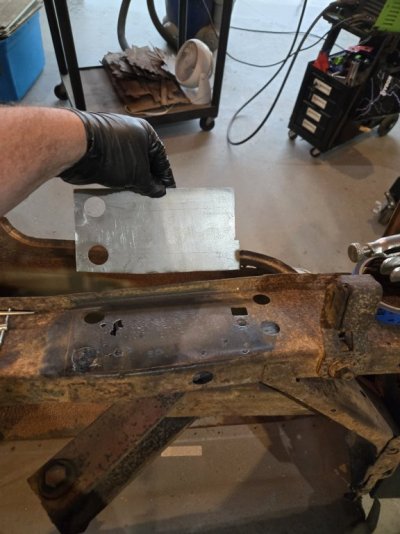
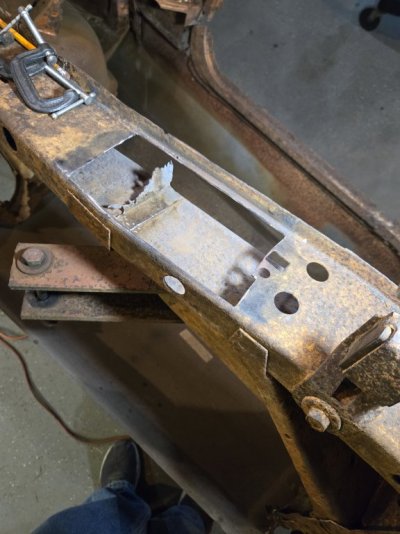
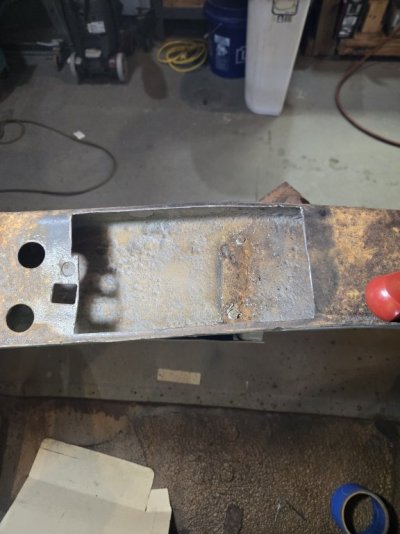
This piece was rotten-inside and out. So I made a template and cut it out of new 16 Gauge sheetmetal.

1000016110.jpg
I goofed and made the holes align (up and down) instead of offset like the original.

1000016113.jpg
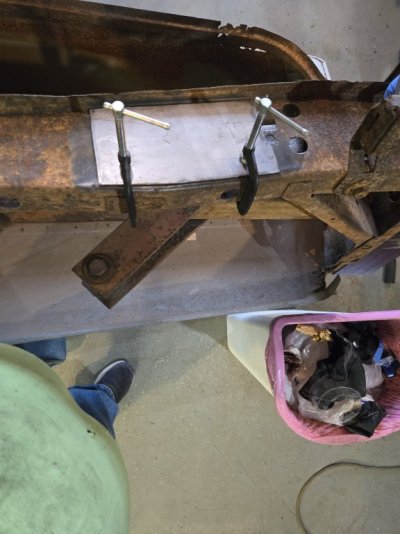
Oh well, hopefully nobody will notice. With the sheetmetal cut, I clamped it in place and traced around it with a scribe.

1000016112.jpg
I removed the new piece and carefully cut around the scribe marks.

1000016115.jpg
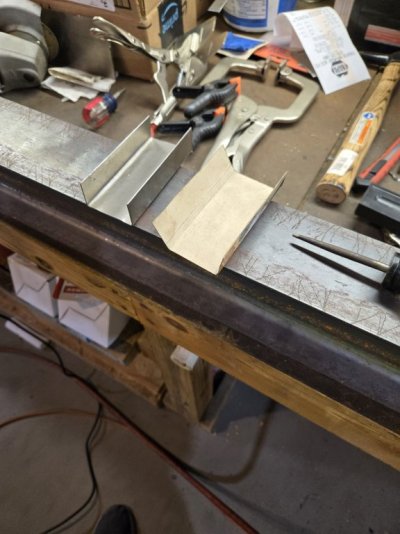
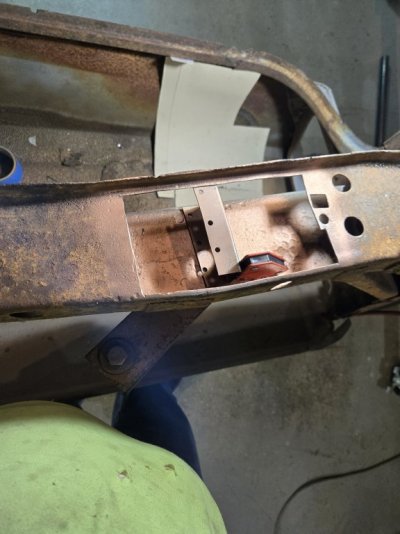
More good news. The inner bracing is completely rotted. So I cut that piece out and created a cardboard template based on an intact bracing member.

1000016117.jpg
1000016118.jpg
I didn't have the skillset to create that raised reinforcement "blister". So, I fabricated the Replacement parts without it.

1000016124.jpg
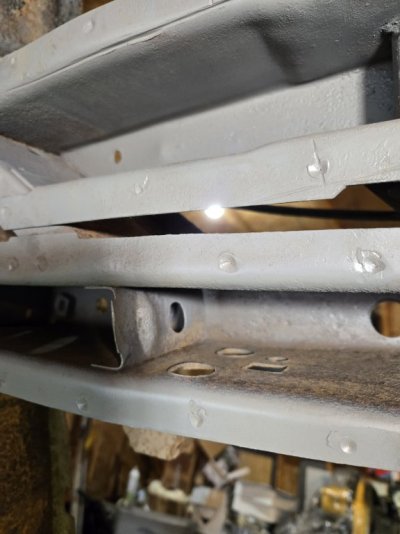
I made spot weld holes and welded the bracing in to place.
1000016128.jpg
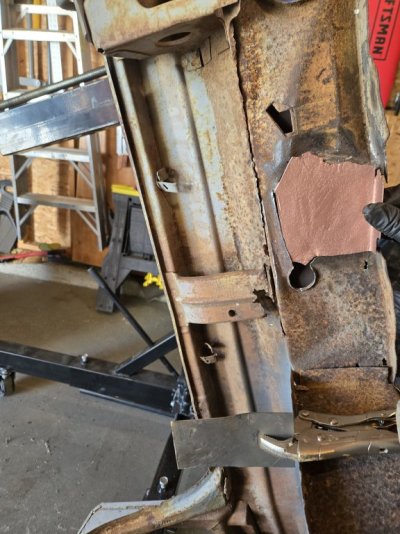
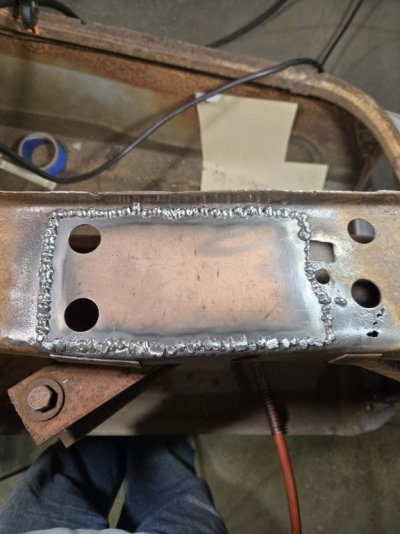
I placed the goofed up 16 Gauge plate I made over the bracing and stitch welded the plate in place. Then I plug welded the inner bracing bracket I made to the 16 Gauge plate I made.

1000016200.jpg
Too many pictures....Will show the finished product on my next post.

Semper Fi
Sabre_3
 
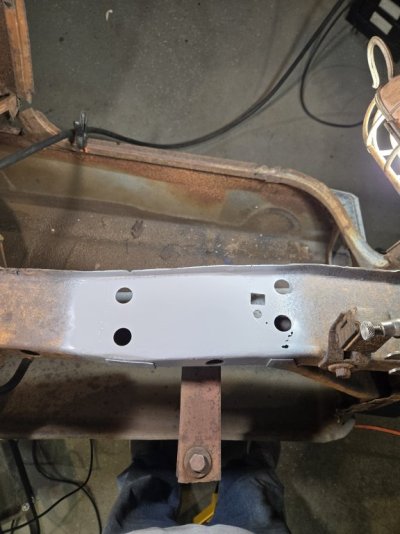
Driver's side outer frame rail repair completed.

1000016203.jpg
Not exactly show quality, but it looks good to me.

Yes, I immediately addressed the frame rot on the right side...

1000016224.jpg
1000016227.jpg
1000016228.jpg
1000016232.jpg
1000016233.jpg
1000016234.jpg
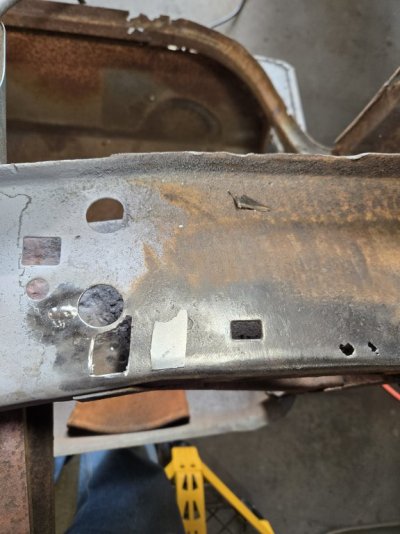
Well...that escalated quickly! As I busted rust, prepped and cleaned; more and more holes started appearing....go figure!

I stamped and repeated the Driver's side rear frame rail repair no less than four other times!

Semper Fi
Sabre_3
 
Ok....

Here's my first part that I put back into the car that was missing when I purchase her.

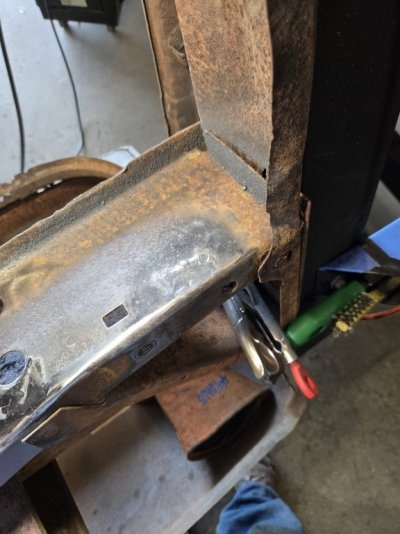
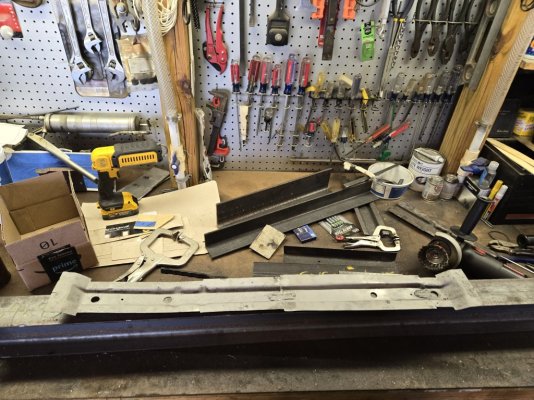
As you may recall, I purchase a salvaged trunk pan brace from Clay and Sons Mopar salvage. It's needed restored. So I cut the rotten parts out and replaced with new 18 gauge sheetmetal.

1000015744.jpg
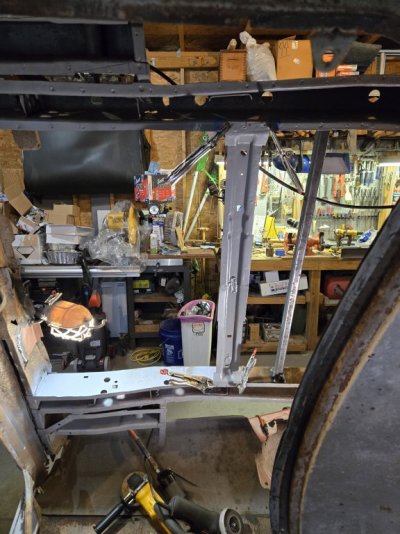
No it's time to hang this part in it's permanent home.

1000016242.jpg
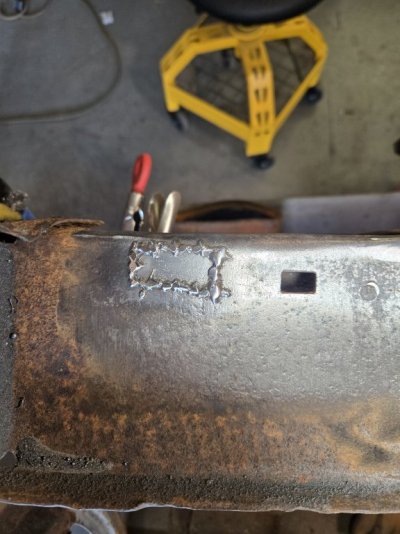
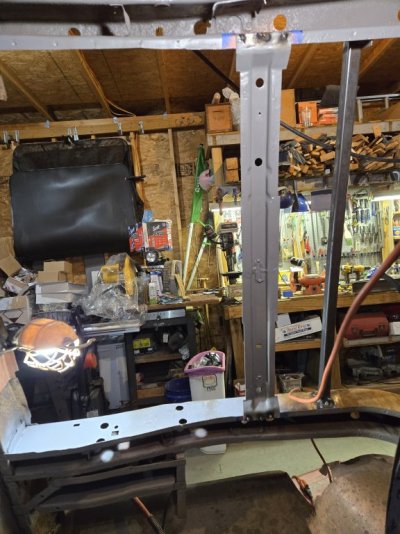
I simply cleaned and prepped the framrails to receive the restored part. I punched three holes in the flanges and spot welded the bracing in place.

1000016243.jpg
Not exactly factory correct or show-ready...but it'll be covered by the trunk pans and fuel tank, so any goofup will be hidden.

The bracing and welds are very strong. Hopefully it will stand the test of time!

Semper Fi
Sabre_3
 
Back
Top