1969 Roadrunner Full Restoration

Sabre_3

Member
Joined
Jul 21, 2025
Messages
21
Reaction score
10
Location
New Douglas Illinois
Greetings Everyone!

I am carrying on the conversation from the introduction forum.

Technically, the restoration process has already begun. Take a peek at the attached pics.

Goals:
1. Have the car back on the road for my son's Senior Year (2031).

2. Full OEM (as much as possible) Restoration. With modern amenities.

3. Chemical Dip - to remove all rust.

4. Frame Jig - Fabricate Frame Jig to ensure any Frame and Body panels are reinstalled properly.

5. Engine Test Stand - Fabricate an engine test stand for my 440 that is currently being built at Performance Automotive in Bethalto IL.
1000008457.jpg
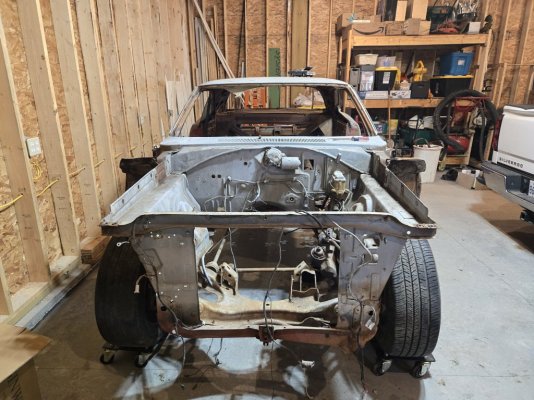
Front clip photographed, removed, inventoried, cataloged and missing parts list generated. Tracking all model and part numbers via spreadsheet.
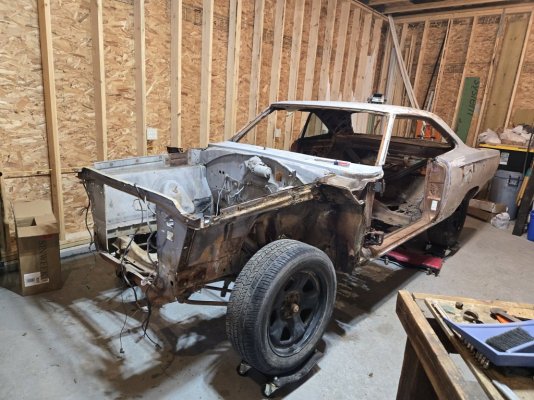
1000008458.jpg
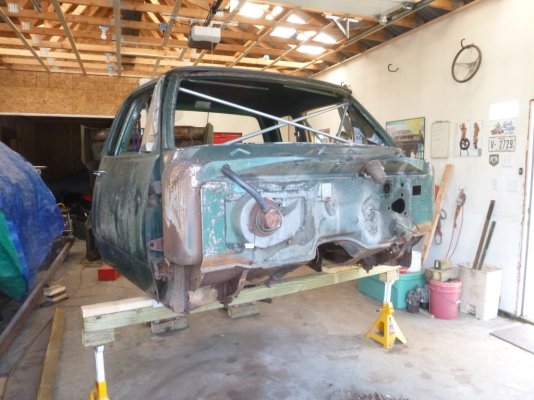
Front Drive's side perspective. Note: front windshield was completely shattered with no less than (2) large holes.
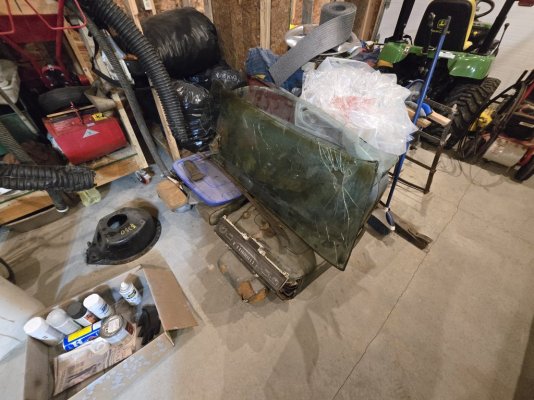
1000008470.jpg
Front shattered windshield temporarily stored with completely intact rear glass.
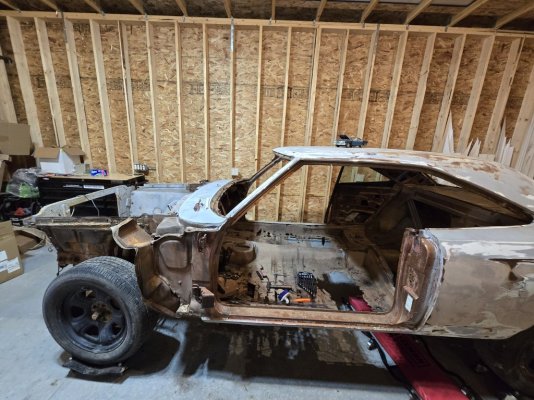
1000008460.jpg
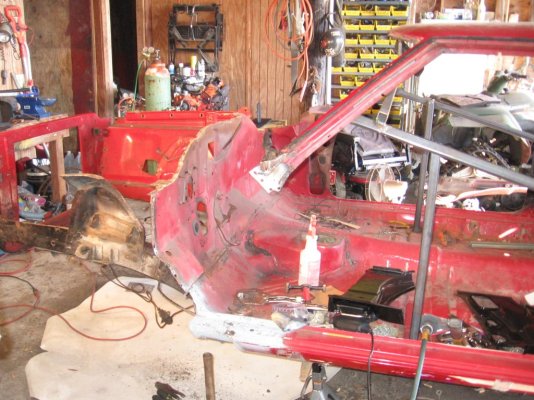
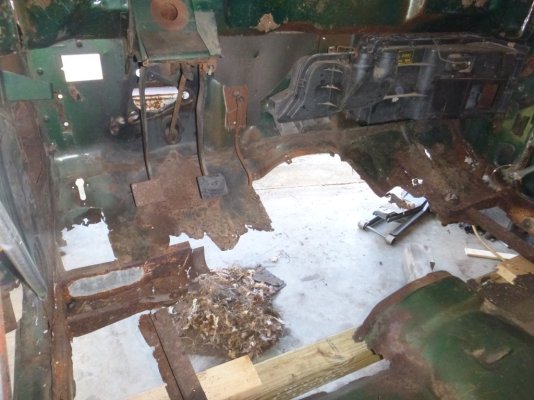
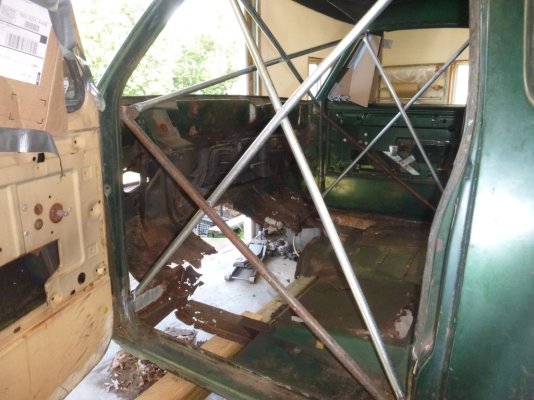
Driver's side: Removed- Door, Steering column, Bench Seat, Dash and insturment panel.
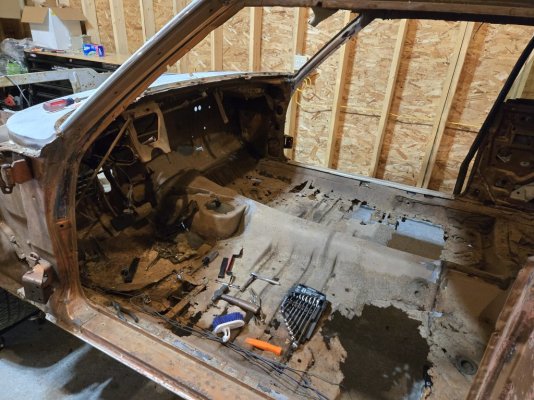
1000008461.jpg
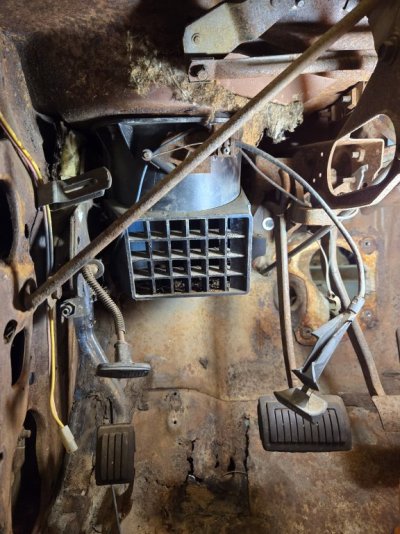
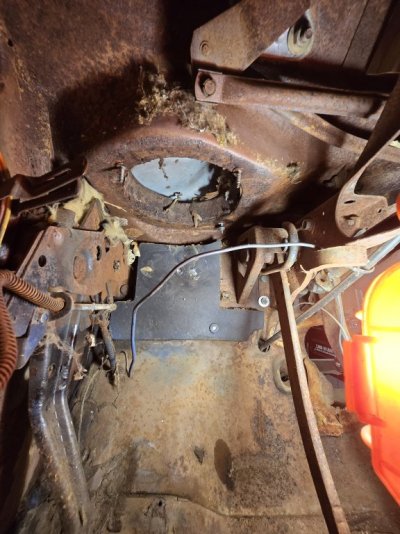
Working on Clutch Support Assembly. New floor pans are on the Replacement List.
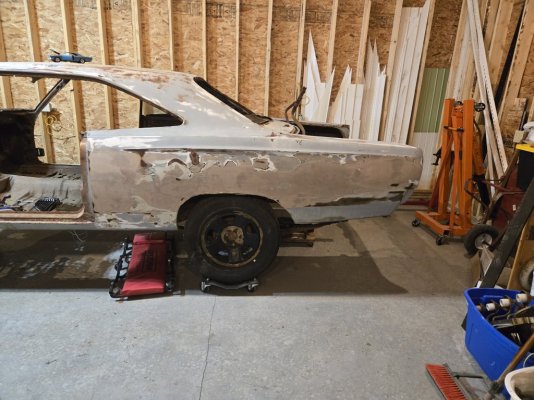
1000008463.jpg
Rear Driver's side quarter panel. Chemical dipping will reveal replacement panels and imperfections to be fixed.
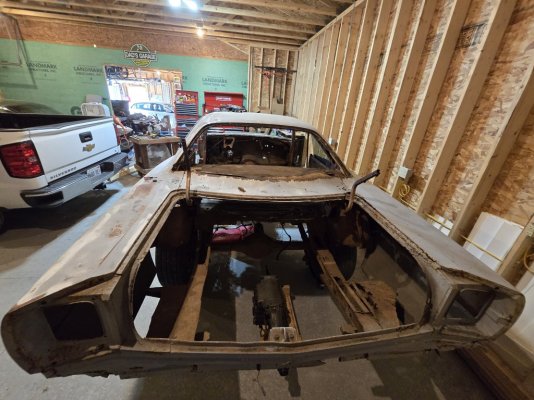
1000008465.jpg
Yup...no trunk pan, extensions, no rear bumper and fuel tank. Trunk lid, rear extensions, and taillight Assemblies photographed, removed, documented, inventoried and carefully stored in their respective labeld boxes.
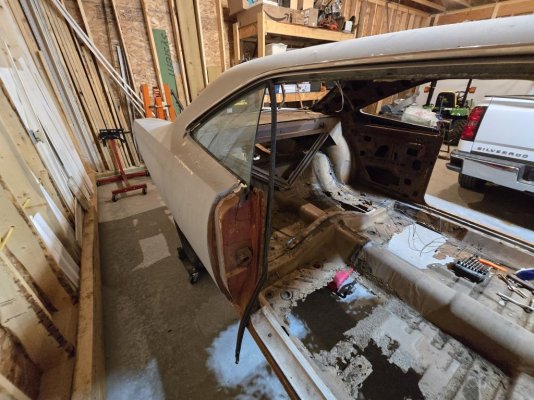
1000008468.jpg
Passengers side image: no back seat included, new floor pans required and rear manual window intact and operates!
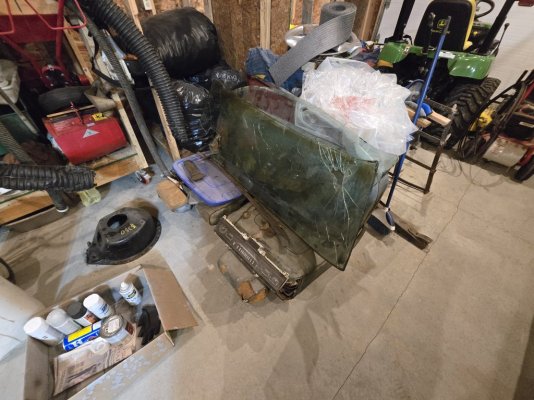
1000008470.jpg
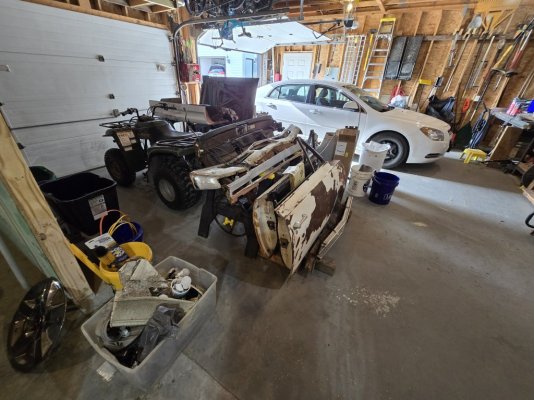
Parts Storage: Front Bench Seat, insturment cluster, front windshield, rear windows, gas pedal pad.
1000008471.jpg
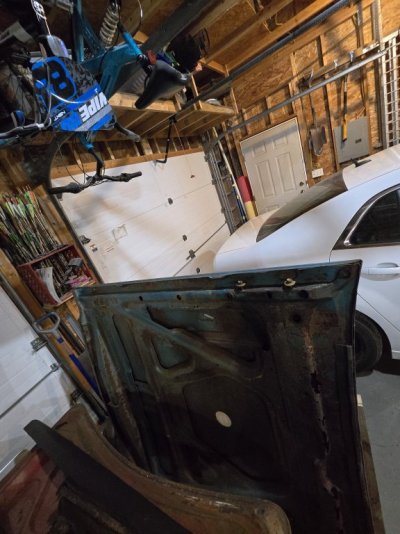
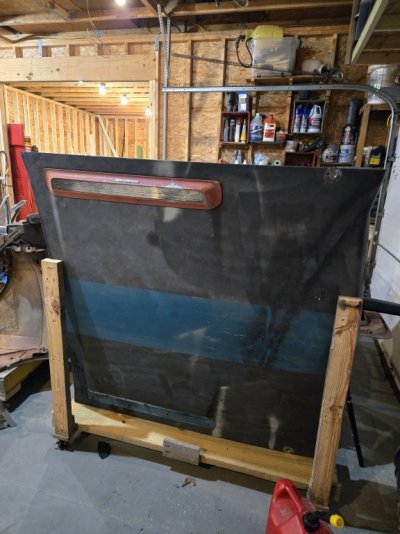
Parts Storage: lower grille, Driver's/Passengers doors, steering column, upper grille, Driver's/Passengers Fenders, trunk lid, front windshield trim, hood, and dash

Let me know what you think. This is my first restoration. Am I heading down the right path? And guidance and advice?

Semper Fi
Sabre_3
 

quikbird

Well-Known Member
Joined
Mar 1, 2014
Messages
3,321
Reaction score
1,128
Location
Sarasota, florida
Organization is total key to success. You seem to have a good start on it. Some parts are harder to find than others. Such as trunk lids and rear seat. Having that much room to work is also a big plus. I’m jealous. Best of luck and welcome!
 

Sabre_3

Member
Joined
Jul 21, 2025
Messages
21
Reaction score
10
Location
New Douglas Illinois
Ok Folks.

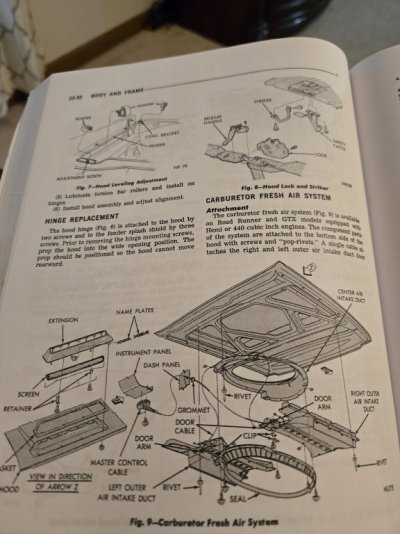
Decided to tackle the Fresh Air Vent this evening. 1000008480.jpg
Only one Fresh Air Vent on the Driver's side. I saw whre there could have been one on the Passenger's side of the car. However; the fender tag gave me no indication if this was a heated Only car. I suspect it was.

1000008485.jpg
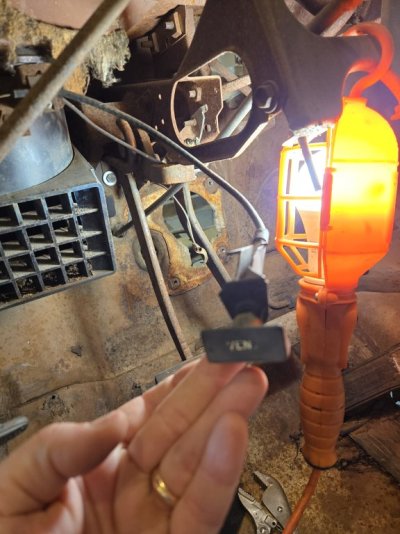
Vent cable mounting bracket to insturment panel is broken .

1000008483.jpg
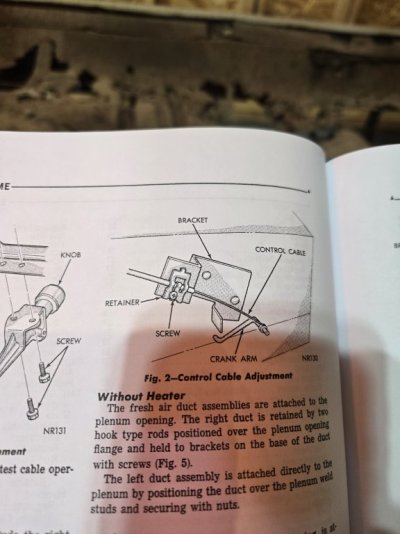
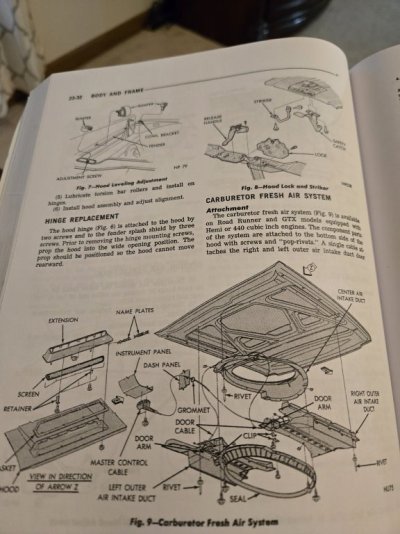
Following along in the 1969 Service Manual: Satellite, Roadrunner and GTX.

1000008491.jpg
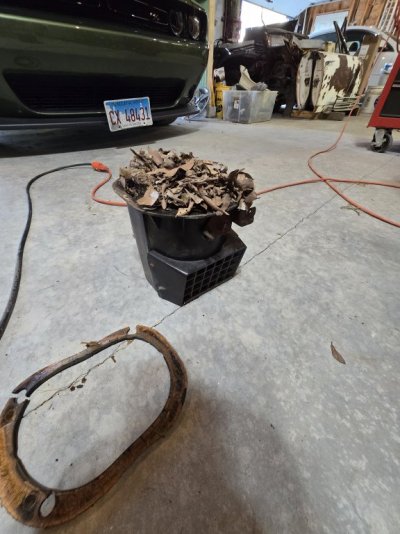
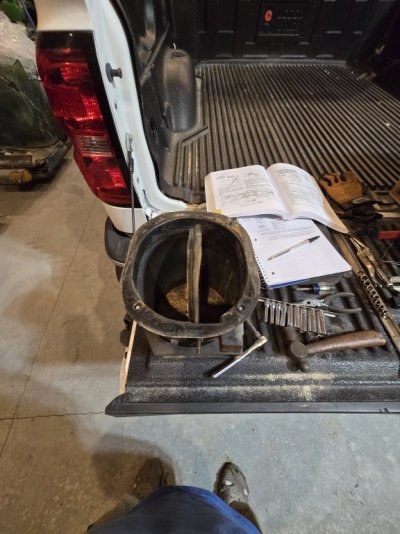
Yup....Driver's side Fresh Air Vent after removal.

1000008493.jpg
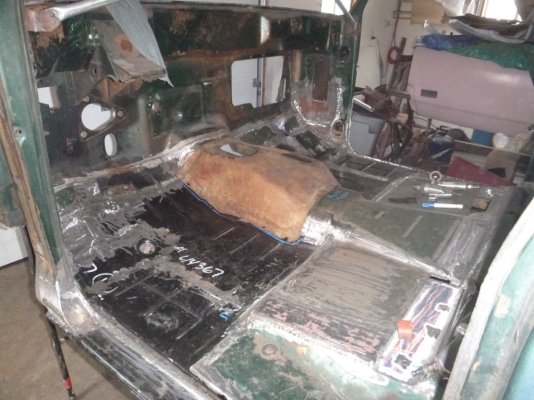
(3) mounting studs and (3) 3/8" aluminum Bolts/Fasteners removed cataloged, tagged and Bagged. I will need to replace (1) Fasteners because I had to carefully cut it with a dremel.

1000008496.jpg
Here we are after initial cleaning. We have a long way to go on this assembly. I wrote down notes, cataloged all numbers and made a list of missing and broken parts.

All of my field notes will be uploaded to my spreadsheet like the other car components.

Ok, so how we doing? All the research I have done recommends meticulous organization and cataloging.

Also, should I have (2) Fresh Air intakes or should I just keep and reinstall (1). I will be upgrading and installing AC in the car.

What would you recommend?

Semper Fi
Sabre_3
 

torredcuda

Well-Known Member
Joined
Oct 23, 2022
Messages
411
Reaction score
483
Location
New Hampshire
Sounds like a good plan. Not sure what you already have but I would look into a factory service manual and since you are doing an OEM restoration I would look at the manuals from Dave Wise as well - https://shop.mmcdetroit.com/products I am doing more of a "looks pretty correct" :rolleyes::D from 10' restoration with some added options and "Day Two" things like aftermarket wheels and tires, possibly headers and Cherry Bombs, tach, 8-track etc. The matching numbers 383 is already built to look stock but has a few added ponies. If you are doing frame rails the jig is a good idea but IMO a run stand is overkill unless you plan to use it for other engine builds. I would just have the engine builder put it on a dyno for break in and tuning which is what I plan to do for mine once I get closer to install.
 

roadrunnerbob

Well-Known Member
Joined
Aug 2, 2018
Messages
369
Reaction score
380
sounds like a good plan keep at it the passenger side vent is on the heater box
 

Sabre_3

Member
Joined
Jul 21, 2025
Messages
21
Reaction score
10
Location
New Douglas Illinois
Sounds like a good plan. Not sure what you already have but I would look into a factory service manual and since you are doing an OEM restoration I would look at the manuals from Dave Wise as well - https://shop.mmcdetroit.com/products I am doing more of a "looks pretty correct" :rolleyes::D from 10' restoration with some added options and "Day Two" things like aftermarket wheels and tires, possibly headers and Cherry Bombs, tach, 8-track etc. The matching numbers 383 is already built to look stock but has a few added ponies. If you are doing frame rails the jig is a good idea but IMO a run stand is overkill unless you plan to use it for other engine builds. I would just have the engine builder put it on a dyno for break in and tuning which is what I plan to do for mine once I get closer to install.
Many thanks for the guidance!

My Roadrunner's numbers matching drive train is lost to the ages unfortunately. I have a souped up motorhome 440, a 1977 A-833 from a B-body, and will need to acquire a drive shaft.

The Frankenstein'd drive train aside, I'm fairly confident the hood is from another Roadrunner.

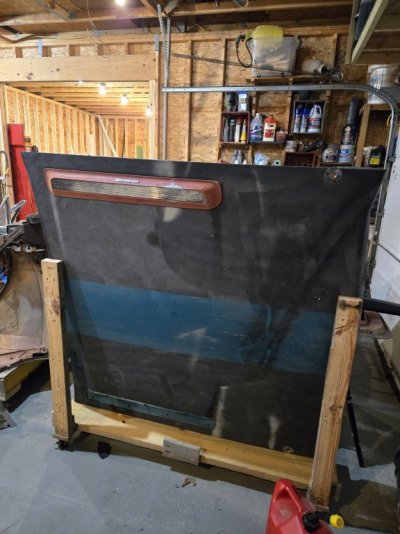
1000008512.jpg
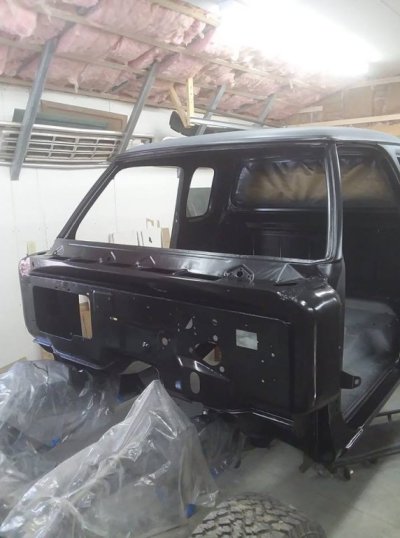
The fender tag has the (N96) Fresh Air Hood. The Fresh Air Hood has been a source of frustration since I decodeded the fender tag.1000008519.jpg
This is the (N96) Fresh Air Hood right?

1000008515.jpg
If so, I have a ton of parts to locate!

Also, are there any markings or stamps on the hood that would confirm this hood is from another vehicle?

Please advise,

Semper Fi
Sabre_3
1000008512.jpg

1000008519.jpg
 

torredcuda

Well-Known Member
Joined
Oct 23, 2022
Messages
411
Reaction score
483
Location
New Hampshire
No way to tell what car the hood came from as there are no markings or stamps to match it to a certain vehicle. There may be a date code stamp on it somewhere which would at laeast tell you if it was made before your car was built but that is as far as you could get to narrow it down. The term "date code correct" applies to any part on a correct restoration that has a date code stamped into it. Yes, finding all the parts to an N96 hood can be challenging but that is part of the fun or restoring a car. If you ae not already a member I suggest you also join the sister site FBBO, For B Bodies Only, as it has many more members than this one and a pretty good for sale/wanted section.
 

Russ69Runner

Well-Known Member
Joined
Aug 4, 2016
Messages
7,842
Reaction score
3,417
Location
Lake Wales Fl.
I blocked my car up on 6X6's. High enough to work off a creeper. Did not use a rotisserie. If you're lucky like I was no frame rails need to be replaced. slight rust spot on the rockers did a cut out and replaced metal in those areas. A four-point blocking on both sides to keep things in check. Did put a cross member in due to switching to manual transmission. Replaced my hood and ordered a 69 hood and things just did not fit. So had to get a 68 hood for the car. The latch and catch did not match up on the AMD 69 hood. Seems to me this was an early production 69 with the manufacturer using up what they had from 68. LOL. We have another fellow runner buddy working on his and all I can say is one day at a time. Wish you the best with the build

IMG_0102 (1).JPG

IMG_0101 (1).JPG

IMG_0105 (1).JPG

IMG_0101 (1).JPG
 

Sabre_3

Member
Joined
Jul 21, 2025
Messages
21
Reaction score
10
Location
New Douglas Illinois
Sounds like a good plan. Not sure what you already have but I would look into a factory service manual and since you are doing an OEM restoration I would look at the manuals from Dave Wise as well - https://shop.mmcdetroit.com/products I am doing more of a "looks pretty correct" :rolleyes::D from 10' restoration with some added options and "Day Two" things like aftermarket wheels and tires, possibly headers and Cherry Bombs, tach, 8-track etc. The matching numbers 383 is already built to look stock but has a few added ponies. If you are doing frame rails the jig is a good idea but IMO a run stand is overkill unless you plan to use it for other engine builds. I would just have the engine builder put it on a dyno for break in and tuning which is what I plan to do for mine once I get closer to install.
Many thanks for the guidance!

My Roadrunner's numbers matching drive train is lost to the ages unfortunately. I have a souped up motorhome 440, a 1977 A-833 from a B-body, and will need to acquire a drive shaft.

The Frankenstein'd drive train aside, I'm fairly confident the hood is from another Roadrunner.

View attachment 39255
The fender tag has the (N96) Fresh Air Hood. The Fresh Air Hood has been a source of frustration since I decodeded the fender tag.
 

torredcuda

Well-Known Member
Joined
Oct 23, 2022
Messages
411
Reaction score
483
Location
New Hampshire
I did my Barracuda completely on jack stands and a `76 clubcab on 4 x 4s, the road runner is the first (and last) time I have used a rotisserie. The Barracuda did need one rear section of the rear frame rail replaced, the truck cab needed extensive rust repair so I added bracing.

cuda metal work.jpg

P1000028.JPG

clubcab bracing.jpg

clubcab body.jpg

76 Dodge floor.jpg

76 black.jpg
 

Sabre_3

Member
Joined
Jul 21, 2025
Messages
21
Reaction score
10
Location
New Douglas Illinois
No way to tell what car the hood came from as there are no markings or stamps to match it to a certain vehicle. There may be a date code stamp on it somewhere which would at laeast tell you if it was made before your car was built but that is as far as you could get to narrow it down. The term "date code correct" applies to any part on a correct restoration that has a date code stamped into it. Yes, finding all the parts to an N96 hood can be challenging but that is part of the fun or restoring a car. If you ae not already a member I suggest you also join the sister site FBBO, For B Bodies Only, as it has many more members than this one and a pretty good for sale/wanted section.
Completely agree!

The hunt for the parts is exciting to me! I went to Stonewall Oklahoma for this Roadrunner and I'm not too skeerd to travel for some needed parts! I'm in no rush and have a bunch of bridges to cross before we restore our hood. Nonetheless, I'll keep me eyes peeled!

I am also FBBO member, but haven't posted recently since I found this forum.

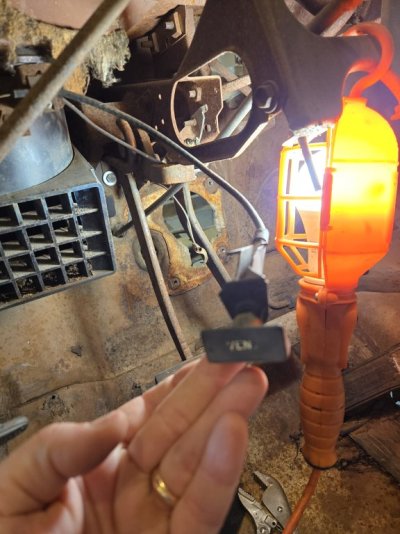
I think I'll work on the clutch and break pedal bracket removal this weekend if I can get all my chores done 1000008485.jpg
What do we think about chemical dipping? Good idea? Bad Idea?

Any thoughts about e-coating?

Please advise

Semper Fi
Sabre_3
 

Sabre_3

Member
Joined
Jul 21, 2025
Messages
21
Reaction score
10
Location
New Douglas Illinois
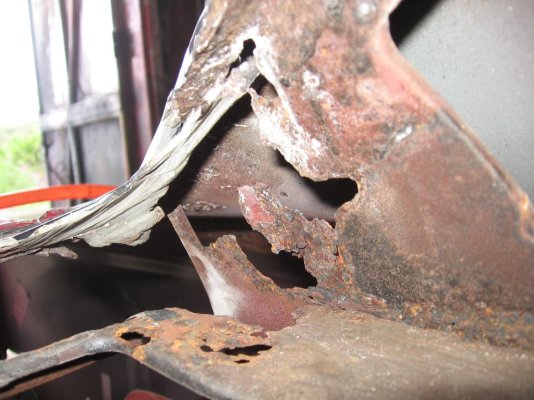
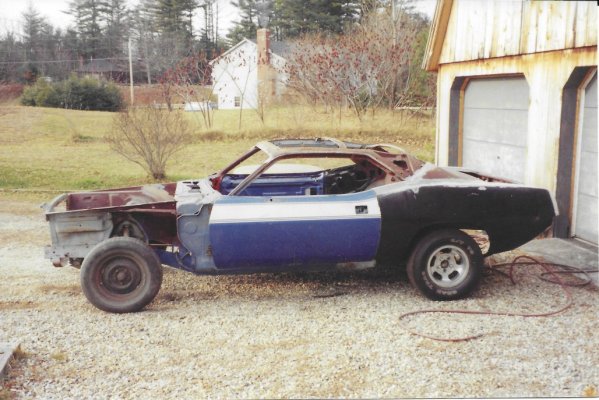
I did my Barracuda completely on jack stands and a `76 clubcab on 4 x 4s, the road runner is the first (and last) time I have used a rotisserie. The Barracuda did need one rear section of the rear frame rail replaced, the truck cab needed extensive rust repair so I added bracing.

View attachment 39268

View attachment 39269

View attachment 39270

View attachment 39271

View attachment 39272

View attachment 39273
Oh my goodness!

Thank you for sharing!! The floor pans and firewall sheetmetal work looks great!

I needed to get a closer look at the frame rails on the car. I have the factory node to node measurements. I'll measure the frames and see how close to spec we are.
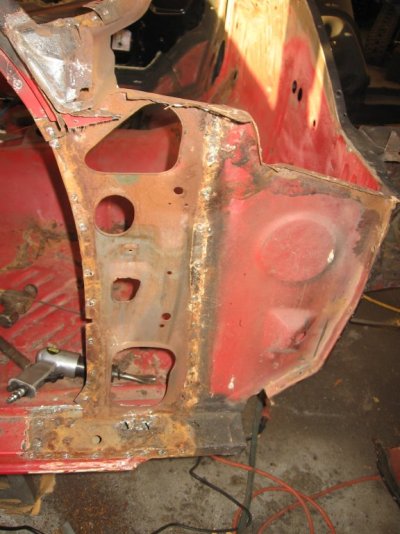
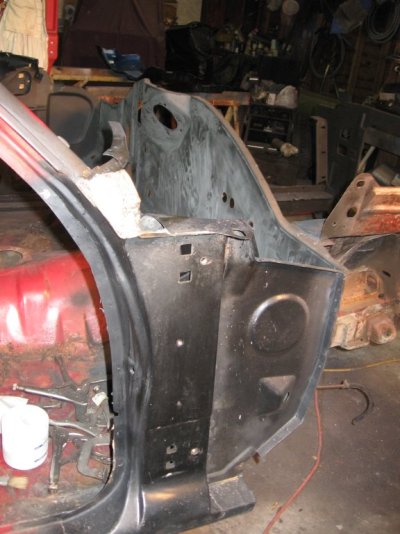
I blocked my car up on 6X6's. High enough to work off a creeper. Did not use a rotisserie. If you're lucky like I was no frame rails need to be replaced. slight rust spot on the rockers did a cut out and replaced metal in those areas. A four-point blocking on both sides to keep things in check. Did put a cross member in due to switching to manual transmission. Replaced my hood and ordered a 69 hood and things just did not fit. So had to get a 68 hood for the car. The latch and catch did not match up on the AMD 69 hood. Seems to me this was an early production 69 with the manufacturer using up what they had from 68. LOL. We have another fellow runner buddy working on his and all I can say is one day at a time. Wish you the best with the build

View attachment 39260

View attachment 39261

View attachment 39262

View attachment 39263
Wow!

An amazing amount of sheet metal work. Thank you for sharing!

I might reevaluate the framejig idea depending on how bad the frame rails are. Hopefully they're sold and don't need replacement

Semper Fi
Sabre_3
 

torredcuda

Well-Known Member
Joined
Oct 23, 2022
Messages
411
Reaction score
483
Location
New Hampshire
I`ve heard good and bad about chemical dipping, the good is that it strips everything clean but the bad is it can leach out later on if not 100% nuetralized and it also removes any corrosion protetion that might have been left inside the frame rails and other areas you that are hard to get to. You can use a wand to get inside the rails with some type of rust preventative afterwards. Sandblasting is good for everything you can get to but the bad with that is you can`t get to the inner areas such as inside rails etc. and don`t have body panels done unless the guy doing it is really good and won`t warp them so both have positives and negatives - choice is yours I guess.
 

torredcuda

Well-Known Member
Joined
Oct 23, 2022
Messages
411
Reaction score
483
Location
New Hampshire
The go to for bare metal parts these days is epoxy primer, nothing wrong with e-coating but you will have to prime over it anyway so IMO it`s an un-needed step, it`s basicaly a cheap an easy way for the manufacturer to put a coating on bare metal parts to keep them from rusting while waiting to get primed and painted.
 
Back
Top