• When you click on links to various merchants on this site and make a purchase, this can result in this site earning a commission. Affiliate programs and affiliations include, but are not limited to, the eBay Partner Network.

Windsor Update

roadrunnerh

Well-Known Member
Joined
Aug 29, 2009
Messages
2,578
Reaction score
10
Location
Pittsburgh, PA
John, you do great work!

Hey, any chance a member here can decipher that yellow assembly line mark on the door below the vent window?

Maybe Bob? That's his era I believe. :popcorn:
 

69hemibeep

Sponge Bob Square Wheels
Joined
Sep 10, 2008
Messages
22,145
Reaction score
2,354
Location
AZ Desert,
roadrunnerh said:
John, you do great work!

Hey, any chance a member here can decipher that yellow assembly line mark on the door below the vent window?

Maybe Bob? That's his era I believe. :popcorn:
No chance the car is older that both of us :jester:
 

Big John

Sit back, relax Don't bitch about the cigar smoke
Joined
Sep 8, 2008
Messages
5,057
Reaction score
79
69hemibeep said:
roadrunnerh said:
John, you do great work!

Hey, any chance a member here can decipher that yellow assembly line mark on the door below the vent window?

Maybe Bob? That's his era I believe. :popcorn:
No chance the car is older that both of us :jester:

Not by much.....
 

Big John

Sit back, relax Don't bitch about the cigar smoke
Joined
Sep 8, 2008
Messages
5,057
Reaction score
79
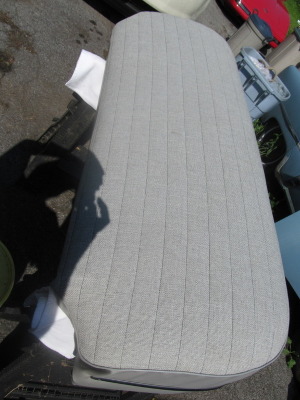
Working on the seats now. I bought some covers from http://www.automotiveinteriors.com/ . I'm very happy with these. They fit really nice.

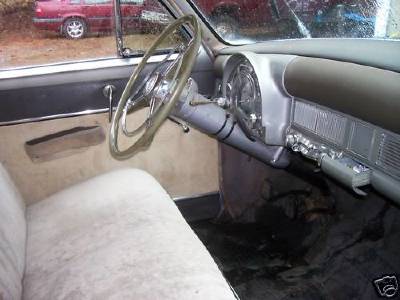
What I started with. They didn't look bad, but they had that musty "old car" smell. These are some cheap covers that were added sometime in the car's life.

BoqKuiwWkKGrHqQOKkQEu-9k2VUBLoSkFlNJg_12.jpg

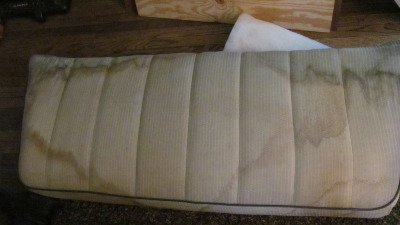
Covers off, this was the original seat.

IMG_0308.jpg

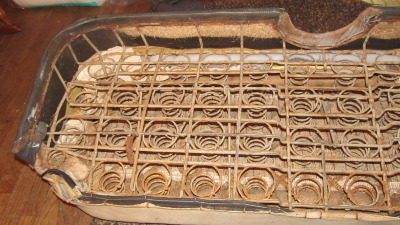
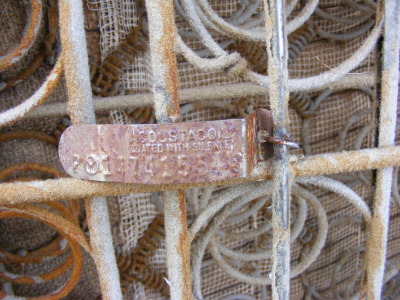
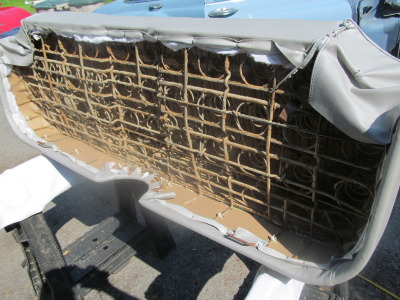
The bottom spring of the rear seat is covered in a flocking type material.

IMG_0328.jpg

2012_1113Stuff0011-1.jpg

I stripped down to the bare springs and started over. Using new synthetic materials has a lot of benefits. First, they don't stink if they get wet and second, the mice don't gnaw on it.

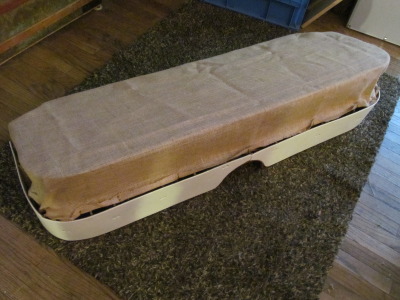
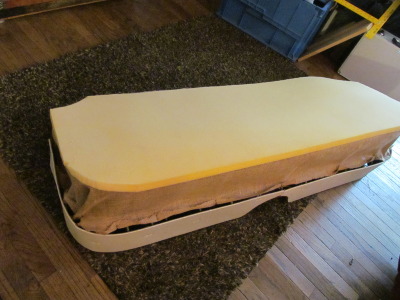
First they get a layer of new burlap.

IMG_0517.jpg

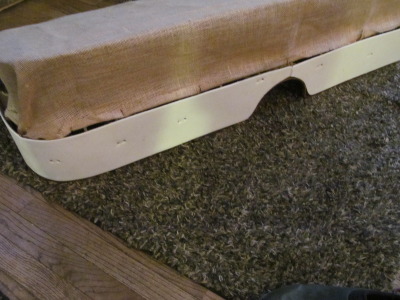
The front of the seat frame has had it's lower face replaced with closed cell foam glued to chipboard.

IMG_0518.jpg

Then the foam is cut. I used an firm foam made for auto use (read expensive) on the base. The upper gets a softer and cheaper foam from Hobby Lobby.

IMG_0519.jpg

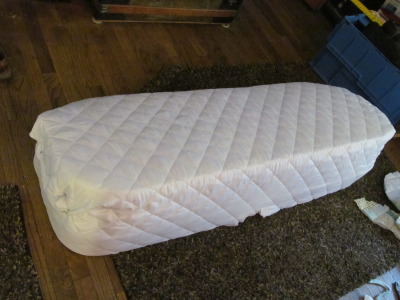
Using a great tip from the HAMB forum, the foam is now covered with a comforter that I bought at Walmart. This keeps the foam in place and adds a layer of thin synthetic batting. Big cost savings here with better results.

IMG_0520.jpg

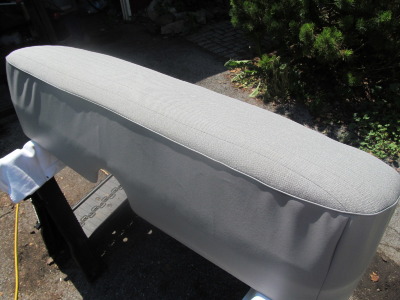
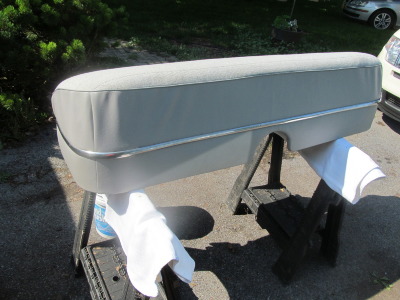
The cover is hog ringed in place. If you ever do this, pick a sunny day and the vinyl stretches easier.

IMG_0524.jpg

IMG_0522.jpg

IMG_0525.jpg

Chrome added to the front. I think if I had it to do over, I'd leave this off. The wrinkles look worse in the pics. That is where the cover is not supported and there will always be a little wrinkling.

IMG_0527.jpg
 

Roadcuda

Well-Known Member
Joined
Sep 10, 2008
Messages
10,539
Reaction score
284
Location
Rocky Hill, Ct
Where were you when I needed the seats on the '41 Plymouth I had?!?!?!? :jester: Great job John. :thumbsup:
 

Basketcase

Keeper of the Green
Joined
Sep 10, 2008
Messages
14,415
Reaction score
299
send all your interior needs to:
Big John
c/o
'69 LaMancha.net.........
 

Big John

Sit back, relax Don't bitch about the cigar smoke
Joined
Sep 8, 2008
Messages
5,057
Reaction score
79
Just so you don't think I'm not doing any mechanical work, I've been working on the disc brake conversion too.

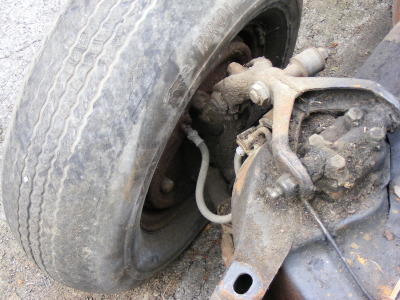
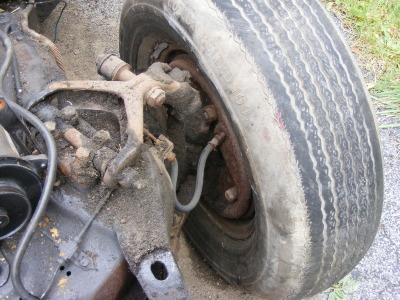
Here's the stock setup. Two wheel cylinders per front wheel and to correctly adjust them, you need an obsolete and expensive gage that centers the shoes in the drums. There's two adjustment bolts on the top and bottom between the shoes. On the backing plate there's two more that adjust the angle of the shoes. There's some alternatives to work around the gage, and when adjusted and working correctly, they are supposed to be pretty good, but doing a conversion to disc brakes made more sense for me. BTW, disc brakes were an option in 1953!!
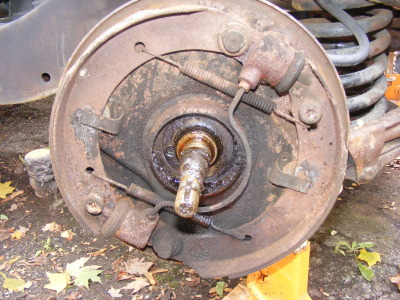
DSCF7262.jpg

2012_0926Stuff0003-1.jpg

2012_0926Stuff0004-1.jpg

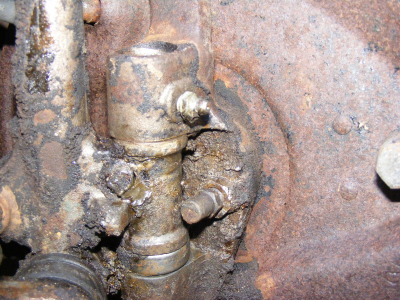
I had to replace the king pins and bushings.
2012_1009Stuff0004.jpg

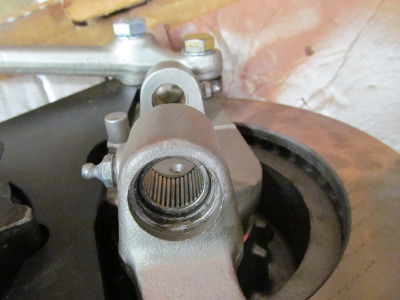
The top is a needle bearing and the bottom is a bronze bushing. Of course... none of the shops around here could ream the bushing and I had to buy an adjustable reamer and do it myself.
IMG_0274-1.jpg

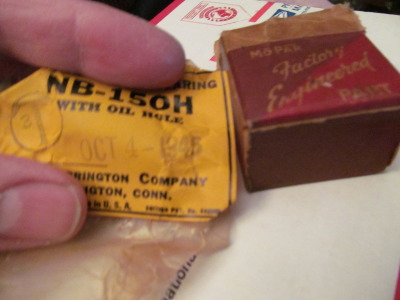
NOS needle bearing from 1945, 8 years older then the car!
IMG_0250-1.jpg

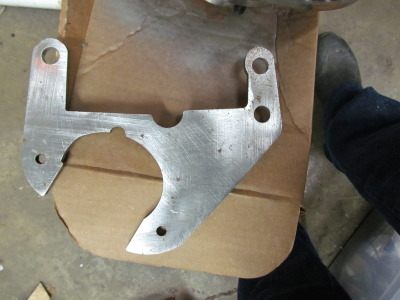
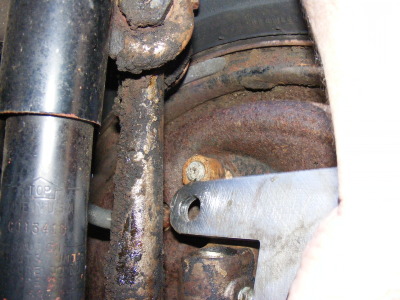
First set of brackets. These were a prototype set that were patterned from Desoto spindles. The guy that makes these said "yep.. they'll fit"
IMG_0276-1.jpg

They didn't fit, turns out the Chrysler has a longer spindle then Desotos.
2012_1009Stuff0003.jpg

Another set of brackets came in the mail.
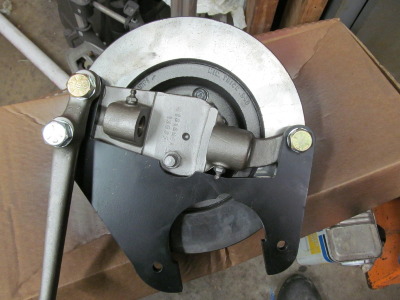
IMG_0265-1.jpg

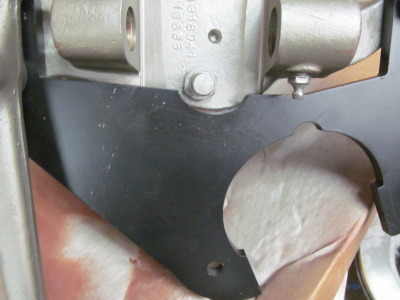
First the notch for the steering stop wasn't big enough so that was enlarged.
IMG_0264-1.jpg

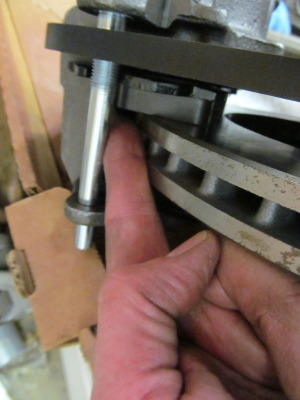
Then I noticed the caliper didn't sit right. It's crooked.
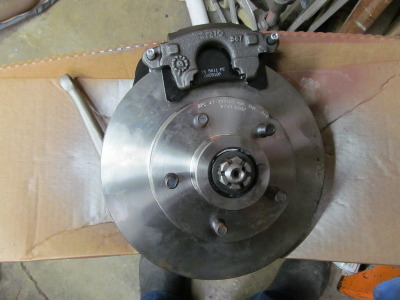
IMG_0268-1.jpg

Clearance between caliper bolt and rotor.
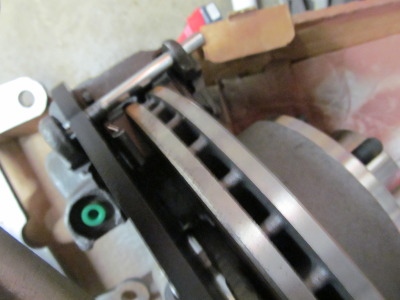
IMG_0281-1.jpg

IMG_0277-1.jpg

I welded the bolt hole closed and redrilled the caliper bolt hole so the entire pad now contacts the rotor. I also had to saw out the notch for the caliper.
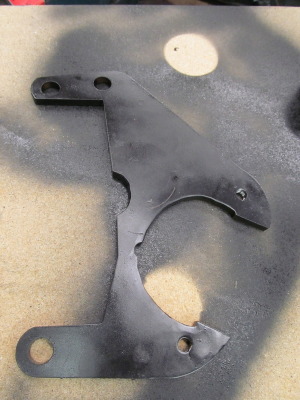
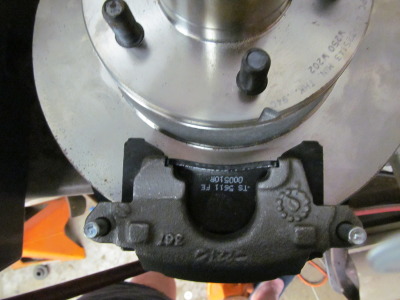
IMG_0400.jpg

IMG_0402.jpg


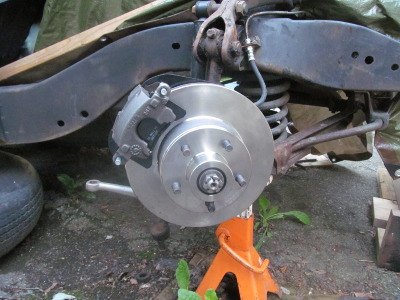
Finally on the car!! Rotors are Volare/Aspen and the calipers are GM. I still have to finish redoing the brake lines and mount a new dual master cylinder, but at least this part is done.
IMG_0541.jpg
 

ACME A12

Plaid Sport Coat Wearing Moderator
Staff member
Joined
Nov 4, 2008
Messages
13,677
Reaction score
831
Location
New Port Richey, FL
Nice work, Big. Interior work looks great and the addition of the discs is a nice upgrade. Keep the updates coming... :cheers:
 

Basketcase

Keeper of the Green
Joined
Sep 10, 2008
Messages
14,415
Reaction score
299
as soon as the road runner comes off.......... :acme:
 

Big John

Sit back, relax Don't bitch about the cigar smoke
Joined
Sep 8, 2008
Messages
5,057
Reaction score
79
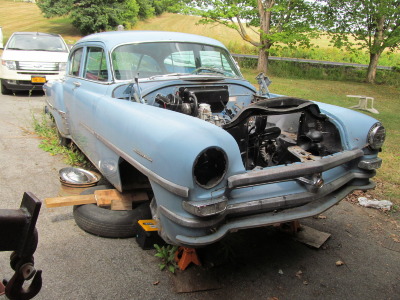
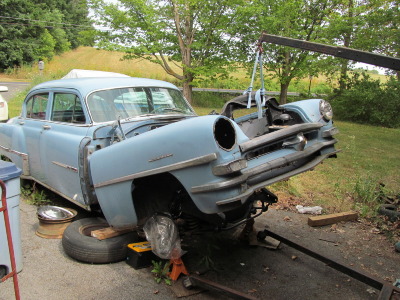
Been thrashing more... and the car is starting to look like a car again.

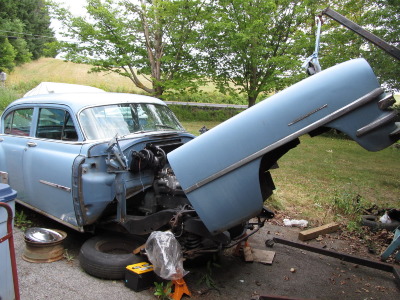
Put the "dog house" back on. This is how you do this by yourself.

IMG_0704.jpg

IMG_0708.jpg

IMG_0709.jpg

Excuse the mess... and yea, the driveway really needs to be redone.
 

Big John

Sit back, relax Don't bitch about the cigar smoke
Joined
Sep 8, 2008
Messages
5,057
Reaction score
79
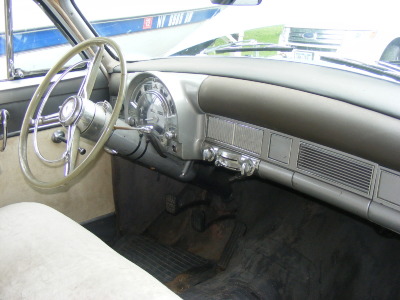
I started with the dash looking like this.

2012_0613Stuff0080-1.jpg

Not bad, but the paint was scratched, the chrome dirty and the vinyl dried and cracked.

Took off the bad vinyl.

IMG_0339.jpg

Stripped the dash of everything.

IMG_0716.jpg

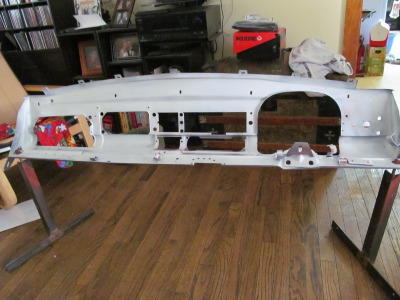
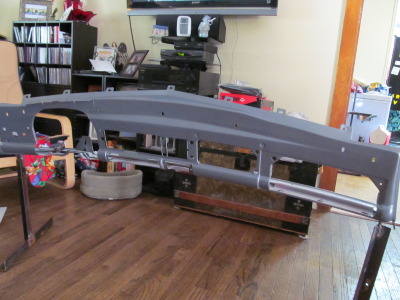
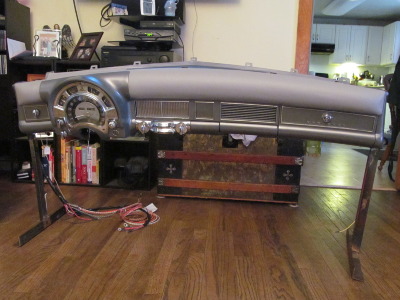
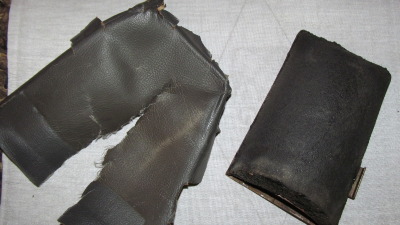
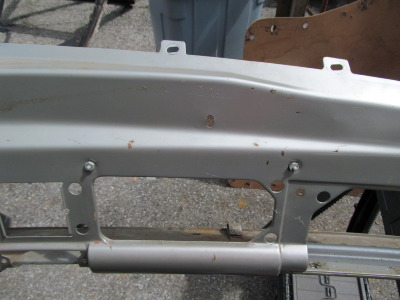
I made some stands from old bed frames and with the heat in the garage baking me alive, I decided I would annoy Mrs. Big John and put it back together in the house after painting.

The back got a quick rattle can of white. This makes it a lot easier to see when it's mounted in the car.
IMG_0726.jpg

The front was stripped to bare metal, primed and painted with a Ford gray metallic. I used Dupli-Color spray with clear.

IMG_0730.jpg

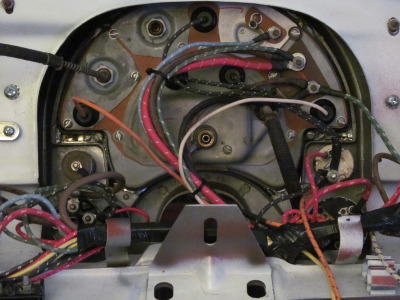
The speedometer bezel got rechromed a while back (earlier in the thread) and here it's rewired.

IMG_0752.jpg

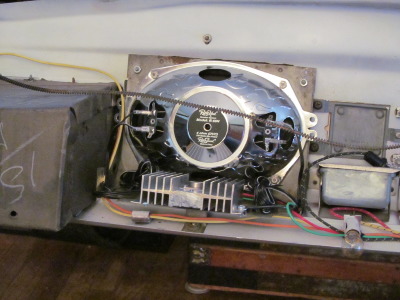
The car didn't have a radio, so I bought a non working one on ebay. A new speaker on an old bracket. The radio will come later when the budget lets me. The speaker is pretty trick, it's got dual tweeters and a single cone for bass. Each tweeter is wired to it's own channel (left and right) with a crossover for the bass.

The heat sink is a 20 amp unit to reduce 12 volts to 6 volts for the wipers and gas gauge.

IMG_0753.jpg
 

Big John

Sit back, relax Don't bitch about the cigar smoke
Joined
Sep 8, 2008
Messages
5,057
Reaction score
79
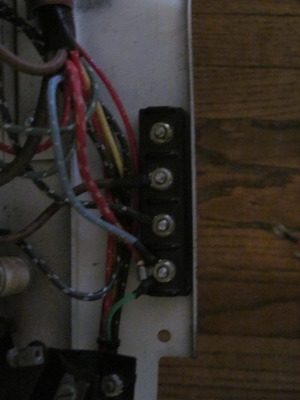
The voltage reducer connects to a terminal block. I think it's out of a 64 Plymouth. The terminal block has connections for any accessories I add.

IMG_0758.jpg

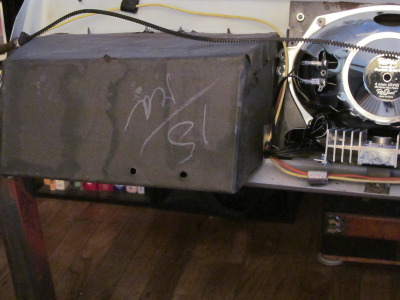
Note the factory notes on the back of the glove box.

IMG_0755.jpg

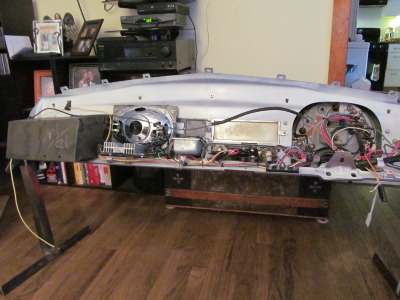
Back of completed dash.

IMG_0747.jpg

Front.

IMG_0760.jpg

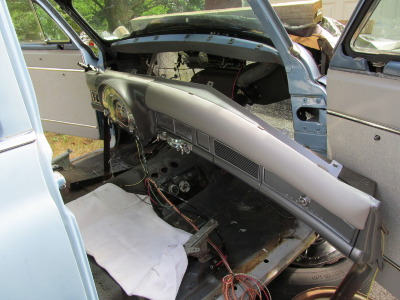
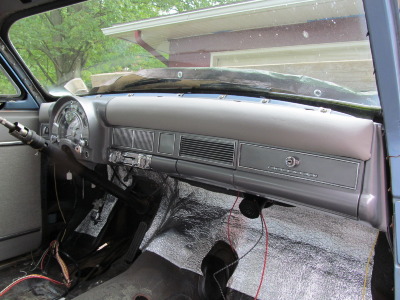
Into the car. Still on the stands!

IMG_0766.jpg

In place!

IMG_0768.jpg
 
Back
Top