• When you click on links to various merchants on this site and make a purchase, this can result in this site earning a commission. Affiliate programs and affiliations include, but are not limited to, the eBay Partner Network.

Windsor Update

hotcob

Member
Joined
Dec 17, 2011
Messages
11
Reaction score
0
That's what I like about this site, lots of innovative ideas and the photos help a lot too. Thanks Big John. I have a few small rust holes that could use that treatment.
 
G

Guest

Guest
Looks like you guys will work on anything. You guys are brave to tackle these big jobs.
 

peresvet24

Well-Known Member
Joined
May 9, 2010
Messages
1,685
Reaction score
46
Location
Europe, Moldova
Hey John, I see on this engine two fuel fine filter :huh:
this indicates the low quality of fuel in those years :huh:
 

ACME A12

Plaid Sport Coat Wearing Moderator
Staff member
Joined
Nov 4, 2008
Messages
13,677
Reaction score
831
Location
New Port Richey, FL
badass69runner said:
Looks like you guys will work on anything. You guys are brave to tackle these big jobs.

Hey, a post from our old friend bad ass. Wonder whatever happened to him...??? :basketcase:
:jester:
 

Basketcase

Keeper of the Green
Joined
Sep 10, 2008
Messages
14,415
Reaction score
299
some people don't miss anything :D
so....how'd you find it...unless you were looking for one for yourself... :acme:
 

Big John

Sit back, relax Don't bitch about the cigar smoke
Joined
Sep 8, 2008
Messages
5,057
Reaction score
79
peresvet24 said:
Hey John, I see on this engine two fuel fine filter :huh:
this indicates the low quality of fuel in those years :huh:

The fuel pump has a sediment bowl on it. It looks like a filter. Actually, that fuel pump fits a lot of earlier cars too. The original pump didn't have one. I'll probably rebuild the original pump one of these days as I really don't like something made of glass mounted where it could break.
 

Big John

Sit back, relax Don't bitch about the cigar smoke
Joined
Sep 8, 2008
Messages
5,057
Reaction score
79
Been working on the interior a bit.

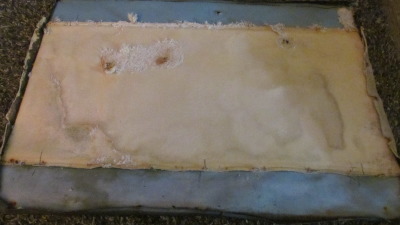
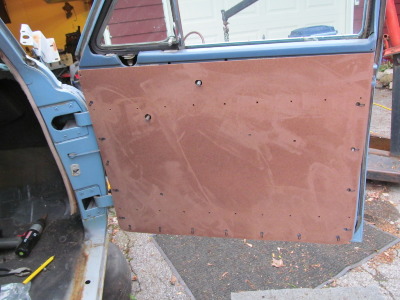
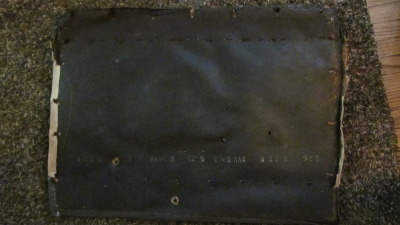
The old door panels were pretty rough. The backing was damaged from age and water.

IMG_0283-Copy.jpg

IMG_0287-Copy.jpg

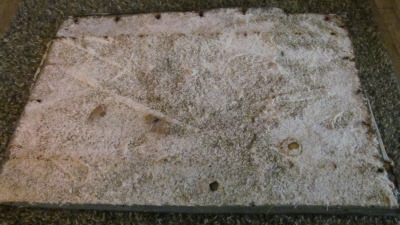
They had been covered once before and I stripped the top layer off.

IMG_0290-Copy.jpg

Then the original cover. This was my pattern for the new panel.

IMG_0291-Copy.jpg

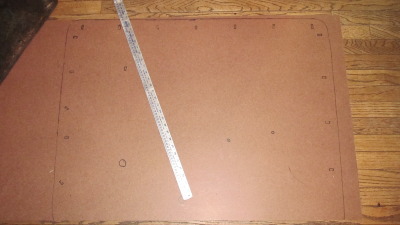
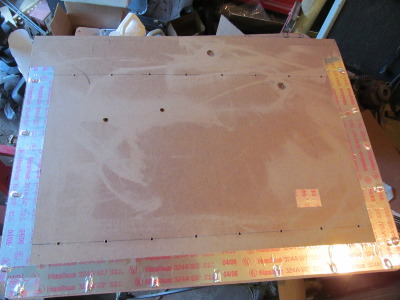
I made the new panels from 1/8" hardboard.

IMG_0294-Copy.jpg

IMG_0443-Copy.jpg

IMG_0440-Copy.jpg

Some aluminum tape covered the clips to keep them in place.

IMG_0504-Copy.jpg
 

Big John

Sit back, relax Don't bitch about the cigar smoke
Joined
Sep 8, 2008
Messages
5,057
Reaction score
79
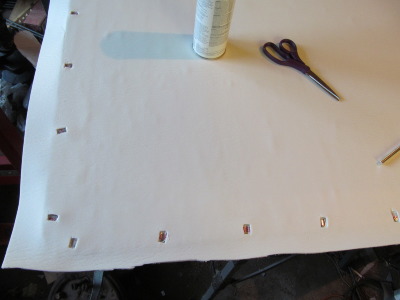
The panels got a layer of 1/8" closed cell foam. I cut around the clips to keep them from bumping the foam up.

IMG_0505-Copy.jpg

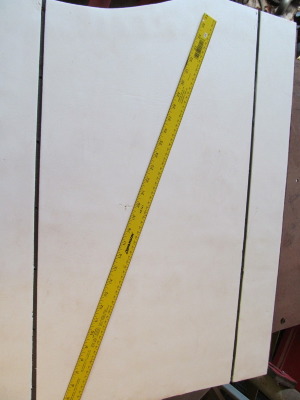
Then another layer of foam. The dark areas (there was dark foam for the first layer on this panel) are where the seam will lay into.

IMG_0498-Copy.jpg

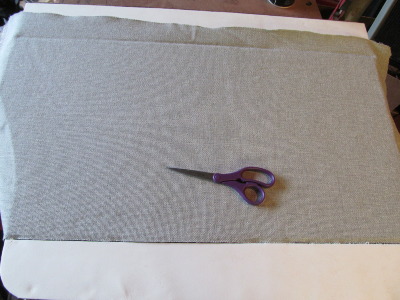
Fabric is glued to the foam. I'm using a tweed for the center section and vinyl for the edges. Chrome will cover the seam. No sewing here!

IMG_0499-Copy.jpg

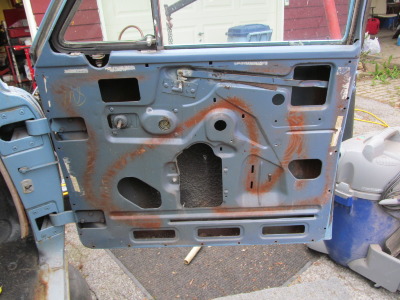
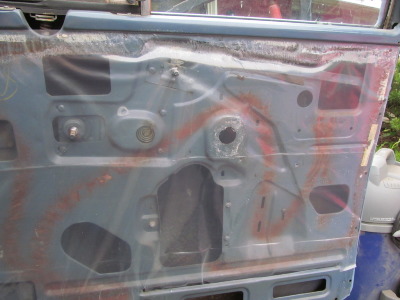
The door got new plastic to replace the oil cloth the factory used.

IMG_0444-Copy.jpg

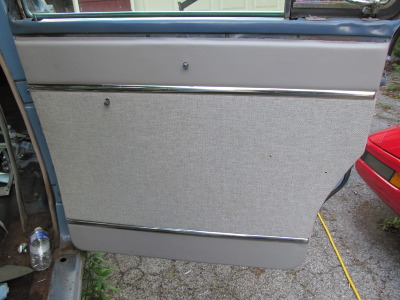
Finished panel installed.

IMG_0503-Copy.jpg
 
Back
Top