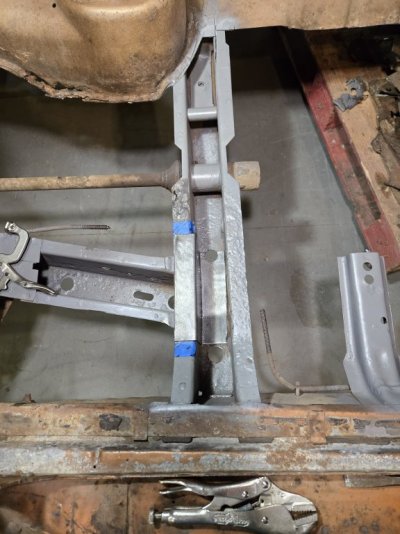
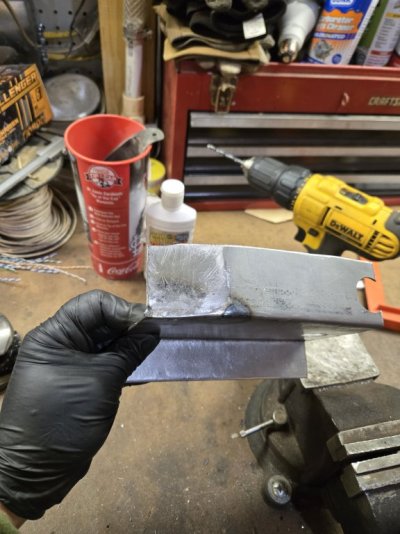
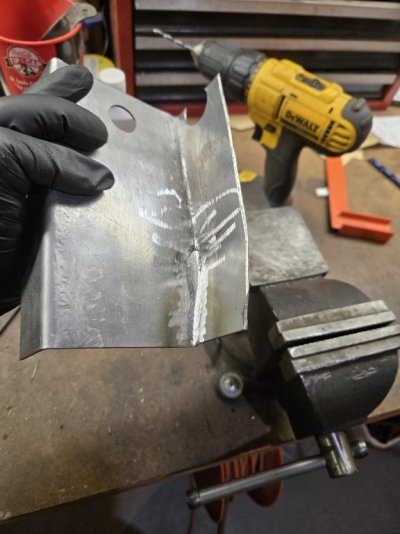
Ok....I’ve got updates...
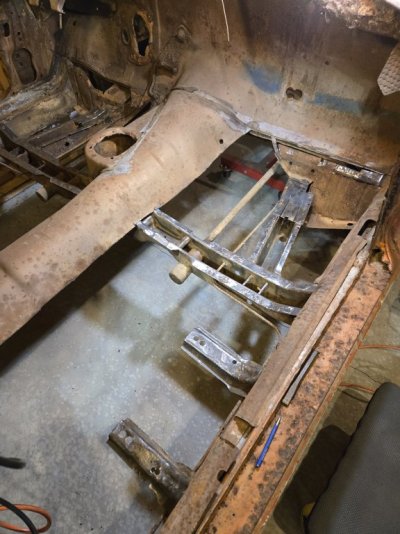
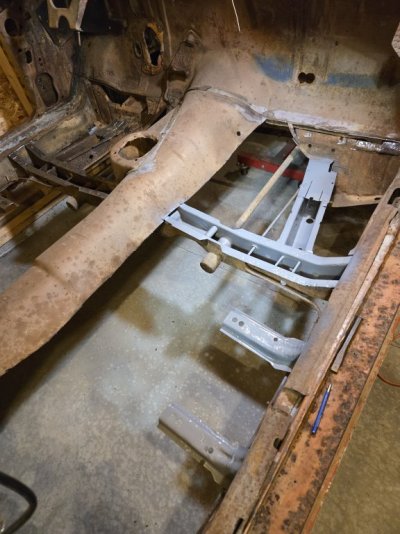
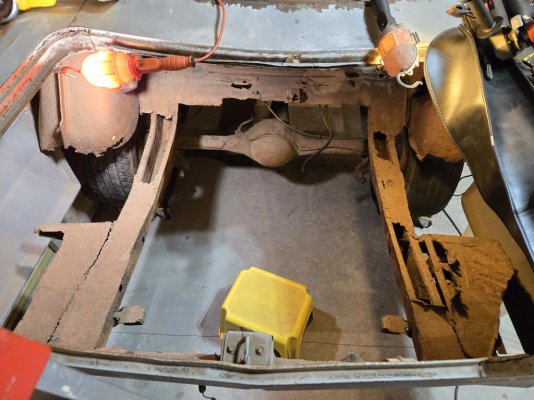
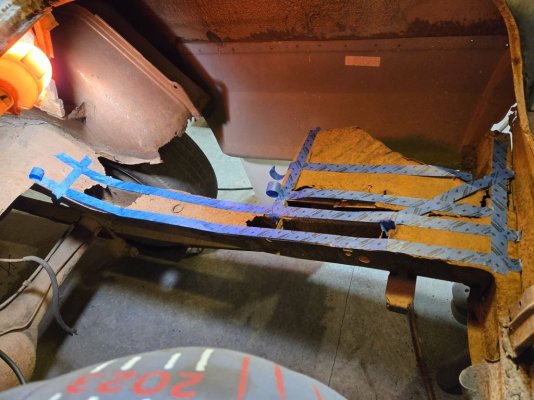
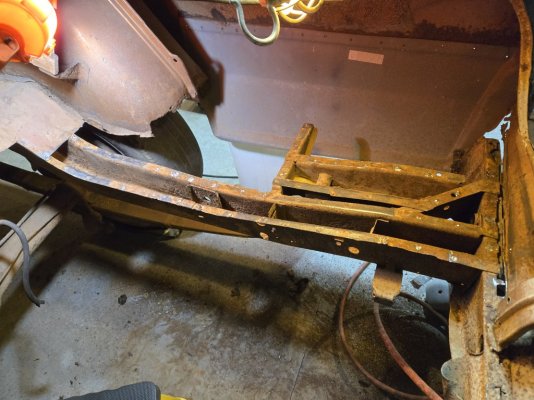
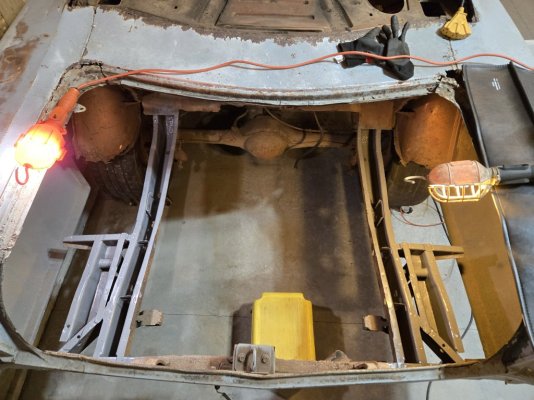
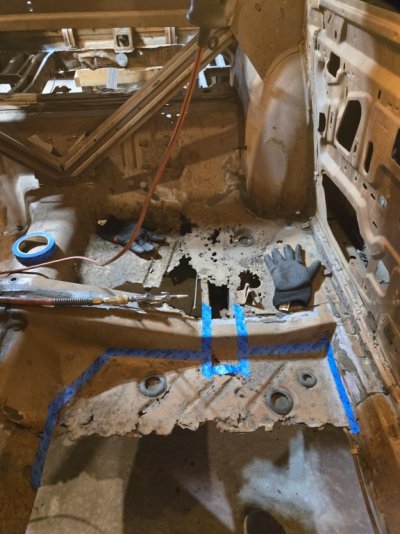
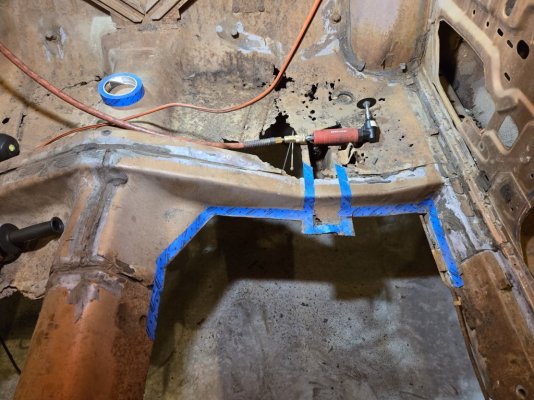
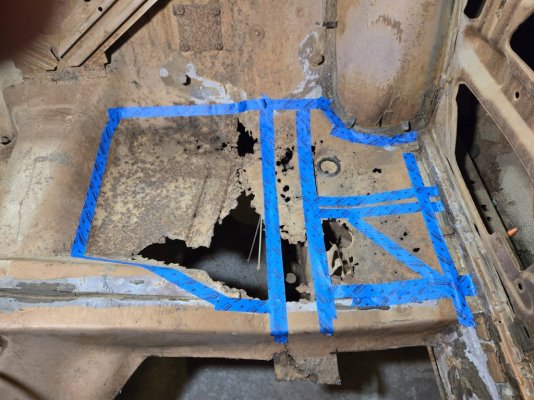
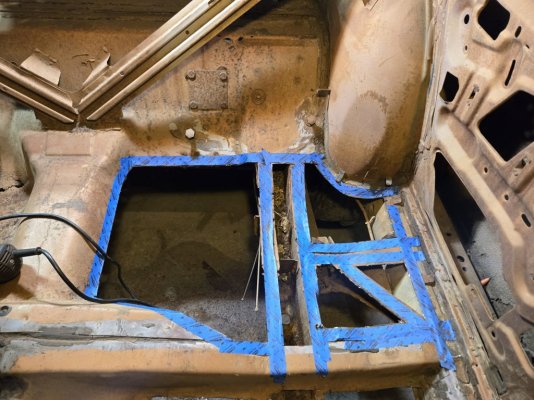
So now that I have most of the floor pans and trunk pan sheets metal removed and the frame rails opened up, exposed and exposing what frame work needs repaired and replaced; I'm starting to correct some sheetmetal issues on the car.
I figured starting off small and build confidence before I dive into the difficult stuff.
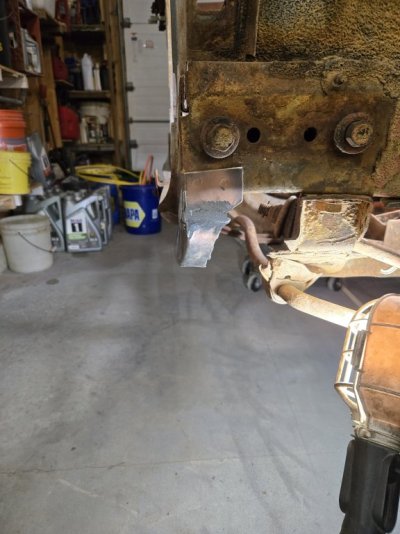
As a result, I decided to start on correcting an issue with the Roadrunner's Lower core support. It looked like someone, in the past, hooked a tow hook or tied into the lower core support (Driver's Side) and bent the lower support.
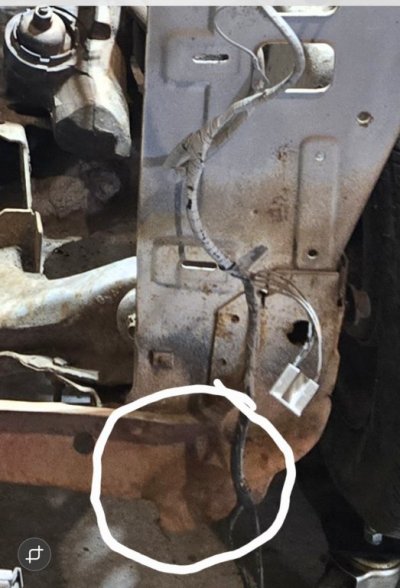
Driver's Side Lower Core Support - Bent and Torn Sheetmetal.
It took a bit of time, (almost 4 days) working with hammers and Dollies to mirror as closely as possible the lower core support framing on the Passenger's side.
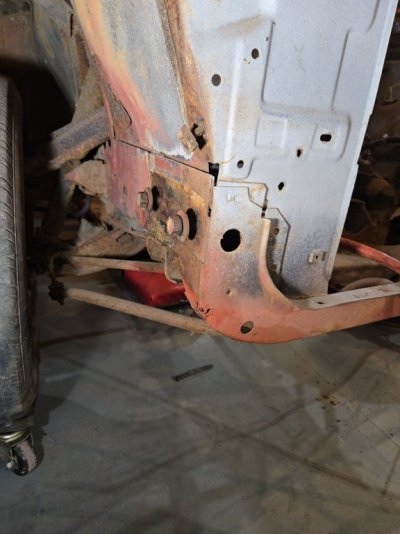
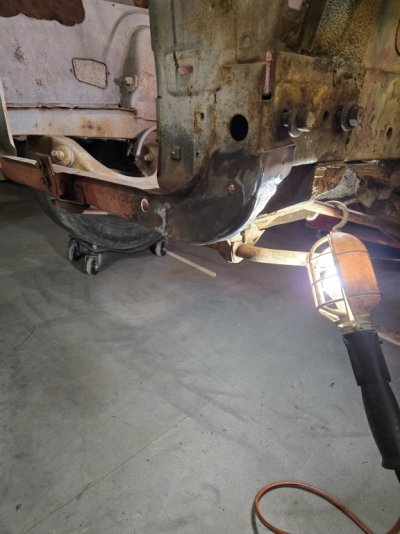
Passenger's Side Lower Core Support - I used this as the model for the Driver's side.
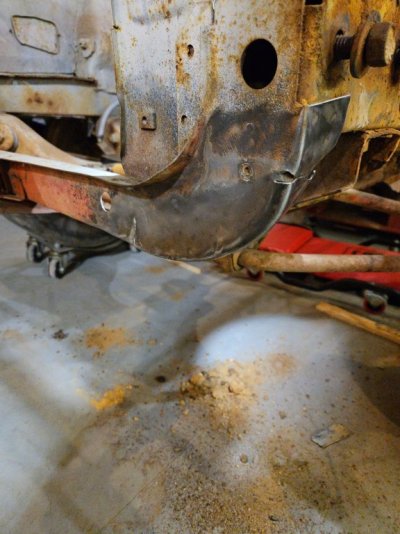
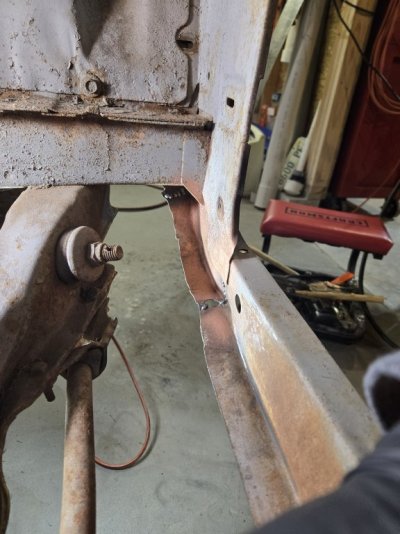
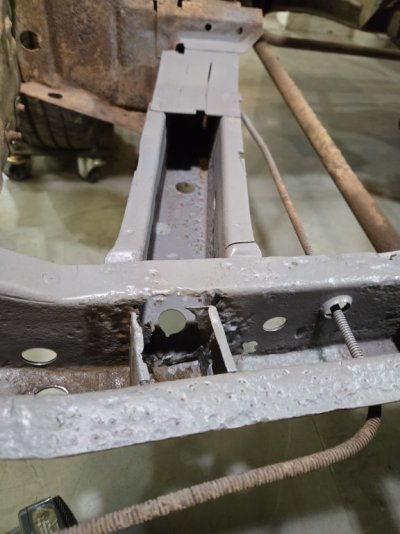
Driver's Side Core Support - I had to make two relief cuts to allow for the sheetmetal movement. I will weld the relief cuts tomorrow.
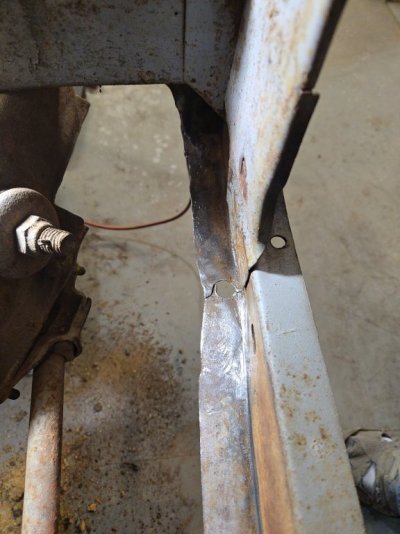
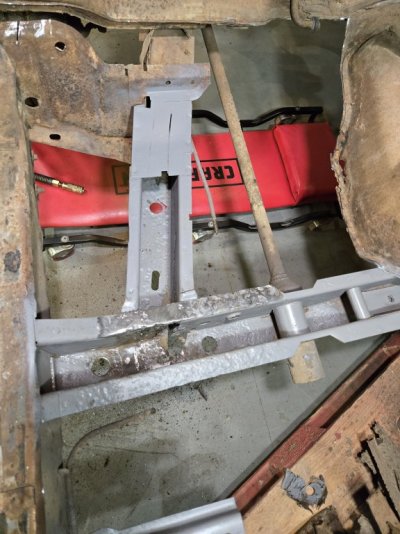
Driver's Side Lower Core Support (Engine Compartment View). The lower core support sheetmetal was significantly distorted. I tried to carefully straighten and move the sheetmetal the best I could. I will weld the overlapping sheetmetal tomorrow.
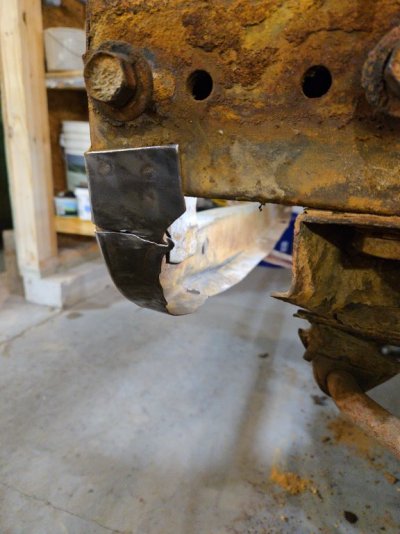
Driver's Side Lower Core Support- I have a little hammer and dolly work to do to close the relief cut gap. I'll finish and weld it up tomorrow.
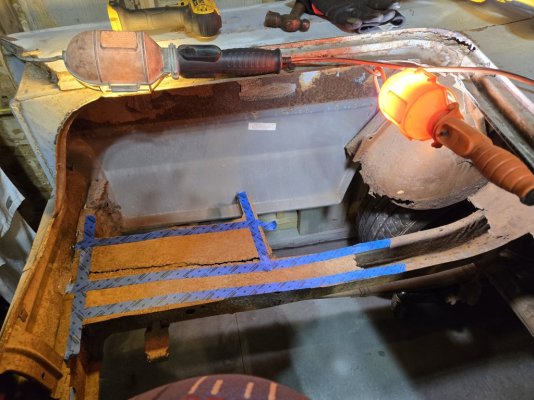
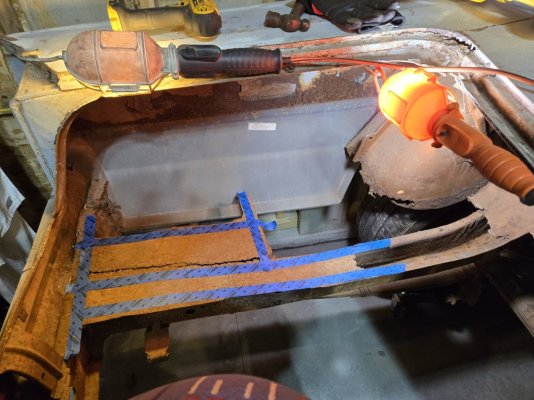
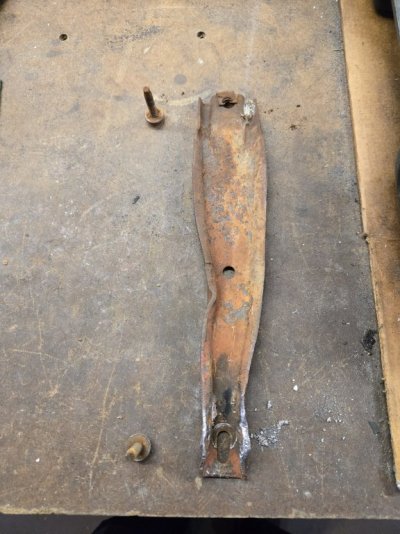
I have the same challenge in the trunk area. I'll start on that after I wrap this repair up.
Let me know what you think and if I'm heading down the right path!
Semper Fi
Sabre_3

