• When you click on links to various merchants on this site and make a purchase, this can result in this site earning a commission. Affiliate programs and affiliations include, but are not limited to, the eBay Partner Network.

Bringing it back to factory specs!

resq302

Well-Known Member
Joined
Jul 9, 2013
Messages
280
Reaction score
5
Location
northern nj
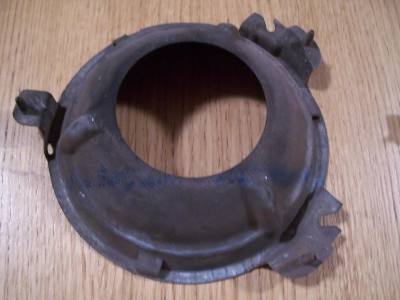
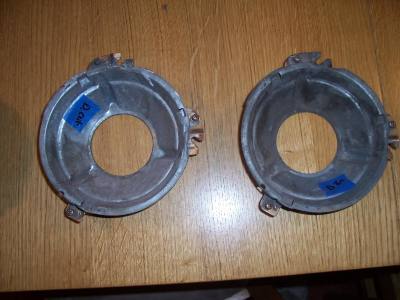
Ok, so here's the latest update..... got to spend some more time working on the car today at Dad's house and found out some VERY interesting things. First I removed the headlight buckets and the front wire harness so they could all be cleaned and the bronze paint removed from a previous person who apparently did not mask that well.

Labeled them as I removed them as they are side specific.
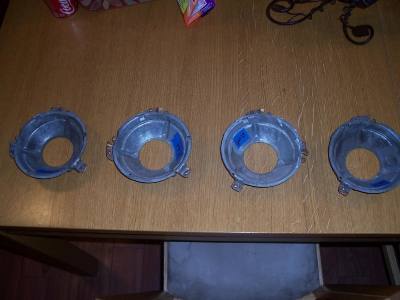
102_6067.jpg

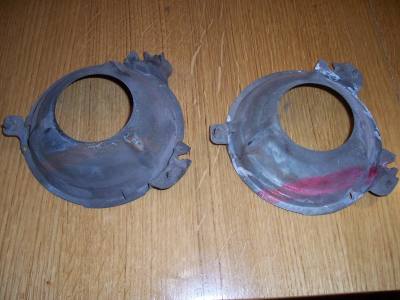
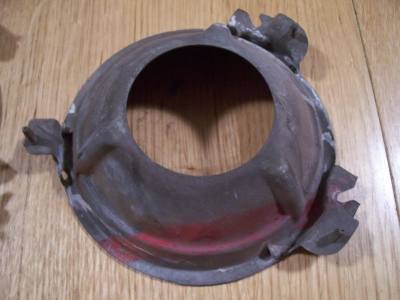
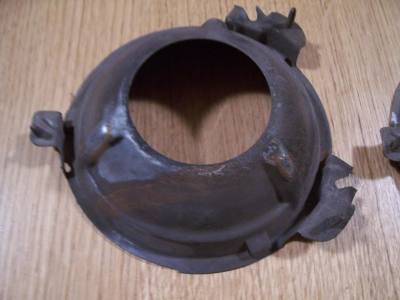
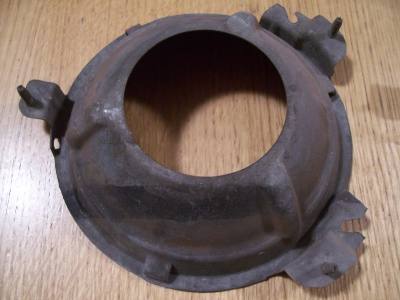
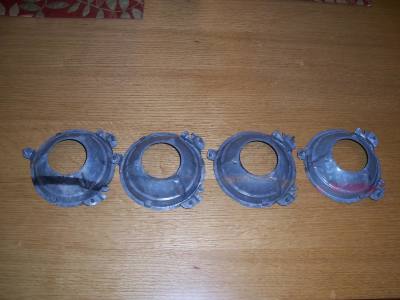
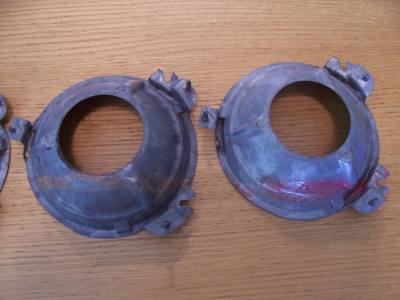
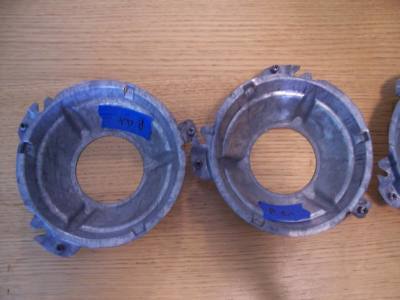
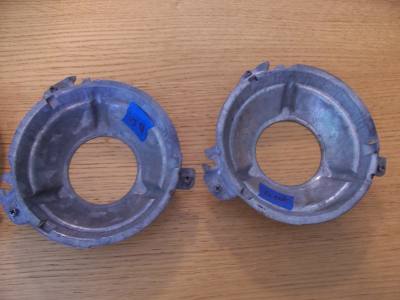
Now here is the weird part..... each back side of the headlight bucket has a different colored stripe that appears to have been air brushed on there as there is a soft edge to the paint.

Black and blue
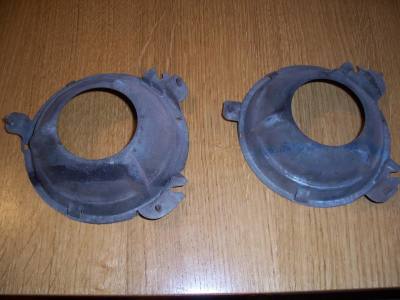
102_6070.jpg

Goldish yellow and red

102_6071.jpg

Individual pics

102_6075.jpg

102_6074.jpg

102_6073.jpg

102_6072.jpg

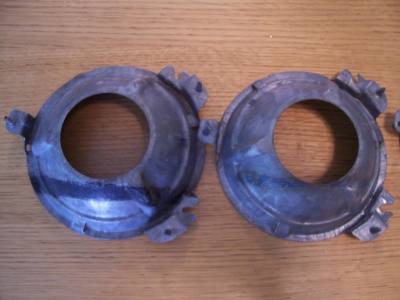
Front sides of the buckets before I cleaned them.
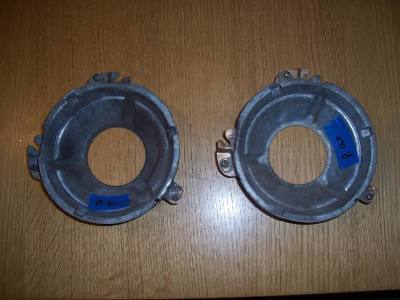
102_6069.jpg

102_6068.jpg


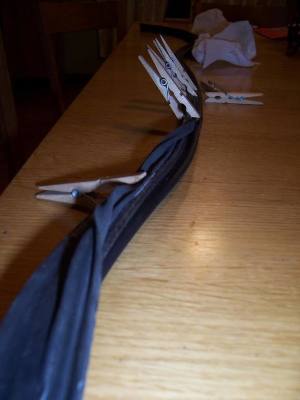
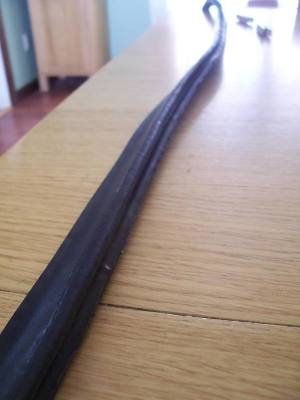
While these were drying, I decided to start adhering the "skin" from the old trunk gasket back onto the new "core". Its a long, tedious process, but if it works, it will be hard to distinguish from the original thing! (special thanks to my daughter Hailey for taking these pics!) first two are of me cleaning any little residue left over.
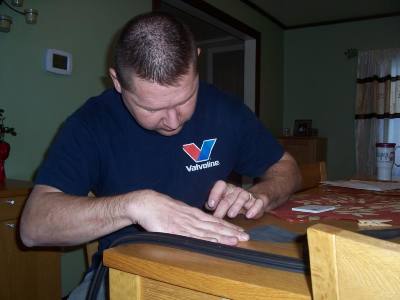
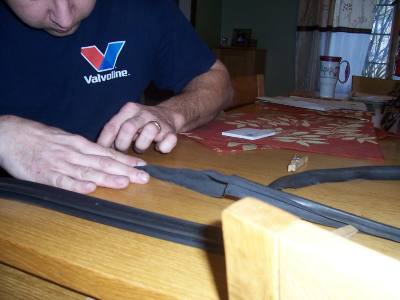
102_6066.jpg

102_6065.jpg

Bonding the skin to the core. Again, tedious process as you can only do a small section at a time.
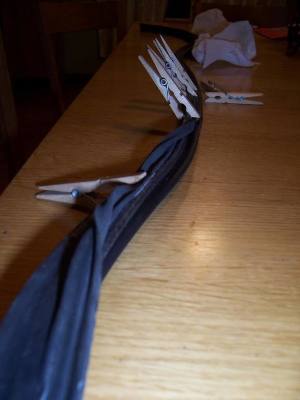
102_6076.jpg


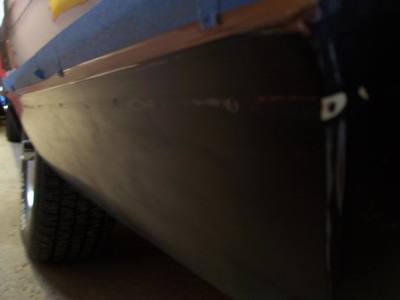
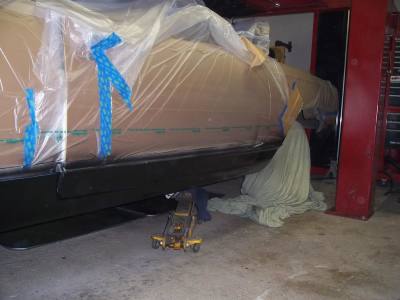
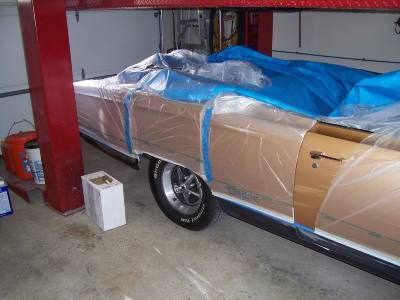
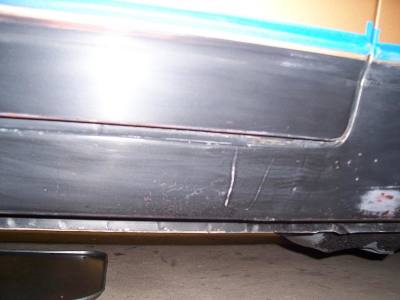
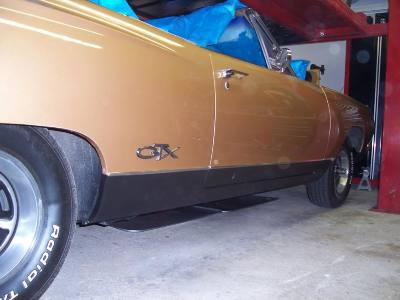
I also found out that the lower blacked out area on the car was repainted as I had been told it was original and not touched. Again, I thank whoever did the paint work on the car for not doing a perfect job as you could tell exactly where the 1/4" pin striping was as there was adhesive residue left on the paint before they painted it leaving a nice ever so slightly raised line that you could see only on an angle with a glare. It seems the stripe was put 3/4" down below the bottom edge of the lower body molding.
 

Basketcase

Keeper of the Green
Joined
Sep 10, 2008
Messages
14,415
Reaction score
299
looking good. I didn't notice any stripes on my buckets when i had them off.
 

resq302

Well-Known Member
Joined
Jul 9, 2013
Messages
280
Reaction score
5
Location
northern nj
Headlight buckets all cleaned up and in immaculate original condition! Galvanizing is still excellent.

102_6088.jpg

102_6090.jpg

102_6089.jpg

102_6091.jpg

102_6092.jpg

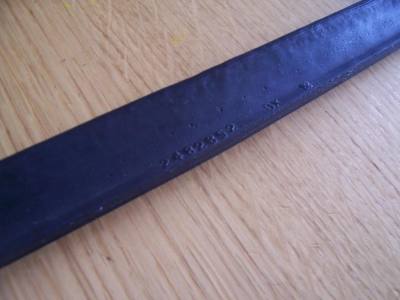
Trunk gasket getting the "skin" reapplied....

102_6076-1.jpg

102_6078.jpg

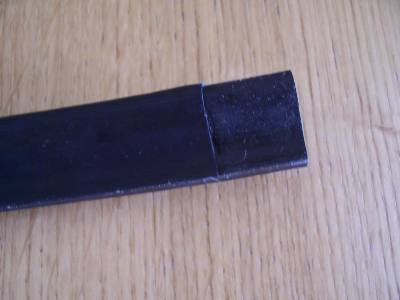
End of the new weatherstripping and will eventually be cut off flush with the skin.

102_6080.jpg

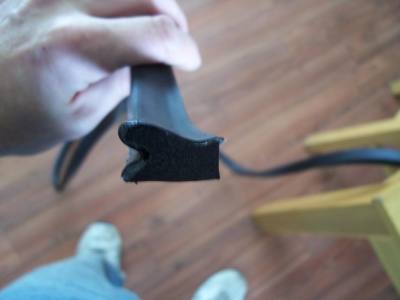
profile of the trunk weather stripping (glue was still wet and had to be pushed back once I took the pic.)

102_6079.jpg

102_6077.jpg

original parts pulled and being sent out to platers

102_6082.jpg

102_6083.jpg
 

resq302

Well-Known Member
Joined
Jul 9, 2013
Messages
280
Reaction score
5
Location
northern nj
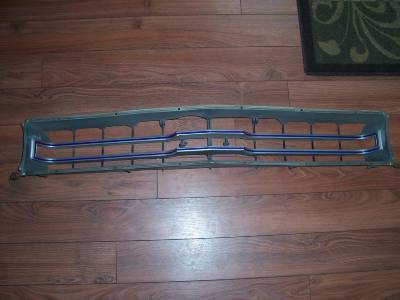
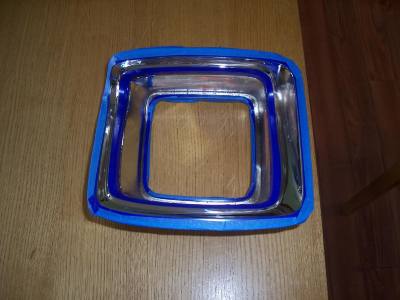
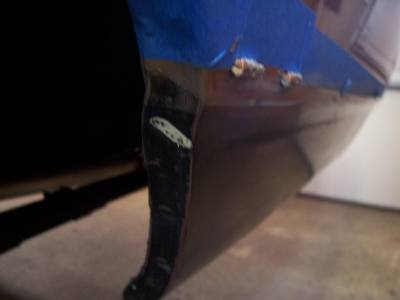
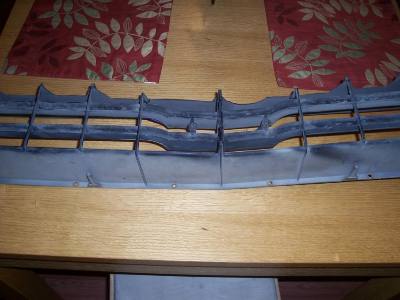
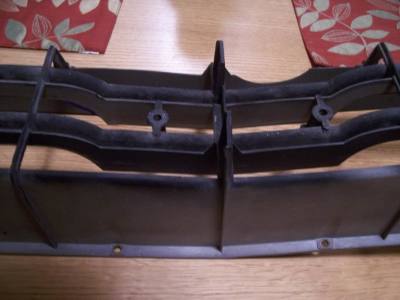
Grille is out and starting to be restored. Don't pay attention to the blue stripe. Thats just vinyl tape covering up the factory red painted insert.

102_6095.jpg

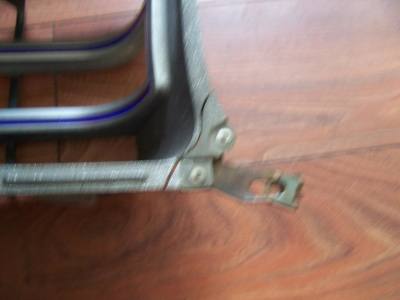
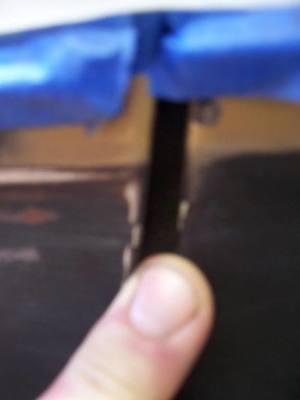
broken corner which I've heard is pretty typical. Easily fixed though.

102_6096.jpg
 

resq302

Well-Known Member
Joined
Jul 9, 2013
Messages
280
Reaction score
5
Location
northern nj
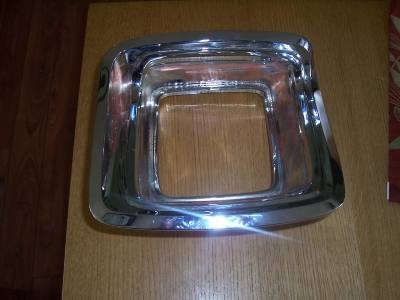
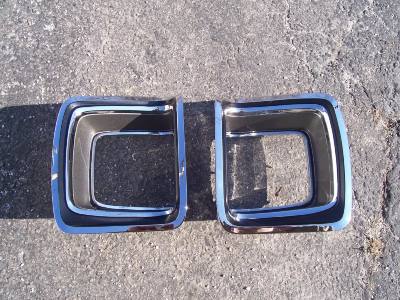
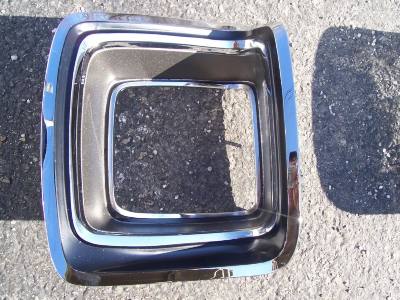
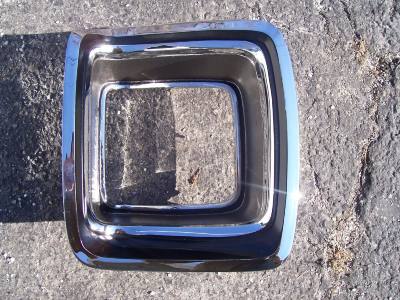
Not a lot of progress today but was able to fill the pits where the painted areas are and get the tail light bezels masked off so they can be painted after we got them back from the platers. Not really happy with the results that the platers did but supposedly they did these 3 times and had problems with it blistering in areas where there weren't blisters before. We have another set on the car now so hopefully we can get them out or find better cores to be redone.

Platers were nice enough to grind down the bubble areas for us in the areas to be painted.

102_6098.jpg

taped and ready to have the pits filled in before sanding and painting.
102_6097.jpg
 

resq302

Well-Known Member
Joined
Jul 9, 2013
Messages
280
Reaction score
5
Location
northern nj
Well, got some more work done on the car yesterday and today. Very excited with the progress! Made some interesting discoveries with the car. Found out that the blacked out area was indeed repainted at one point and they never removed the residue from the old stripe that was installed. While sanding it down, I came across a couple pieces of white pin stripe on the edges in between the door and fender and also under where the bumper covers.
102_6114.jpg

102_6113.jpg

102_6107.jpg

102_6106.jpg


So apparently, the third owner of the car must have been mistaken that the red stripe was on the car since day one as he knew the second and first owners. Anyway, here are some pics of the progress. It seems there was a red oxide primer, then dark gray primer, and then the exterior color coat.

102_6110.jpg

102_6119.jpg

102_6120.jpg

102_6108.jpg

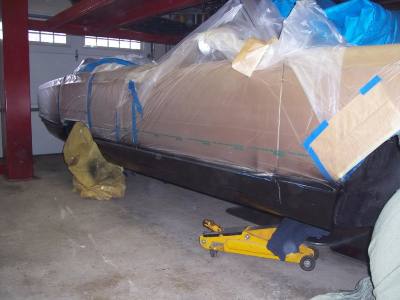
Factory run in the black lower panels.

102_6112.jpg

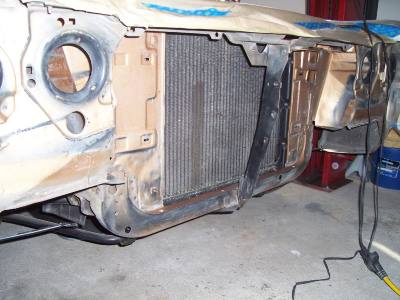
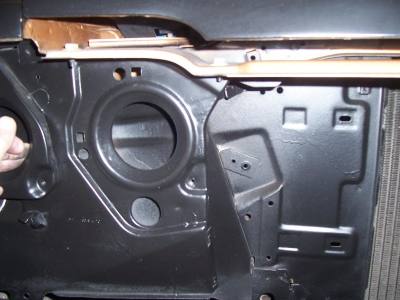
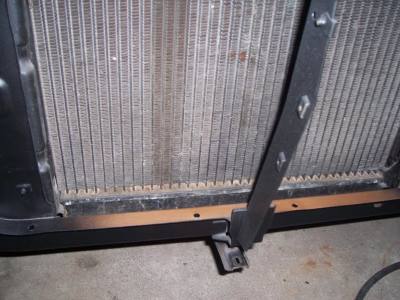
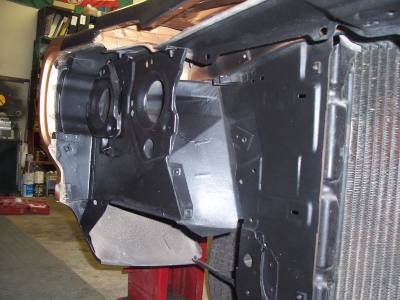
Rad support black out treatment reapplied and the lower black out "organisol" area on the panels painted.

102_6124.jpg

102_6123.jpg

102_6122.jpg

102_6121.jpg
 

resq302

Well-Known Member
Joined
Jul 9, 2013
Messages
280
Reaction score
5
Location
northern nj
thanks for the encouragement! It still has a ways to go but I am VERY, VERY pleased with the process. Weather is supposed to be close to 50 tomorrow so hopefully I can get some more things painted outside (so as not to catch grief from the wife about the paint fumes coming up from the garage into the house)
 

resq302

Well-Known Member
Joined
Jul 9, 2013
Messages
280
Reaction score
5
Location
northern nj
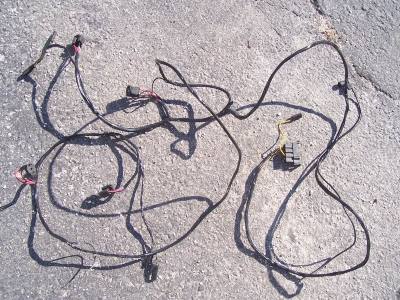
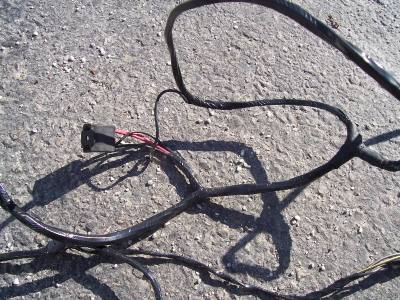
Here are some more updates! Front (headlight) wire harness has been cleaned up with lacquer thinner and re-wrapped in the dry wrap tape (no adhesive). There was one small area where the harness branched off in a T shape to go to either side of the headlights. That place had the cloth wrap tape on it which was also replaced. One thing I have noticed when I was cleaning this up...... the plastic / rubber insulation on the wiring is a duller color than the more vibrant colored reproduction harness'. Possibly due to composition of the material back then compared to todays plastics.

102_6125.jpg

102_6127.jpg

If you remember from a previous pic, my Dad had the pot metal tail light bezels rechromed and I had started masking them off for the prep. Well, today I got the black and the textured dark argent painted and I think they turned out fantastic. Certainly not for the faint of heart! Talk about a major pain in the butt! Well worth the hard work in prep though! (what do you think?)

102_6128.jpg

102_6130.jpg

102_6129.jpg
 

resq302

Well-Known Member
Joined
Jul 9, 2013
Messages
280
Reaction score
5
Location
northern nj
Thanks but I would have been happier with the chroming job if it came out better. Maybe I just have too high of a standard? lol
 

Big John

Sit back, relax Don't bitch about the cigar smoke
Joined
Sep 8, 2008
Messages
5,057
Reaction score
79
The original "factory" chrome wasn't all that great either.
 

resq302

Well-Known Member
Joined
Jul 9, 2013
Messages
280
Reaction score
5
Location
northern nj
True, but it did not have blisters in it which I had to grind down and fill. Thankfully they were where I had to paint!
 

Basketcase

Keeper of the Green
Joined
Sep 10, 2008
Messages
14,415
Reaction score
299
and for what rechroming costs, it should be perfect.
 

resq302

Well-Known Member
Joined
Jul 9, 2013
Messages
280
Reaction score
5
Location
northern nj
I agree. But, its Dad's car and he is the one who ultimately has to be happy with it. Each side was $180 to rechrome.
 

Big John

Sit back, relax Don't bitch about the cigar smoke
Joined
Sep 8, 2008
Messages
5,057
Reaction score
79
At $180 each, I would be happy.

My convertible chrome trim is $250 each and they said there will be pits where it gets painted.
 

resq302

Well-Known Member
Joined
Jul 9, 2013
Messages
280
Reaction score
5
Location
northern nj
John,

If it is able to be painted then they should be able to be filled with something like Evercoat or someother type of synthetic filler, sanded, and then painted over like I did.
 

Big John

Sit back, relax Don't bitch about the cigar smoke
Joined
Sep 8, 2008
Messages
5,057
Reaction score
79
John,

If it is able to be painted then they should be able to be filled with something like Evercoat or someother type of synthetic filler, sanded, and then painted over like I did.

I'm going to see how it comes out and go from there. It's a thin stripe, about 3/8" wide. It's covered with a convertible top boot most of the time so I'm not real picky. If I didn't have them off, I wouldn't have had them plated.
 

resq302

Well-Known Member
Joined
Jul 9, 2013
Messages
280
Reaction score
5
Location
northern nj
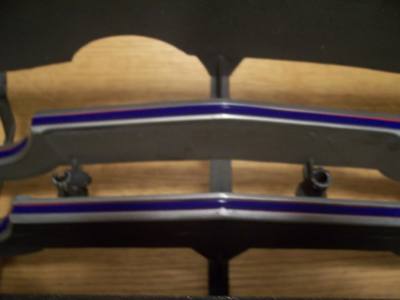
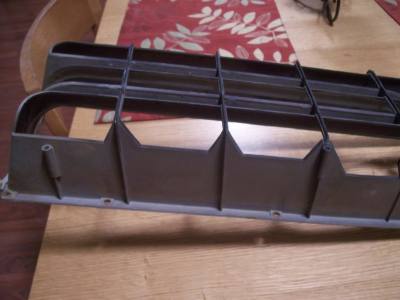
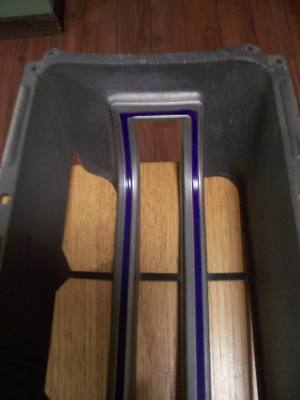
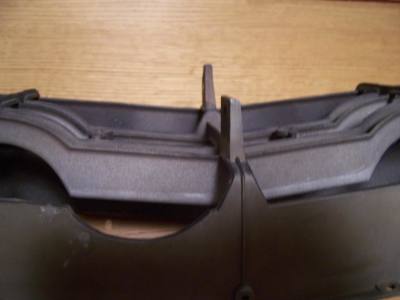
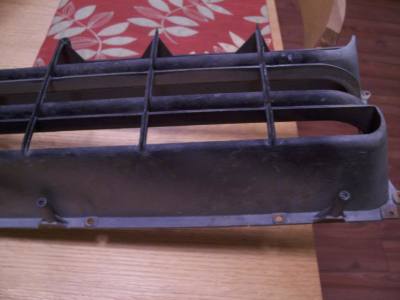
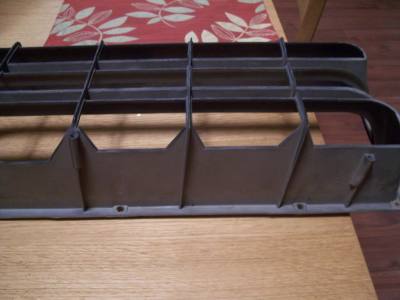
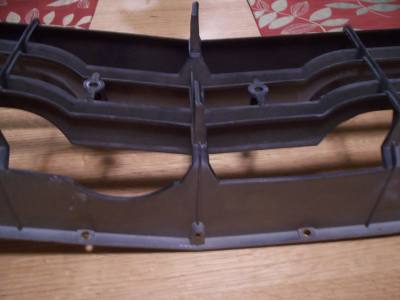
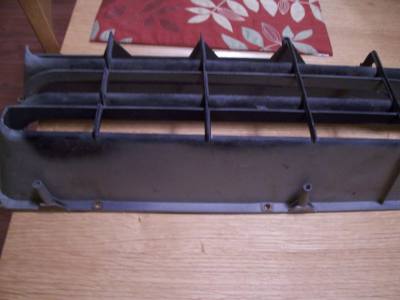
Since my daughter is most likely not going to school tomorrow (presently has a sore throat and 101 fever) I doubt I will be able to get over to my Dad's house to install the headlight hardware and wiring harness like I had planned. The good thing though is I brought the grille and headlight surrounds home to my house so while my daughter is resting, I can be working on that. Here are some pics I took tonight before I started sanding and repainting the grille. These pics helped me understand how the technique in which the different colors were applied. I'll say this.... my 69 charger grille was a piece of cake compared to what this is going to be and the charger grille was no fun project! Pay no attention to the blue vinyl masking tape. I put that over the red insert after I cleaned up the old paint. As it is, the tape started peeling up so it will have to be redone.

102_6142.jpg

102_6141.jpg

102_6137.jpg

102_6140.jpg

102_6139.jpg

102_6138.jpg

102_6134.jpg

102_6136.jpg

102_6135.jpg

102_6133.jpg

102_6131.jpg

102_6132.jpg

So far, it seems the order was:

Satin black painted first, red insert, then the textured dark argent, and then the non textured light argent silver.
 
Back
Top