You are using an out of date browser. It may not display this or other websites correctly.
You should upgrade or use an alternative browser.
You should upgrade or use an alternative browser.
Bringing it back to factory specs!
- Thread starter resq302
- Start date
moparstuart
Well-Known Member
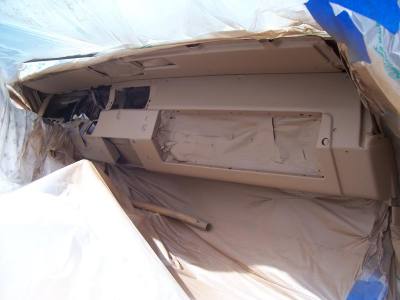
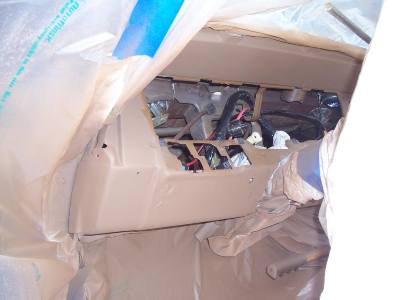
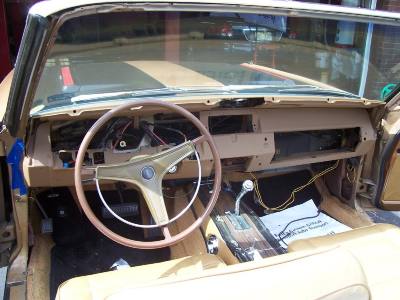
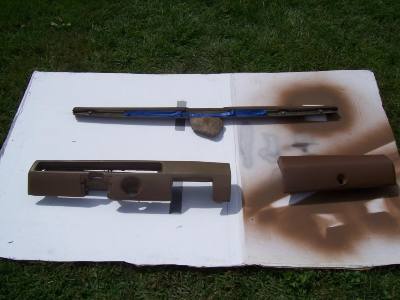
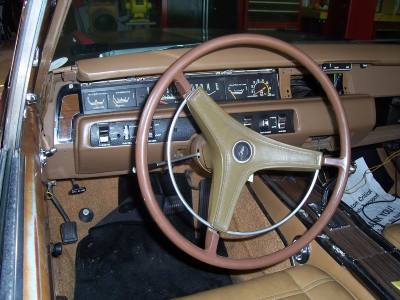
so brian after seeing now all the work you have done and the work still ahead , are you and your parents still happy with your trade ???Steel dash all repainted where the incorrect "Dukes of Hazzard" tan was:
Masking removed:
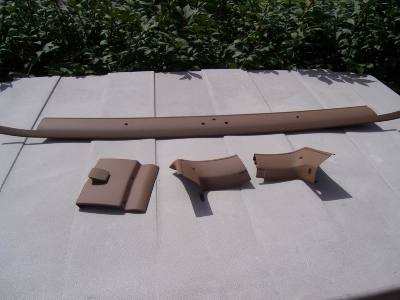
Metal trim painted and ready to be installed:
Dash pads dyed back to the correct color (dead on match too!):
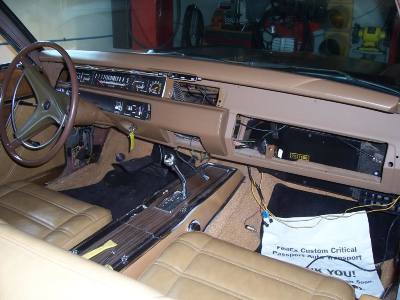
Reassembly starting!
resq302
Well-Known Member
Absolutely! Hands down, Stu! We knew we had to do some work to it to get it up to our standards but (like everything when it comes to cars) one thing led to another and the snow ball effect started!
Matter of fact, Dad checked the place where we got the X from and the place actually still has our old el camino. The price started out at $45,900 and is now down to $38,900. They gave us $42,500 for the elky on a trade so they are selling the car now at a loss and we got a vehicle that was worth a lot more. (granted we had to pay a little cash out, but not much cash at all) So I still think we did a hell of a good deal.
Matter of fact, Dad checked the place where we got the X from and the place actually still has our old el camino. The price started out at $45,900 and is now down to $38,900. They gave us $42,500 for the elky on a trade so they are selling the car now at a loss and we got a vehicle that was worth a lot more. (granted we had to pay a little cash out, but not much cash at all) So I still think we did a hell of a good deal.
Basketcase
Keeper of the Green
- Joined
- Sep 10, 2008
- Messages
- 14,415
- Reaction score
- 300
very nice work!
Big John
Sit back, relax Don't bitch about the cigar smoke
- Joined
- Sep 8, 2008
- Messages
- 5,059
- Reaction score
- 83
What are you using for dye on the dash pads?
resq302
Well-Known Member
Dupont plastic and vinyl dye, medium-high gloss.
4spd69RR
Well-Known Member
Very nice work!
resq302
Well-Known Member
Thanks!
moparchris
Well-Known Member
What was the details on the Elco? That had to be one hell of an Elco to command that price.
resq302
Well-Known Member
here is the link: http://www.carrollstauto.com/site/I...vy_elcamino_black/70_chevy_elcamino_black.htm
The original asking price of the car was 1500 more than what they gave us for it. Now the price is below what they gave us for the car. I will say the el camino was super loaded and won all kinds of high awards with it. Super detailed, 46000 original miles. True triple black car, Welly die cast toys and the Franklin Mint used our car as the sample car to get measurements off of,etc. Im still very surprised that we got over $35,000 for it!
The original asking price of the car was 1500 more than what they gave us for it. Now the price is below what they gave us for the car. I will say the el camino was super loaded and won all kinds of high awards with it. Super detailed, 46000 original miles. True triple black car, Welly die cast toys and the Franklin Mint used our car as the sample car to get measurements off of,etc. Im still very surprised that we got over $35,000 for it!
69hemibeep
Sponge Bob Square Wheels
here is the link: http://www.carrollstauto.com/site/I...vy_elcamino_black/70_chevy_elcamino_black.htm
The original asking price of the car was 1500 more than what they gave us for it. Now the price is below what they gave us for the car. I will say the el camino was super loaded and won all kinds of high awards with it. Super detailed, 46000 original miles. True triple black car, Welly die cast toys and the Franklin Mint used our car as the sample car to get measurements off of,etc. Im still very surprised that we got over $35,000 for it!
Nice comino

jays69bird
Well-Known Member
I worked with a guy who had a black 70 nice car for a Chevy
resq302
Well-Known Member
nice thing is that we have all spare mopar parts now instead of having a ton of NOS and spare parts for the el camino. Now we can share the spare parts such as alternators, starters, etc in case we should have a last minute break down before or on the way to a show!
resq302
Well-Known Member
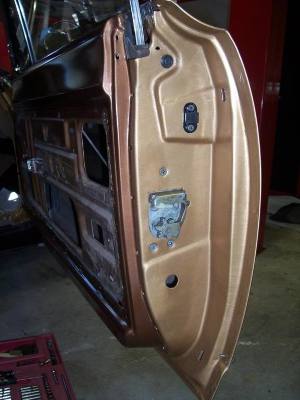
Here are some more updates on what I have done! Some more progress on the GTX! Our car still had original factory applied paint on the interior of the car as well as the door jambs! Plenty of stuff to learn as not that many cars are left like this!
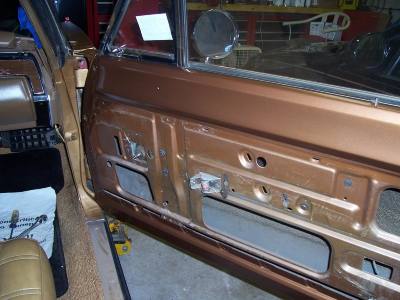 pass side inner door frame and door jambs repainted!
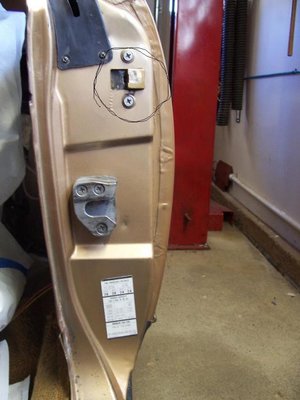
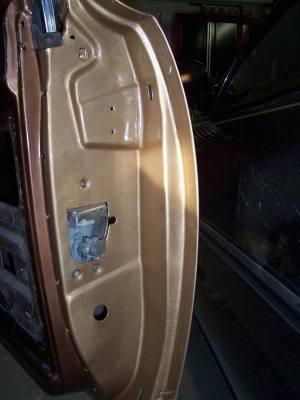 latch reinstalled and cleaned up
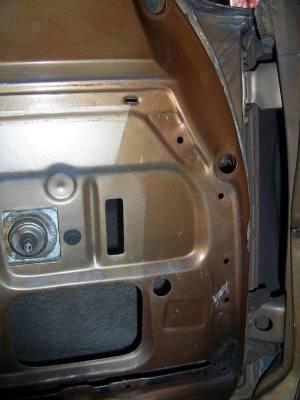 driver side inner door, inner door frame color painted first, then masked off and exterior color applied.
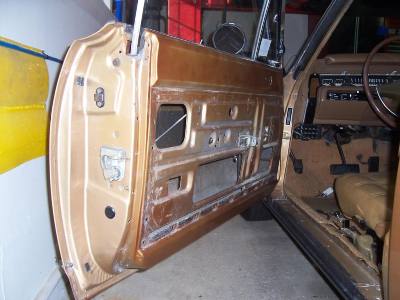 driver side prior to disassembly of all the small stuff. notice the lower left corner of the door where they must have had masking still on the corner of the door. interior color showing where exterior color should be!
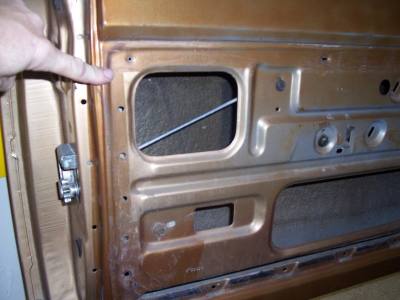 again, notice the masking pattern!
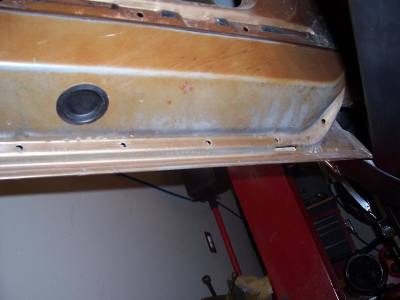 underside of the driver side door. notice the lack of paint that was applied at the factory!
 pass side inner door frame and door jambs repainted!
 latch reinstalled and cleaned up
 driver side inner door, inner door frame color painted first, then masked off and exterior color applied.
 driver side prior to disassembly of all the small stuff. notice the lower left corner of the door where they must have had masking still on the corner of the door. interior color showing where exterior color should be!
 again, notice the masking pattern!
 underside of the driver side door. notice the lack of paint that was applied at the factory!
resq302
Well-Known Member
More pics of the restoration....
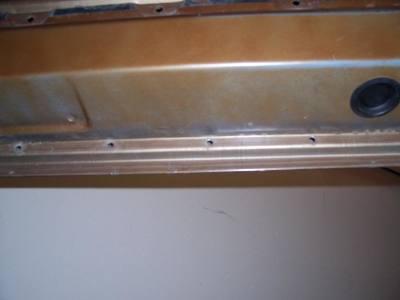 another pic of the underside of the driver side door and lack of exterior paint!
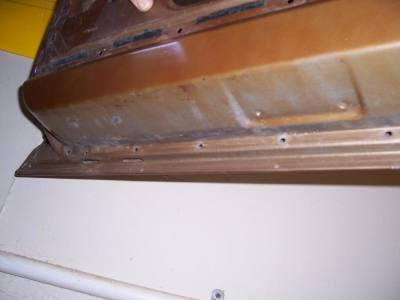 excellent condition of original door (as well as the rest of the car! original sheet metal is nice!)
 passenger door almost completely put back together.
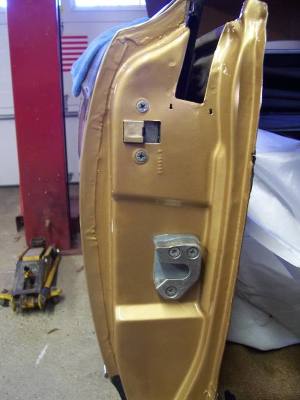 door jamb and striker on pass. side door. (Dave did I get the indexing right on the screws?) :smilielol:
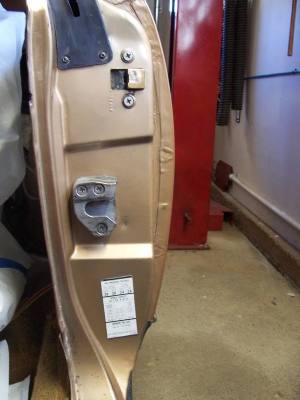 driver side door jamb prior to disassembly, original factory tire pressure decal!
 another pic of the underside of the driver side door and lack of exterior paint!
 excellent condition of original door (as well as the rest of the car! original sheet metal is nice!)
 passenger door almost completely put back together.
 door jamb and striker on pass. side door. (Dave did I get the indexing right on the screws?) :smilielol:
 driver side door jamb prior to disassembly, original factory tire pressure decal!
resq302
Well-Known Member
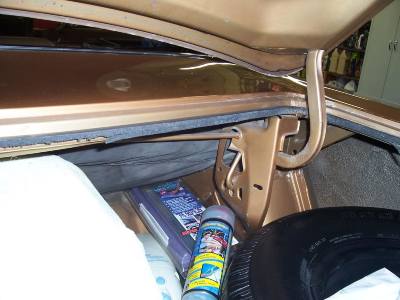
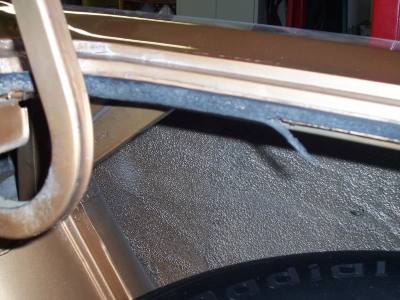
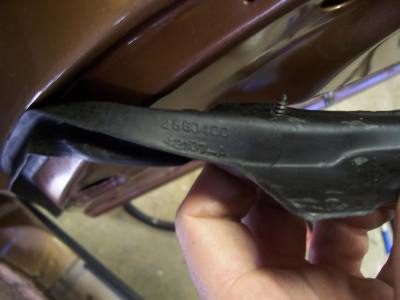
Some of you may have seen my post about wanting NOS trunk weather stripping. Here is why.....Debating on whether or not to replace the trunk weather stripping. Its the factory installed original but as you can see, it is starting to dry out and show its age. If anyone has any leads on an NOS one or an mint used one, please contact me! I'd hate to have the trunk seal be the only non-original weather stripping on this car.
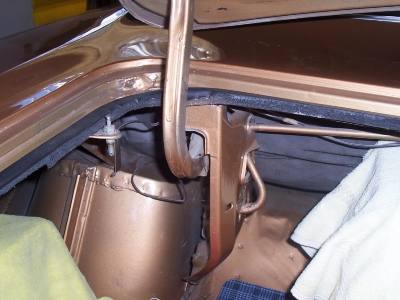 original trunk seal showing its age!
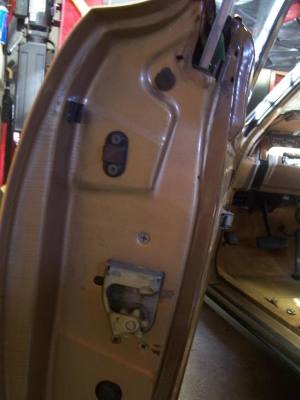 more of the driver side door hardware.
 factory pass side door gasket, looks and feels like it just got installed back as it did in 1968!
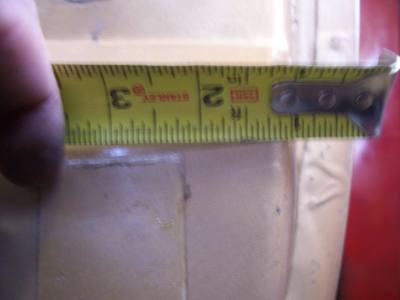 measuring of where original tire pres. decal was for replacement later.
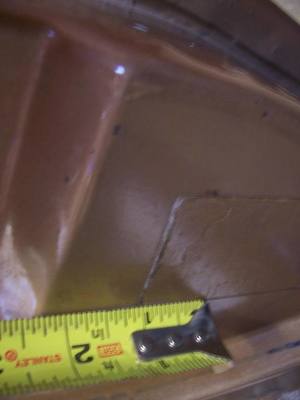
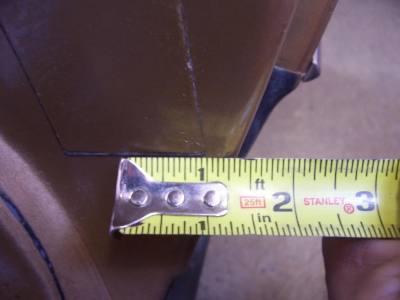
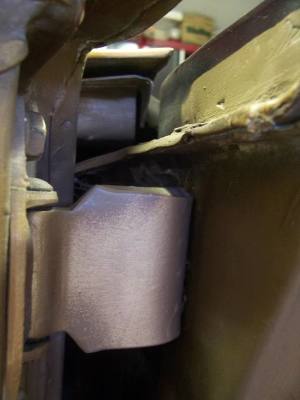
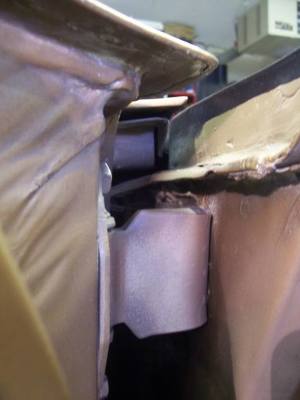 piece of cardboard wedged or installed between the upper door hinge and the cowl :clueless:
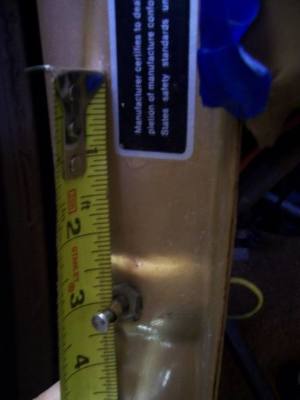 more measuring of where the original decals were!
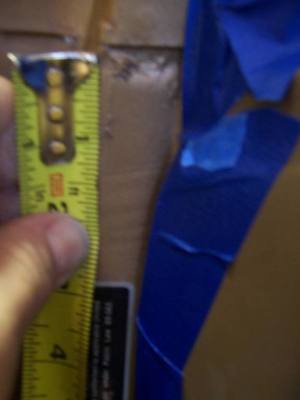
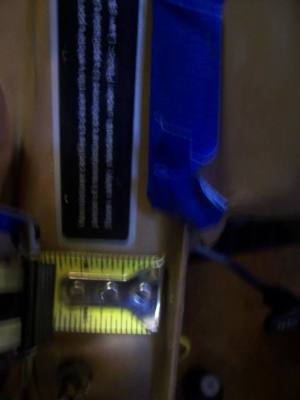
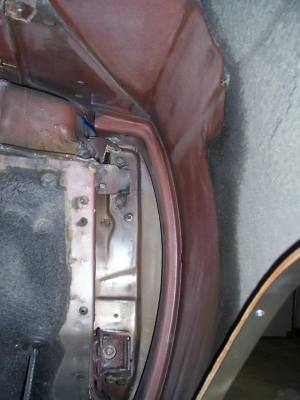 removed the splash shield which was coated in factory undercoating in which we had to scrape it away to get the bolt heads exposed enough to remove them. notice the red oxide primer! Also, we found a piece of bail wire hanging from the mounting bracket hole on the cowl where the bolt "should" (key word!) have been. Apparently, our car had a factory mess up as there was no bolt ever installed nor any shims. Would anyone know what this bolt size was off the top of their head? Worse comes to worse, I can always pull out the one on the pass. side.
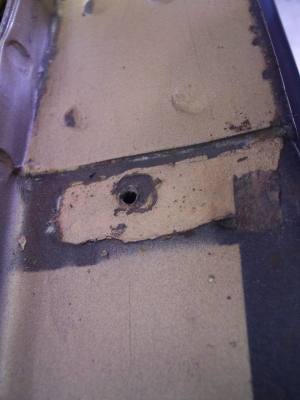 notice the 1" wide tape where they masked off the black lower body paint prior to applying the T3 Honey Bronze color. located under the door sill plate.
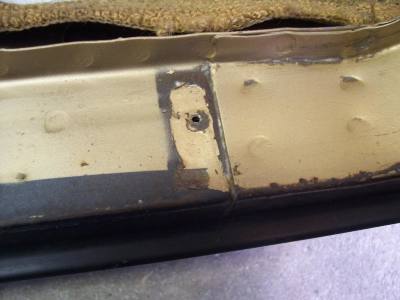
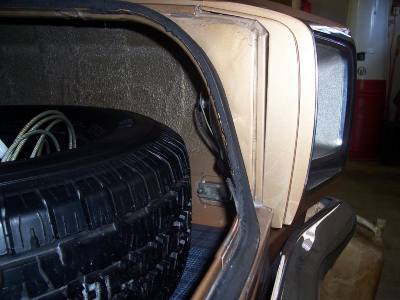
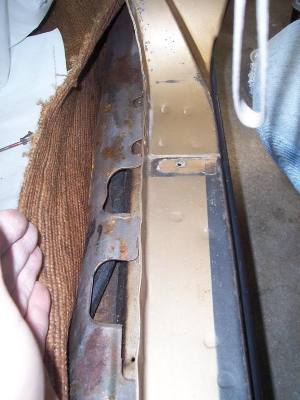 seems the metal covers for the wiring were installed after paint for some reason :clueless:
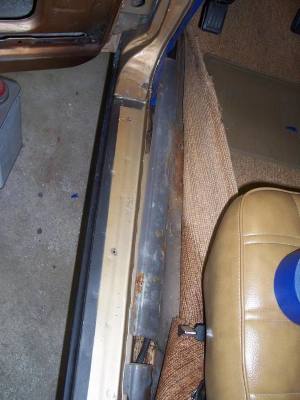
 original trunk seal showing its age!


 more of the driver side door hardware.
 factory pass side door gasket, looks and feels like it just got installed back as it did in 1968!
 measuring of where original tire pres. decal was for replacement later.

 piece of cardboard wedged or installed between the upper door hinge and the cowl :clueless:
 more measuring of where the original decals were!

 removed the splash shield which was coated in factory undercoating in which we had to scrape it away to get the bolt heads exposed enough to remove them. notice the red oxide primer! Also, we found a piece of bail wire hanging from the mounting bracket hole on the cowl where the bolt "should" (key word!) have been. Apparently, our car had a factory mess up as there was no bolt ever installed nor any shims. Would anyone know what this bolt size was off the top of their head? Worse comes to worse, I can always pull out the one on the pass. side.
 notice the 1" wide tape where they masked off the black lower body paint prior to applying the T3 Honey Bronze color. located under the door sill plate.
 seems the metal covers for the wiring were installed after paint for some reason :clueless:
resq302
Well-Known Member
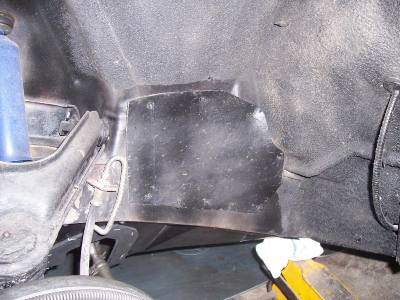 driver side wheel well with original factory applied undercoating.
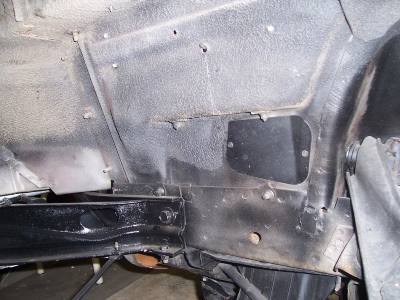 (forgive the bumper brackets, Dad tried to repaint them to save me some time. We'll correct that when we pull the bumper back off to do the rad support black out.
Thats all for now till I get back to my Dads house on Tues to get the driver side door and door jamb fiished up.
Jim S.
Well-Known Member
Thanks for all the pics. Great stuff!
Basketcase
Keeper of the Green
- Joined
- Sep 10, 2008
- Messages
- 14,415
- Reaction score
- 300
Big John
Sit back, relax Don't bitch about the cigar smoke
- Joined
- Sep 8, 2008
- Messages
- 5,059
- Reaction score
- 83
what is this for?
My 300 vert has that too. I assumed it was a C-Body thing, but now I wonder if all the verts had them.
They have to be either so the door doesn't slam or to keep the door tight against the latch. You have a lot more body flex in a convertible.

